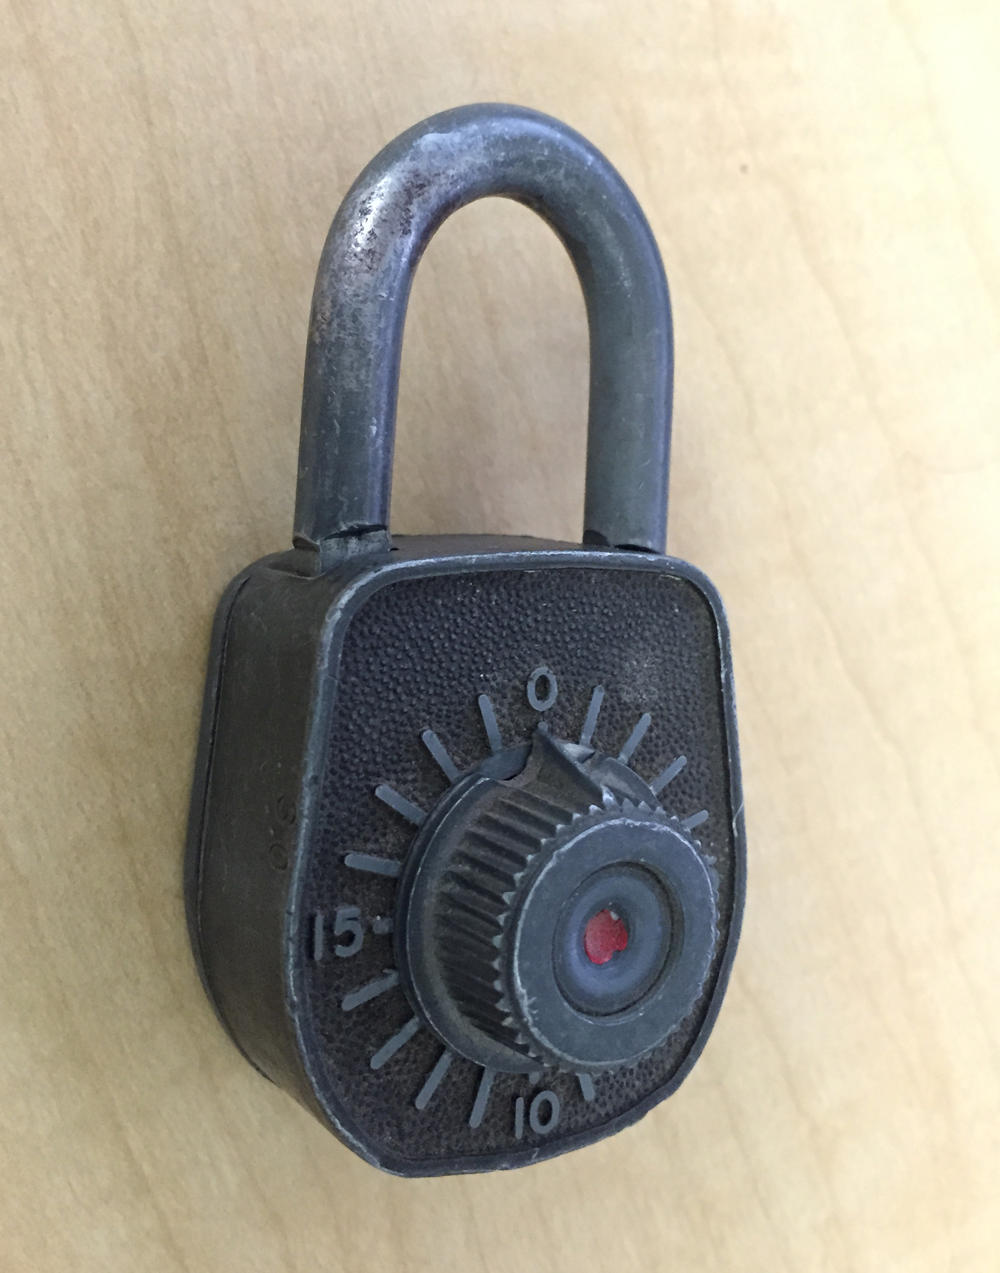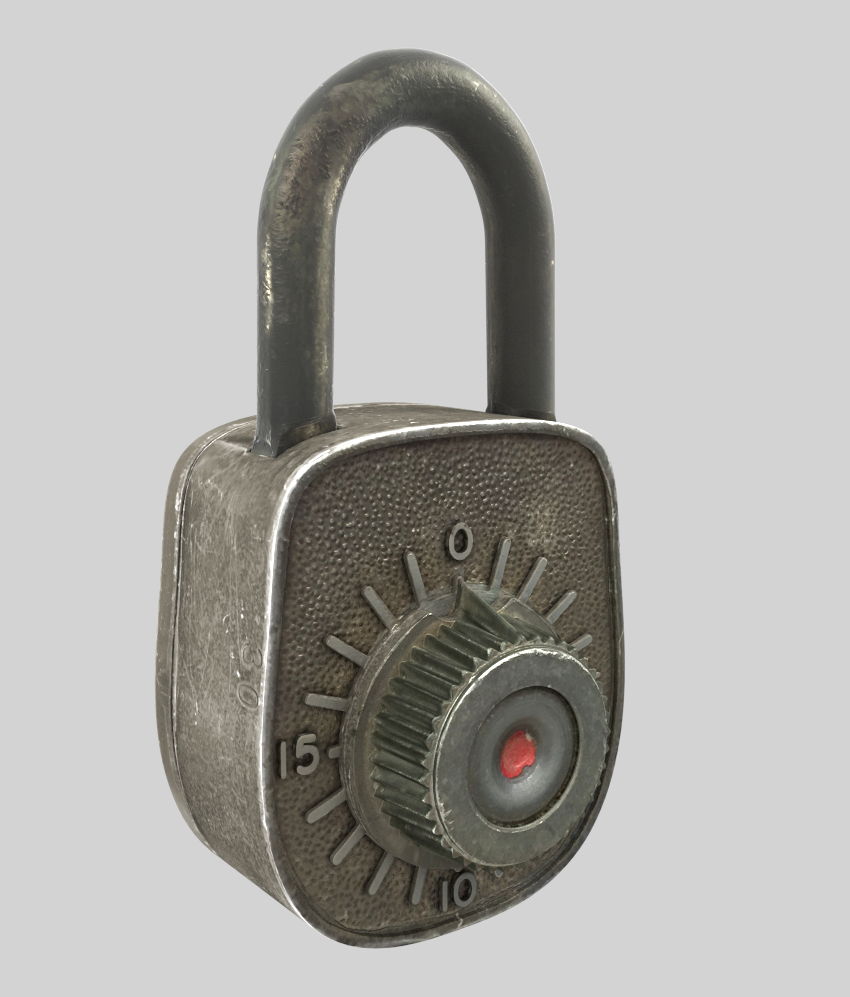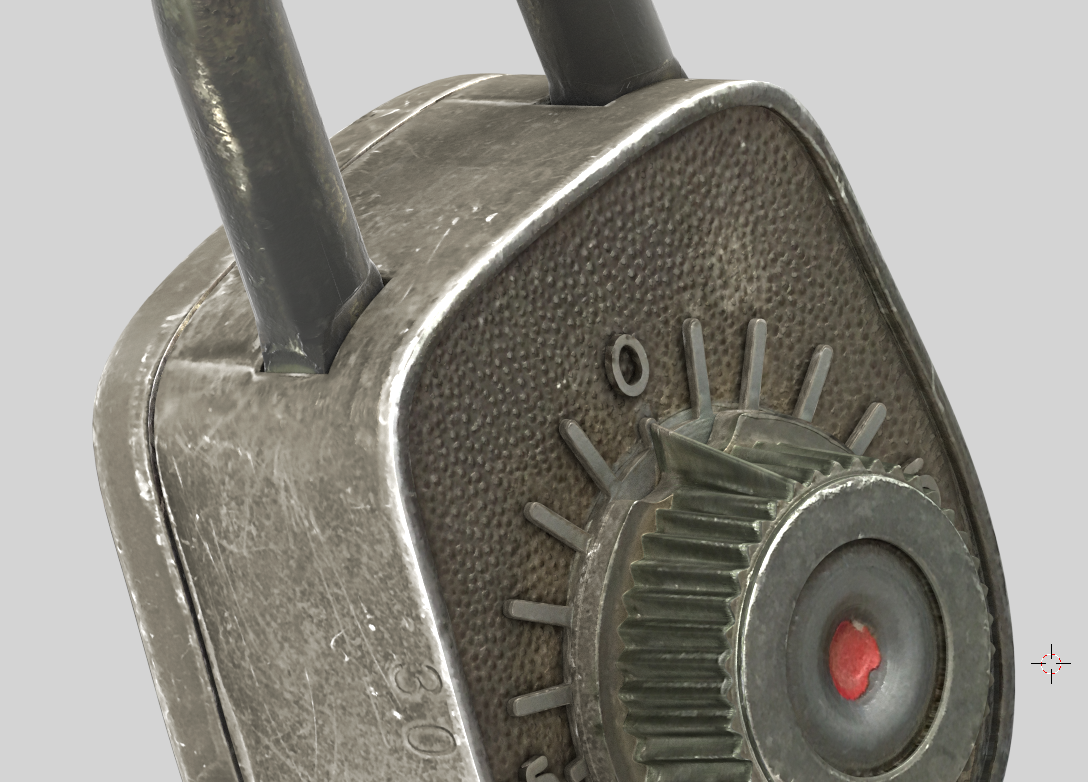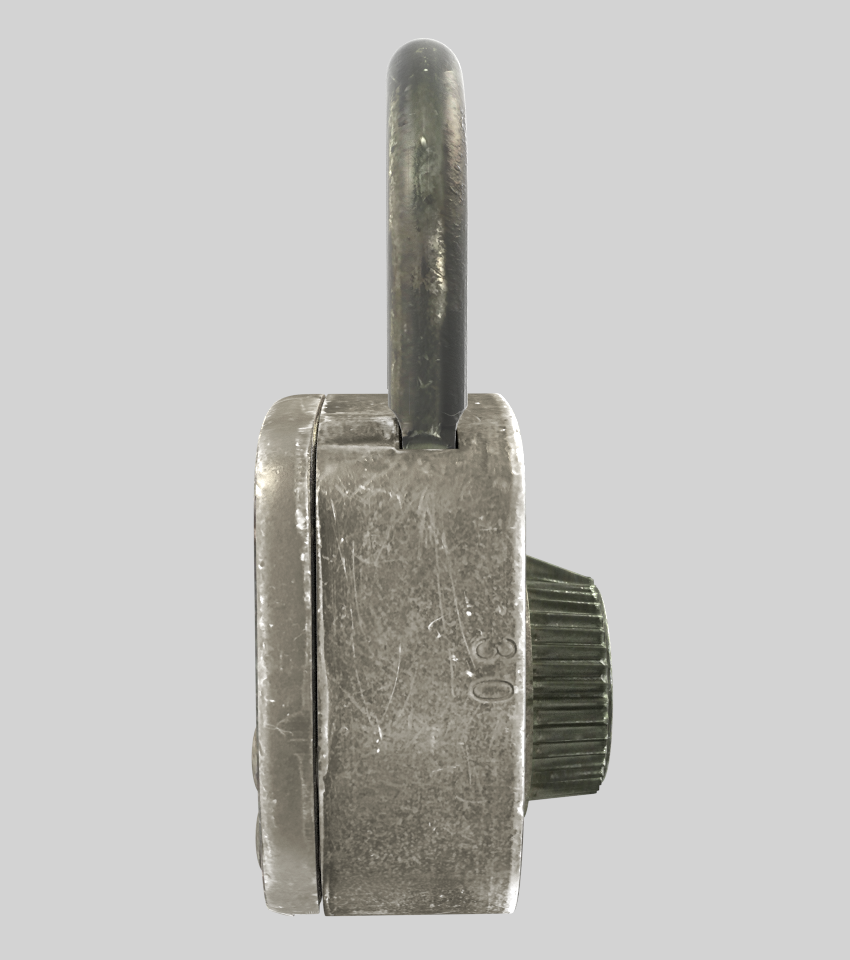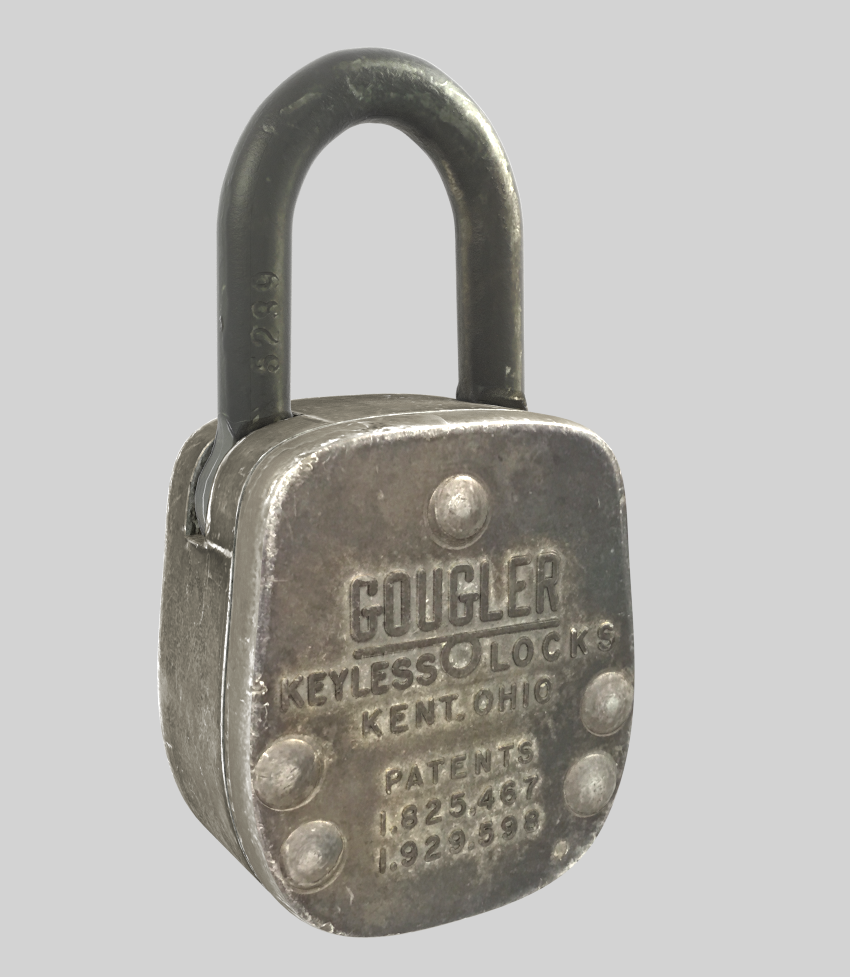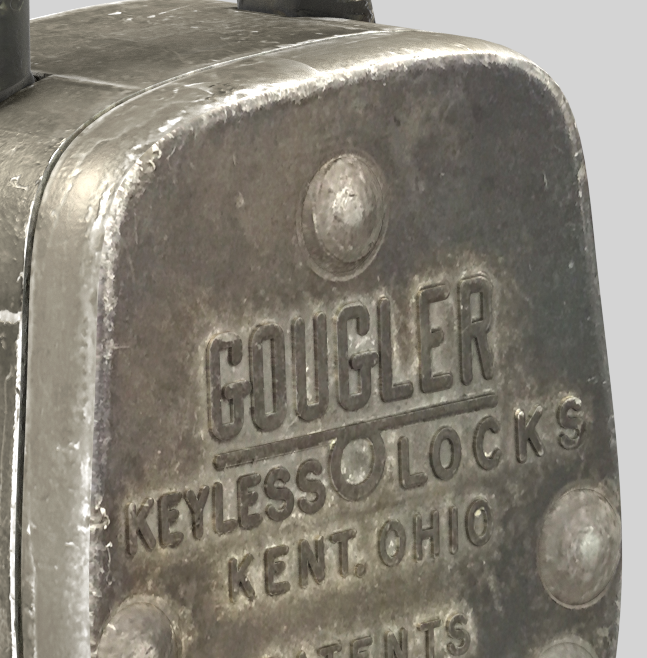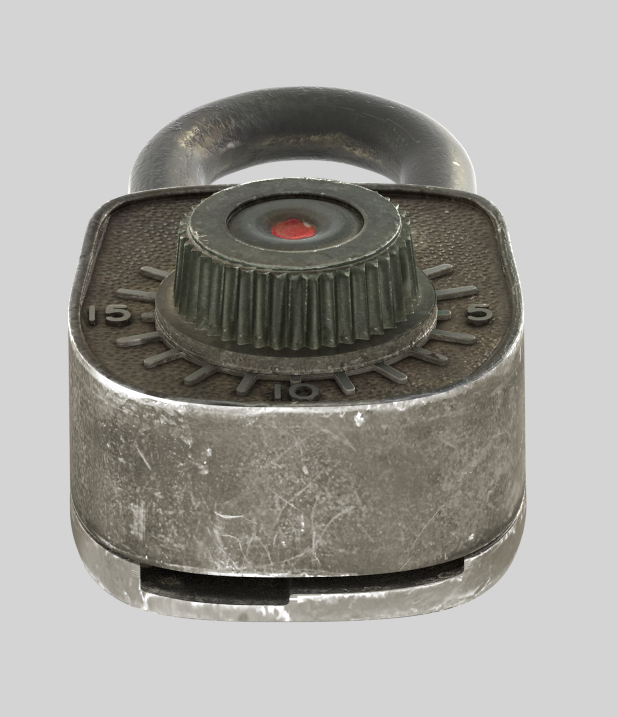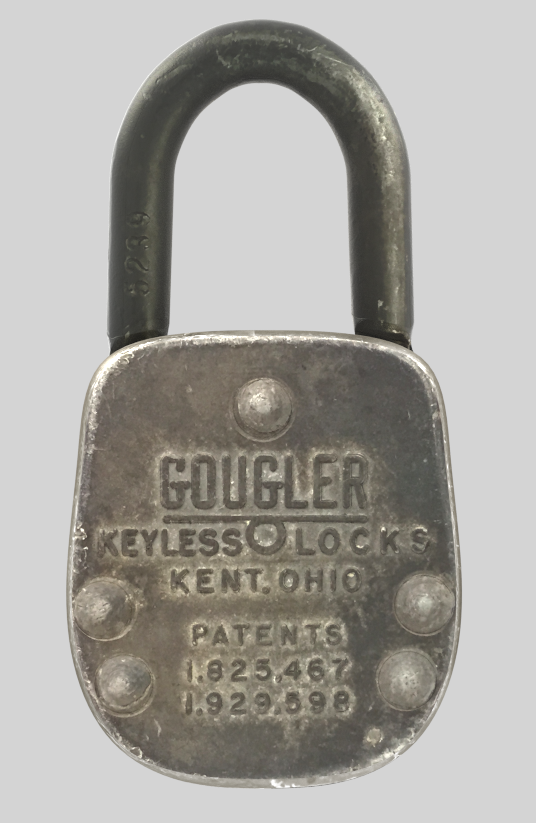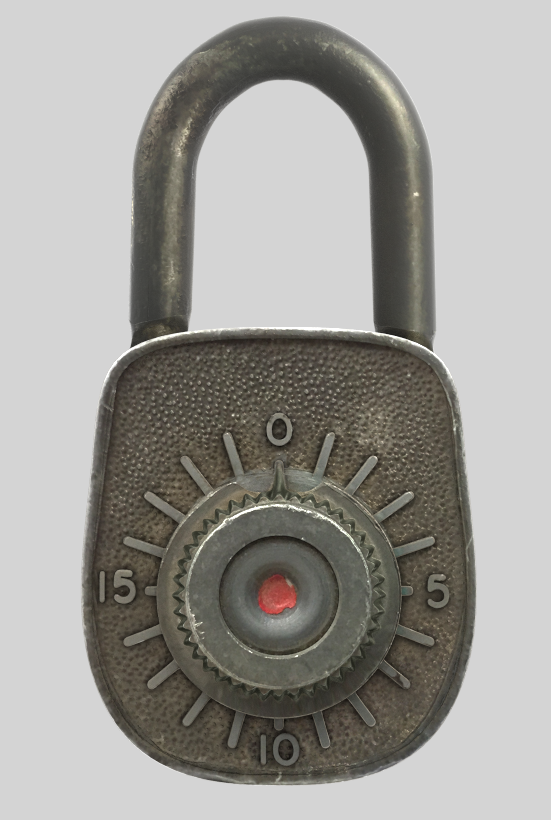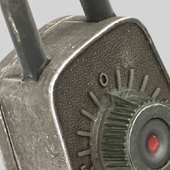
A few months ago I picked up this antique lock for a few bucks from my favorite flea market. I didn’t actually need a lock, but I loved it’s charm. After having it sit on my desk for a few days I decided I would try to do a photo-realistic recreation of the lock in Blender. Below is a photo of the lock. The colors in the photo come out a little darker than in real life, so the Renders are slightly more accurate, color-wise. However, the renders did come out slightly brighter than real life.
Below you’ll find a video of the final spin-render of the lock, but read on to get a quick run down of how I made it, plus some more hi-res renders:
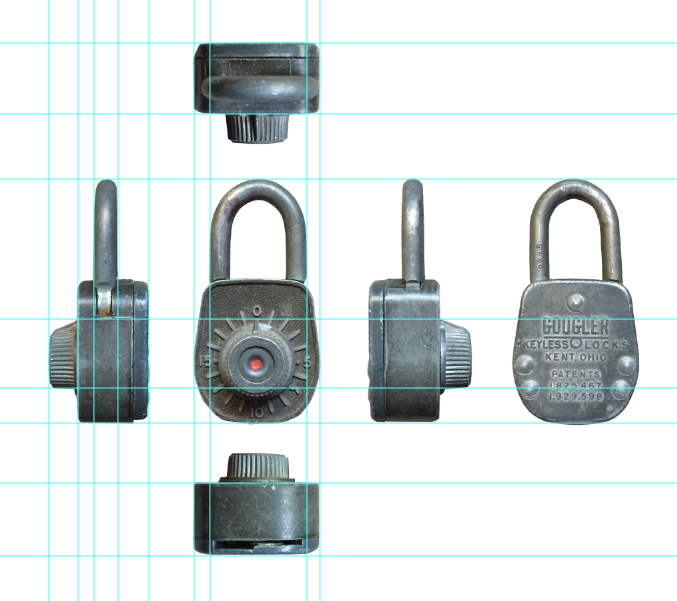
The first part of my work flow is to take “orthographic” shots of the item from all 6 sides. I say orthographic in quotes, because it’s not technically possible to take orthogonal photos. You can approach orthographic by taking a photo from a good distance. The closer to the camera lens, the more the object will be distorted by perspective, so the further the object is (still centered) the closer to orthographic it will appear. After taking several shots of each side, I pick out the best shots of each and clean them up in Photoshop. I remove the background, and most importantly: I normalize the images.
Seen below, I have all 6 sides of the locked cut-out and normalized. The blue lines are Photoshops rulers I dragged onto the canvas to help me align and normalize the photos. As you can see, the various features of the lock, like the shackle, the knob, case dimensions, and etc all line up correctly. This makes makes it very easy to model accurately in Blender.
After I normalize the images, I export each image separately, but with equal amounts of clear-space. Even though I could cut out and save each reference as a different height and width image file, I try to keep all 6 picture files the same height and width. I use Photoshop to center each view and save a PNG file for Top/Bottom/Front/Back/Left/Right. It’s important to always export each view as a separate file with the same dimensions. This way, when you import them into Blender you wont have to scale them to match the correct proportions.
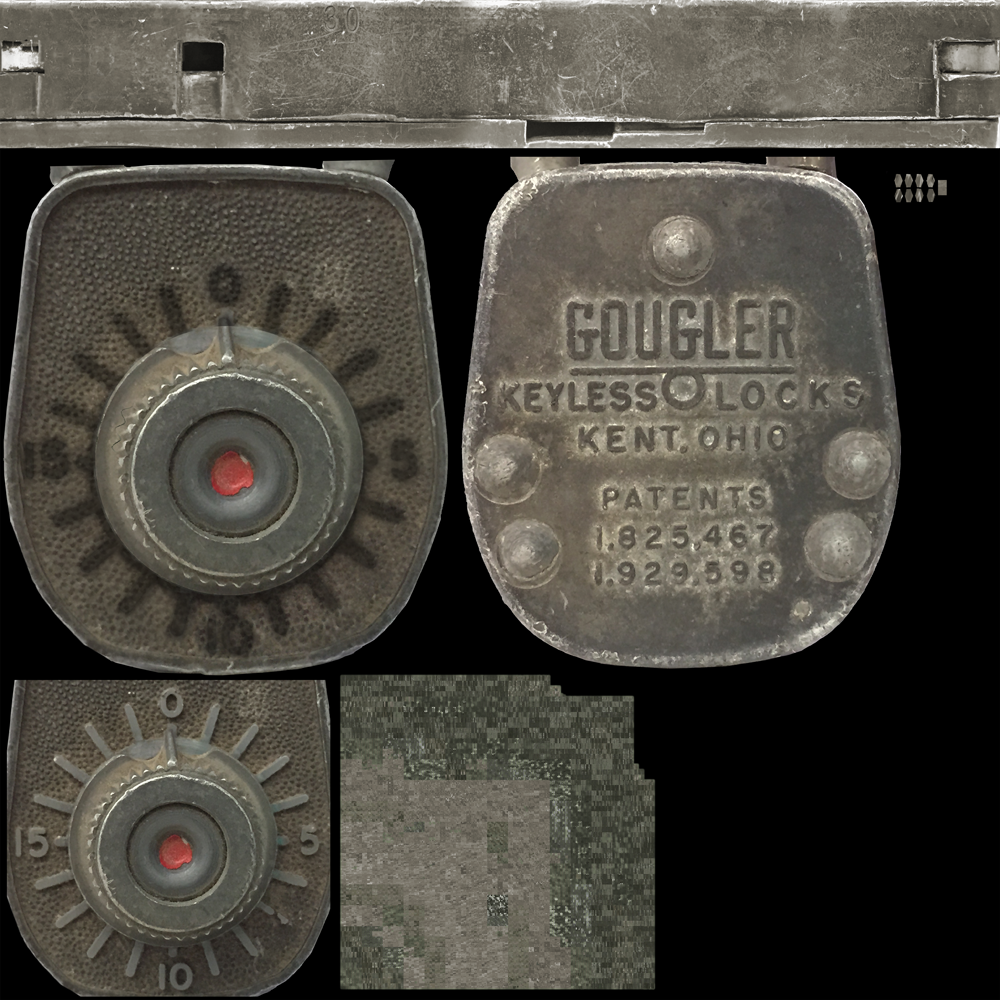
Next I started work on the texture:
Making the texture was somewhat complicated. The front and the back were easy – I simply used photographs and was able to use projection to map the UVs. On the front I clone-stamped out the metal tick-marks for the dial, and panted in a shadow for where the physical metal bits will be in Blender. The sides of the lock were another story. Seen long the top of the texture above, is a strip of rough looking metal stretched across horizontally. This represents the entire outside edge of the lock, including the holes where the shackle enter the case.
To make this, I carefully took photos of the lock, about 45 degrees apart. Specifically: Top, Top-Right, Right, Bottom-Right… you get the idea. From the photos I cut out the sides and normalized them, which involved heavy amounts of stretching and skewing in Photoshop. Afterwards, I used masks and a really soft black brush to slowly blend the different shots into one continuous strip of texture. In other words, I hand-photo-stitched the texture for the sides of the lock. From there it was more or less simple to UV the sides of the lock.
Seen at the bottom middle of the texture is a weird looking block. This is the sides of the dial. I was having trouble UVing the dial, so I unpacked the UVs with the light-map algorithm in Blender. This unwraps the UVs in a weird messy way, but it makes sure they’re all given equal/proportional UV space. I then used Blenders texture paint mode, combed with a photograph of the sides of the dial. I used stencil mode, and painted the details on the side of the dial. It was time consuming but way easier than doing the UVs by hand.
Not shown, I also painted the shackle of the lock using photos of the shackle and stencil mode in Blenders texture paint mode.
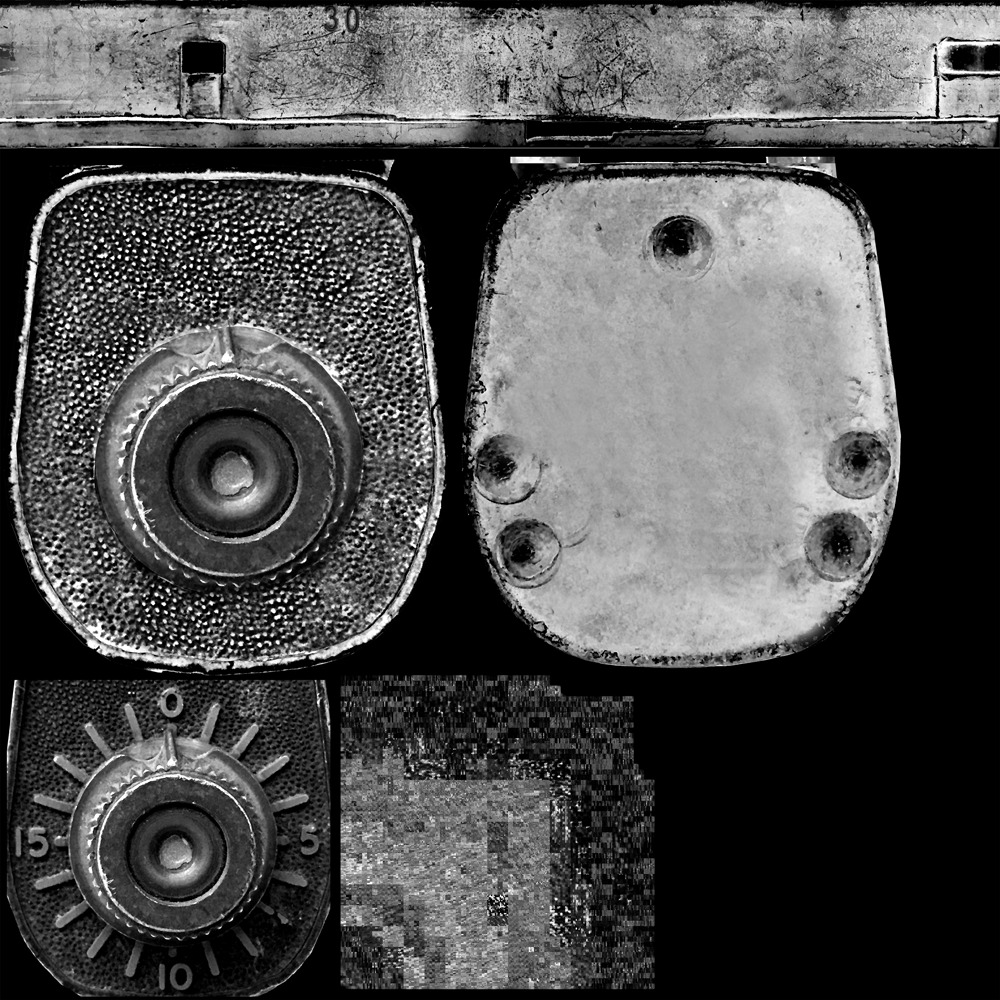
The bump maps were easy to make:
I simply desaturated the main photo and cranked up contrast. I didn’t use the Brightness & Contrast window, though. For this it’s much more desirable to use the Levels window. Note that, some of the surfaces I had to invert. The scratches on the body were originally lighter than the locks surface. On a bump-map, that would read as relief. I wanted the scratches to appear as depth, so I inverted the locks texture so the scratches would appear as dark lines / cavities. The entire map wasn’t inverted, though. Just select areas. It’s kind hard to describe, but I basically tweaked the map so things would appear to bump correctly relative to each other!
Now after all that technical talk, time for some renders:
June 2, 2015 at 12:19 pm | 3D Modeling, Video
