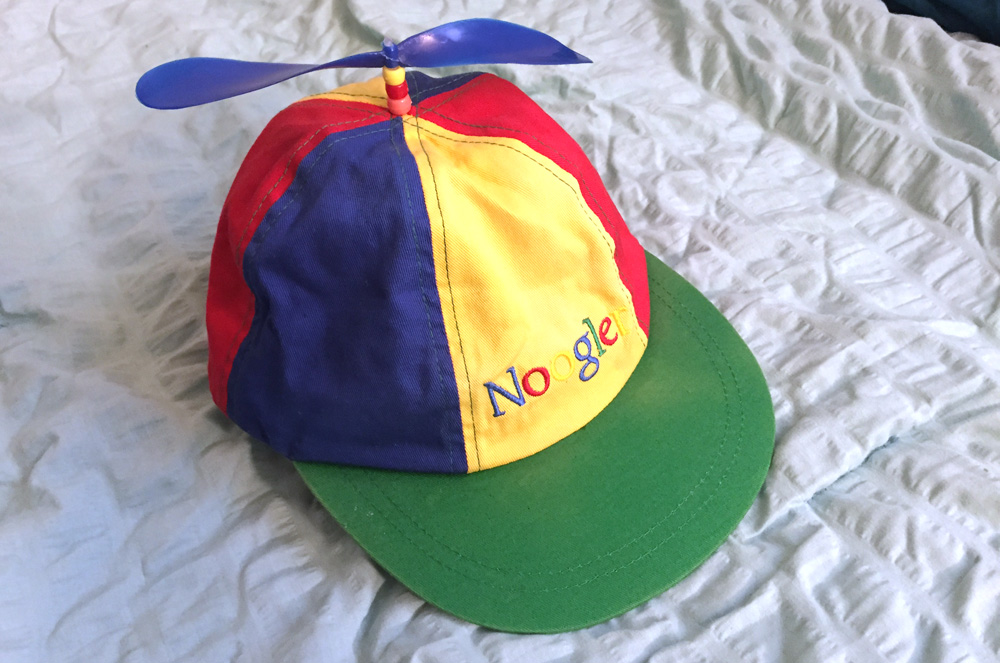
When I started working at Google I came on board as a contractor – not as a Noogler (A New Googler). Unfortunately that meant I wasn’t entitled to certain Googler / Noogler perks. For instance, all Nooglers are given a Google-themed propeller hat to wear their first few weeks at Google. I wanted one – and by coincidence, my roommate at the time happened to be starting an internship as a Noogler and he didn’t want his hat! I started wearing this hat to work on a daily basis. At first it was kinda weird, but soon it became awesome to impersonate a proper Googler. Other Nooglers would introduce themselves, older employees would make comments about when they were Nooglers. Nobody knew I was a lowly temp.
Things got even exciting when I started wearing the Noogler hat outside of Google. On a daily basis people would tell me they loved my beanie hat, or that they had one when they were young. Suddenly my hat was bringing in major attention. Despite the awesomeness of the hat, I had a few problems with it. I didn’t like the colors – too bright and cheerful. Further, the propeller didn’t spin! Google gives one of these hats to every new employee, I guess they have to save money somewhere, but the quality of the propeller hat is pretty lame if the propeller doesn’t spin! You can force it, which is fine, but it’s just tightly stuck on a plastic peg, so it would never spin under wind power.
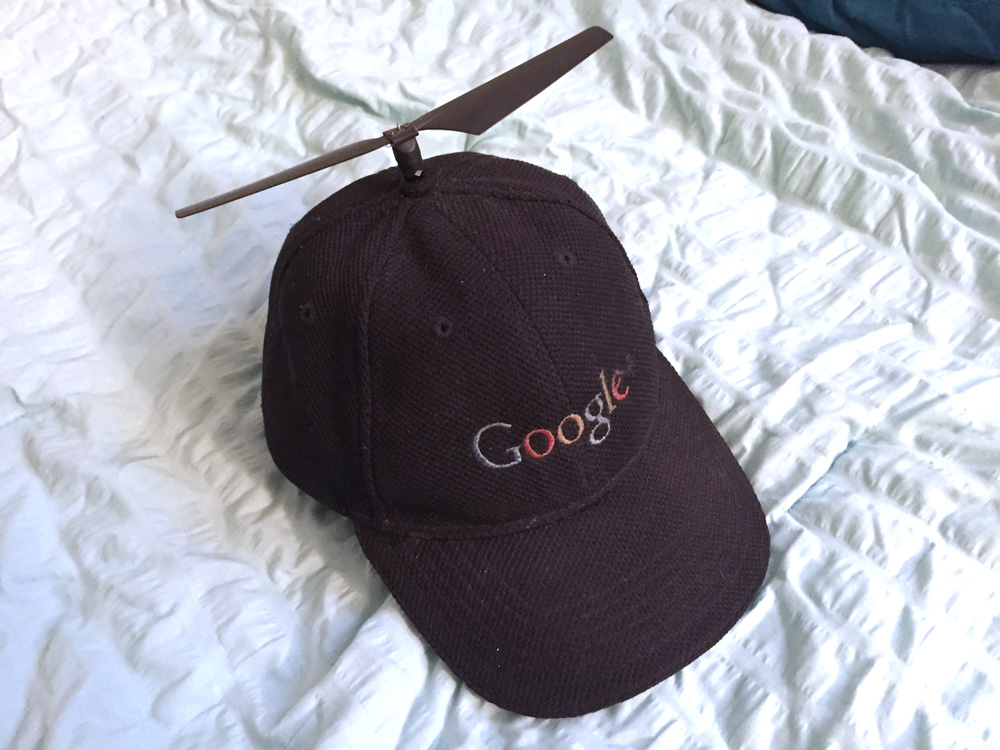
I decided to build a newer, better, stronger, faster! propeller hat. I went to the Google store and picked out a Google hat that didn’t say Noogler on it. I went to FRY’s and picked up replacement R/C Helicopter blades and whipped up a more conservative propeller hat:
I’ve been happily wearing this black-hat prop-hat for the past year, and it’s been a crowd pleaser. Daily people tell me they love it.
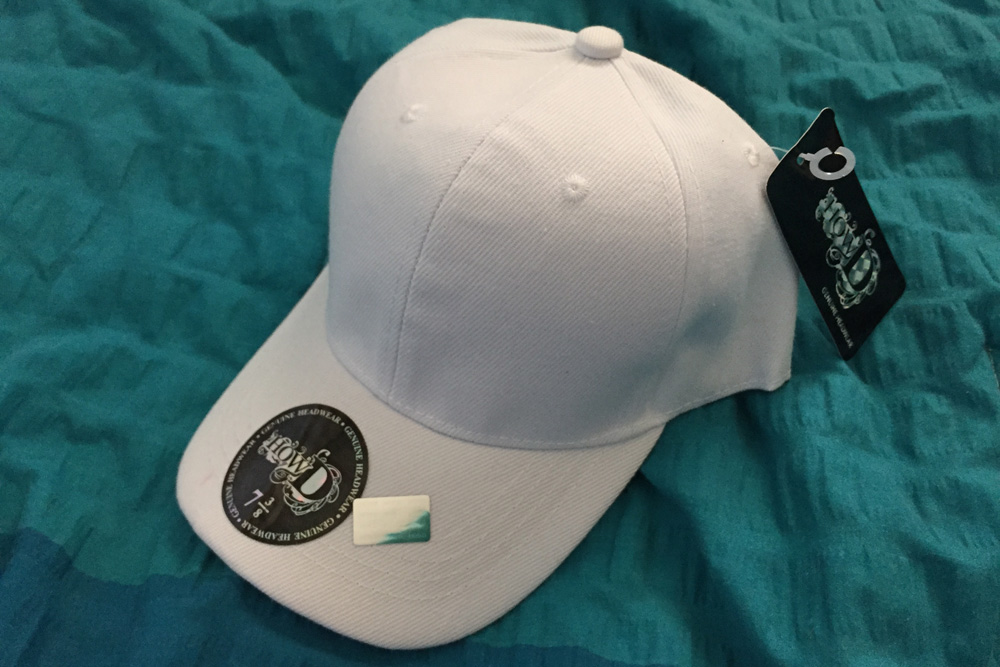
But recently the old hats starting to look tired. I decided I wanted to build a brand new one – completely custom this time. I wanted it to be a fitted hat. I usually wear my hats backwards, and snap-backs don’t look good backwards. I knew some vendors at the flea market specialize in hats so I kept an eye out. I found a perfect canvas to worth with, a blank, white fitted hat in my size. I’m also glad it wasn’t a flat-bill either.
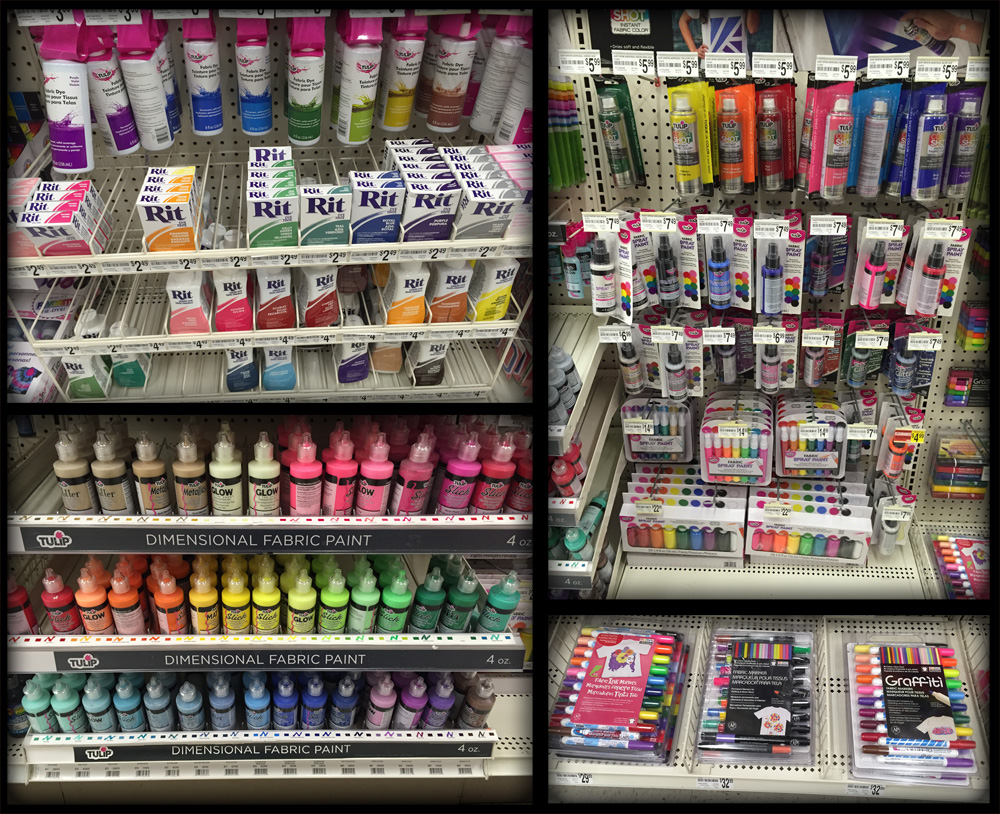
Excited, after the flea market I rushed over to Micheal’s Arts & Crafts to see what the options would be for colorizing the hat. I had a rough idea in my head – I wanted to do a teal-blue / green hat, hopefully splitting it down the middle at an angle (because an angle would be way more interesting than a straight line…). I found their selection for clothing dyes to be impressive, though as a n00b I didn’t really know where to begin.
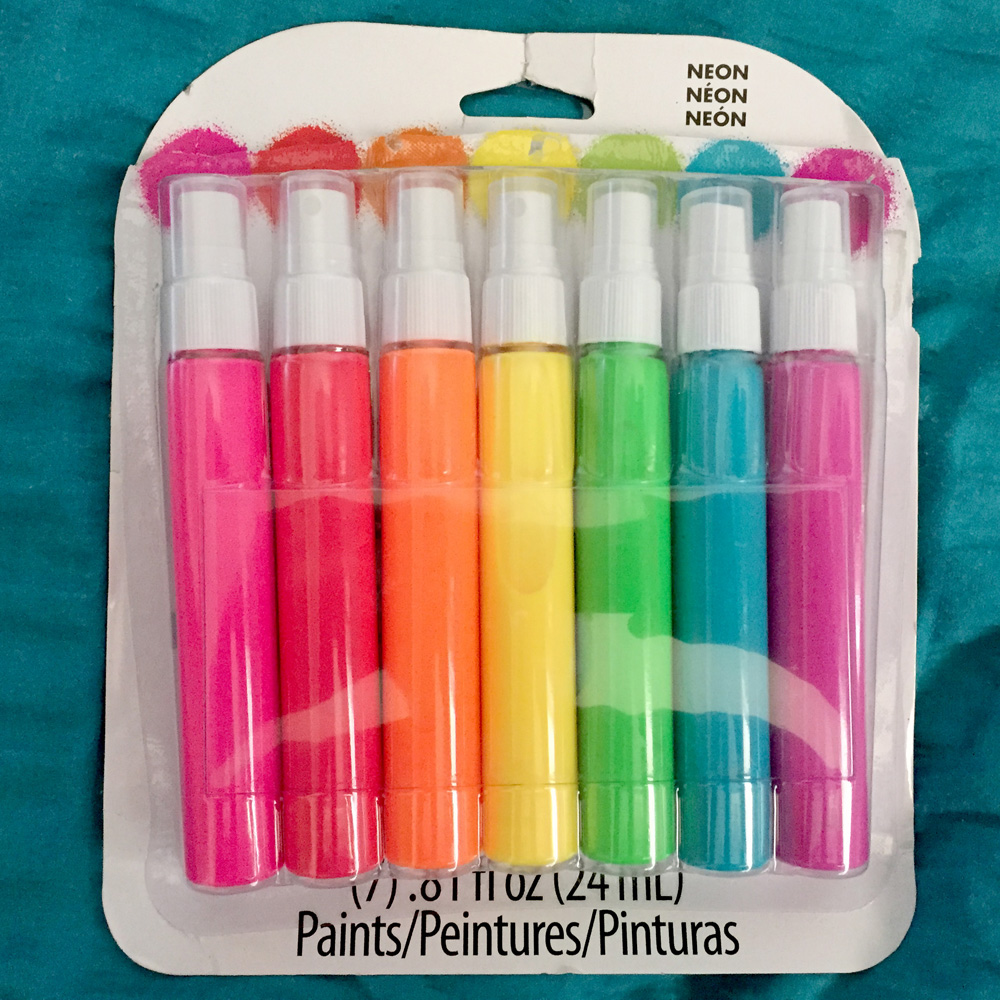
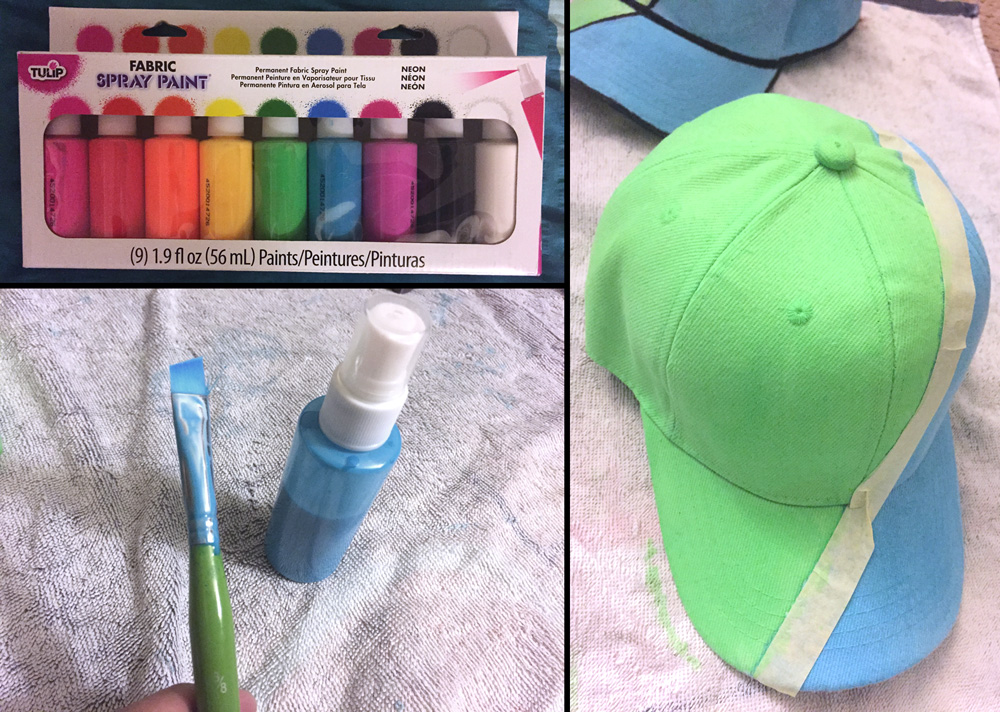
Some of the dyes were actual dyes that involved soaking or spraying the cloth. While others were described as “dimensional frabric paint” or “3d paint.” The idea with the latter, is that they would be applied like goop, and actually sit above the surface of the fabric. I guess you could imagine it would be like adding icing to a cookie with a squeeze tube – the icing actually has volume above the surface of the cookie – it doesn’t stain the cookie, but actually rests on top. I decided to go with some spray dye in a convenient pen form factor:
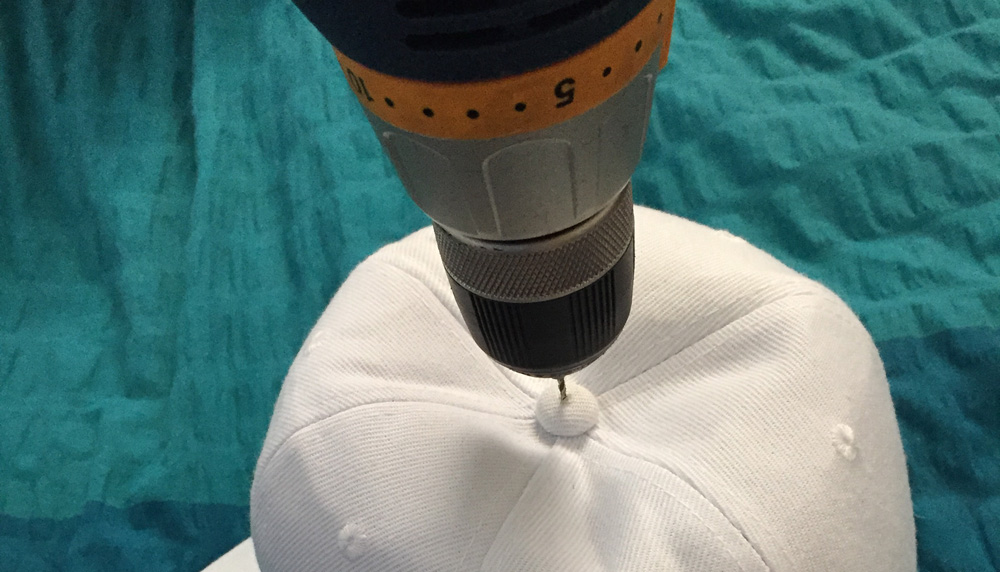
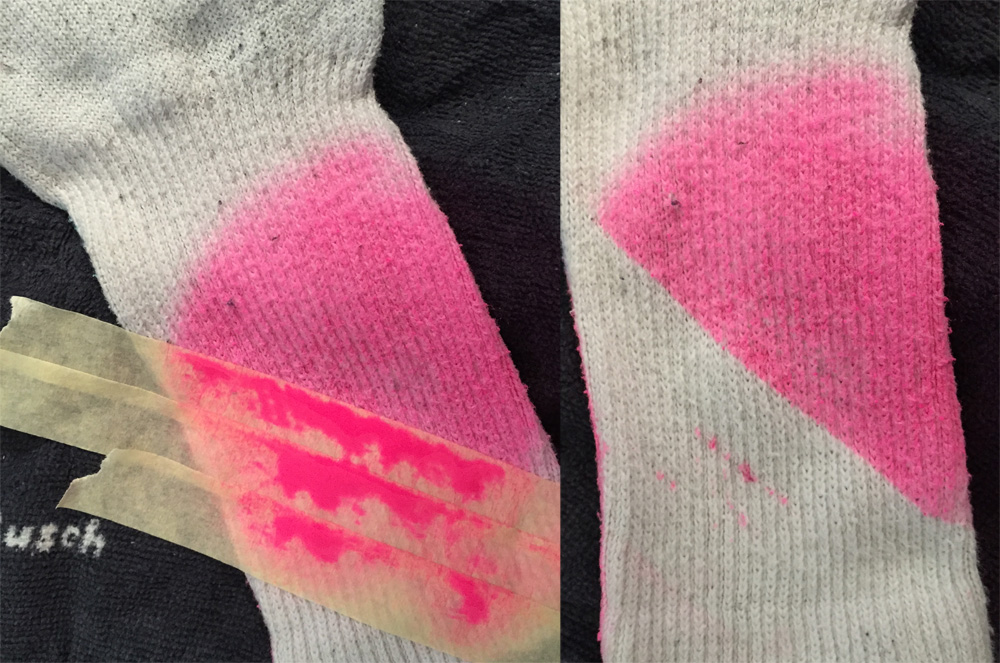
I hurried home and decided to test the dyes – I picked out an old sacrificial sock and grabbed some masking tape. I sprayed the sock with the pink dye I wasn’t planning on using, and let it sit. While waiting for it to dry, I decided to build the new propeller mechanism. First I drilled a hole through the top of the hat. This is tricky – on the inside is a metal rivet that holds everything together. I drilled this first, but I didn’t go all the way through – I didn’t want to risk making the hole crooked. So instead, I flipped the hat over and started drilling from the top of the outside button. After piercing the surface of the hollow-feeling button, I then have to match the drill up with the inside hole I made earlier. This is tricky, because you can’t feel it. You have to drill through another side of the rivet, blindly. Luckily I was pretty straight on with my guess and matched the hole I had previously drilled on the inside of the hat.
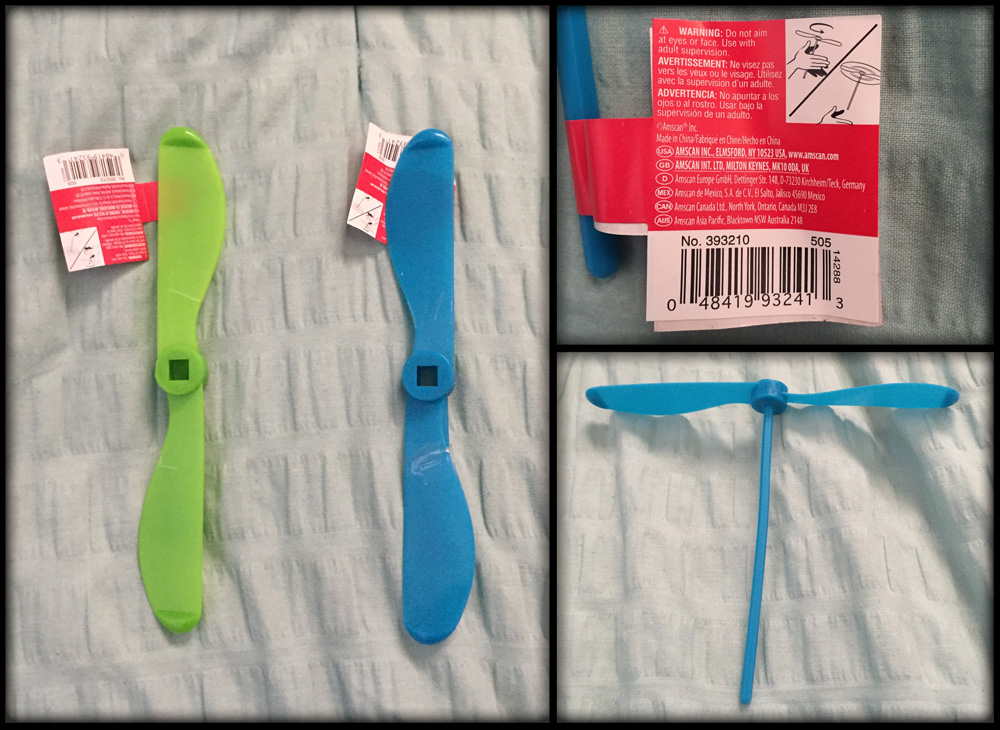
With the hole all set, time to work out the propeller. The last time I went to Party City I had noticed they had propeller toys as party-favors. For only fourty cents each I picked up a few different colors. These would be perfect as the propeller for a hat, and much cheaper than replacement helicopter blades. But will they work as well? Hmm…
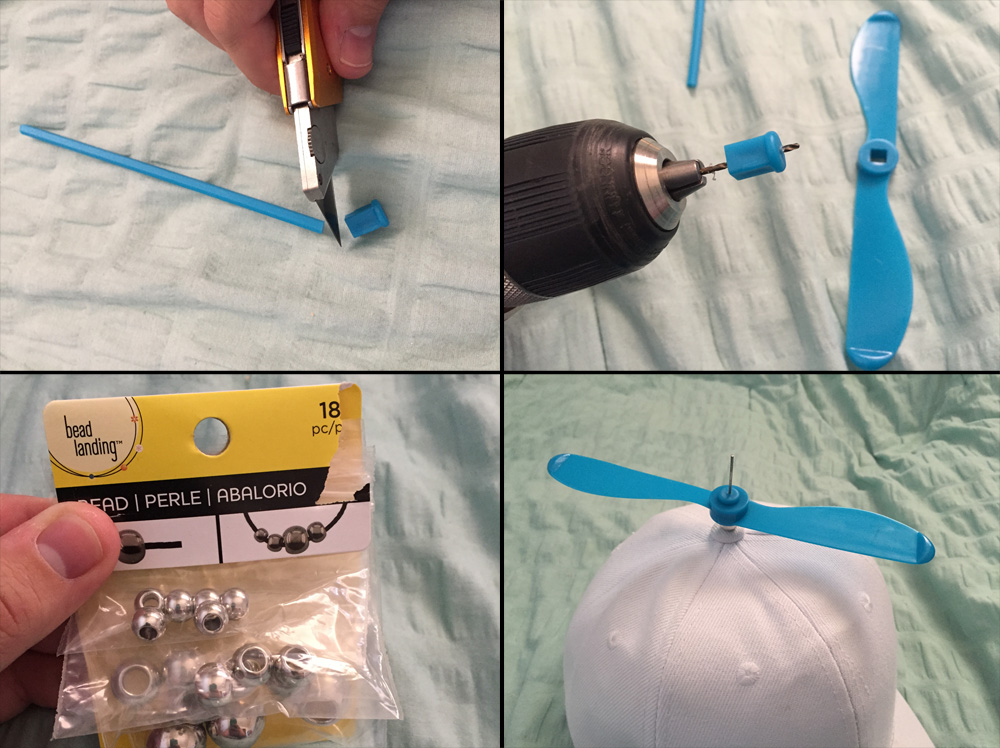
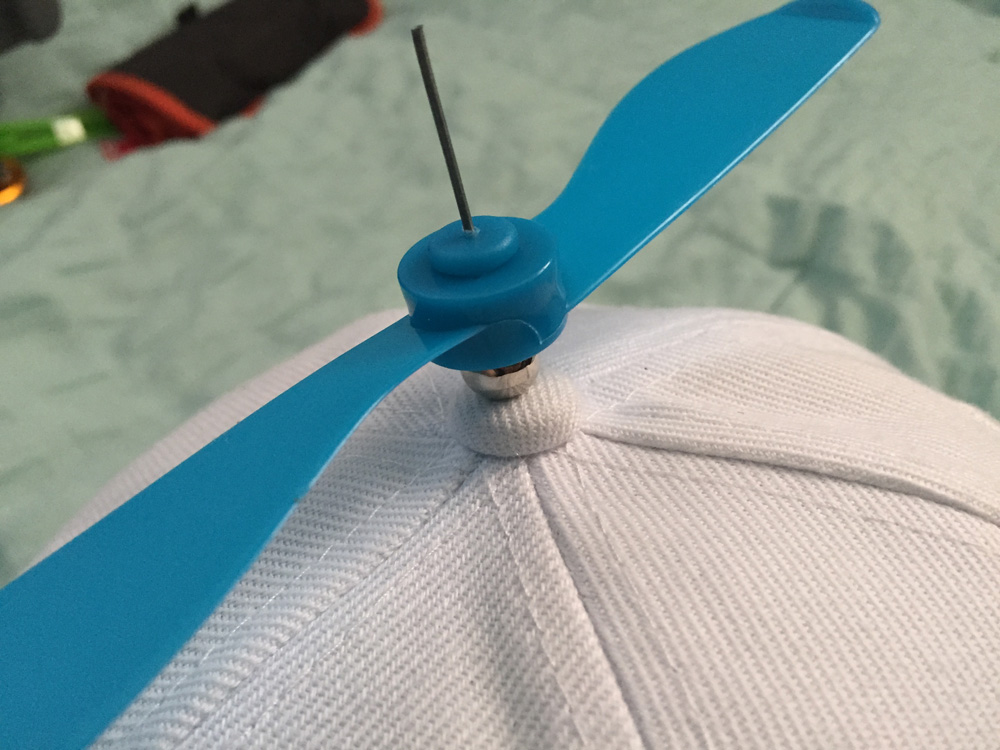
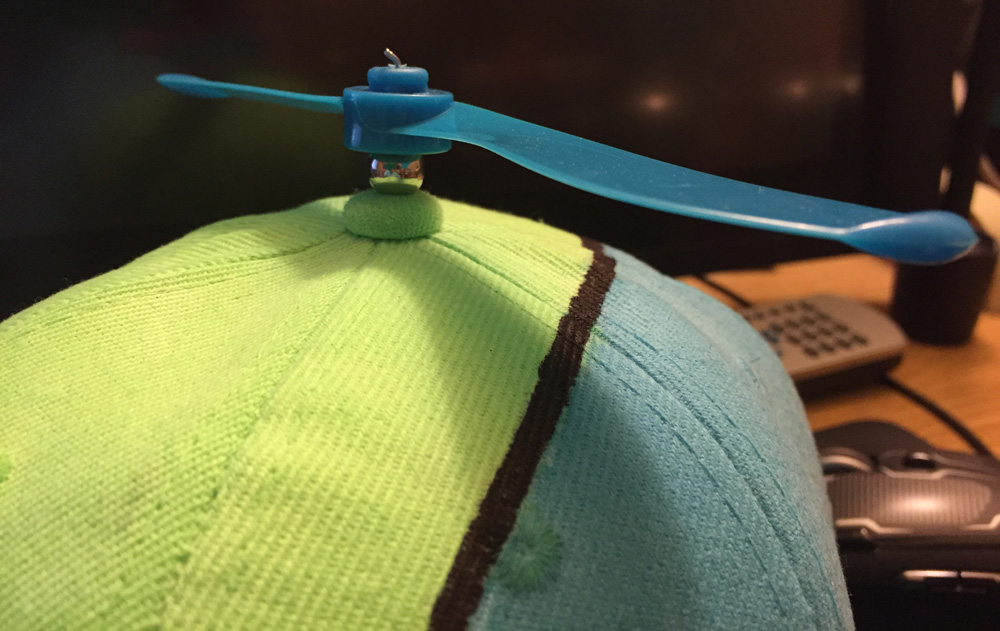
Because the square hole on the propeller wasn’t much use to me, I cut the stem and drilled a hole in the matching male square plastic bit. I stuck a paper clip through the hole in the hat, placed a metallic bead on the paper clip and slid the propeller on.
And here’s a close-up of the final mechanism:
At this point, my sock test had dried so I decided to remove the masking tape:
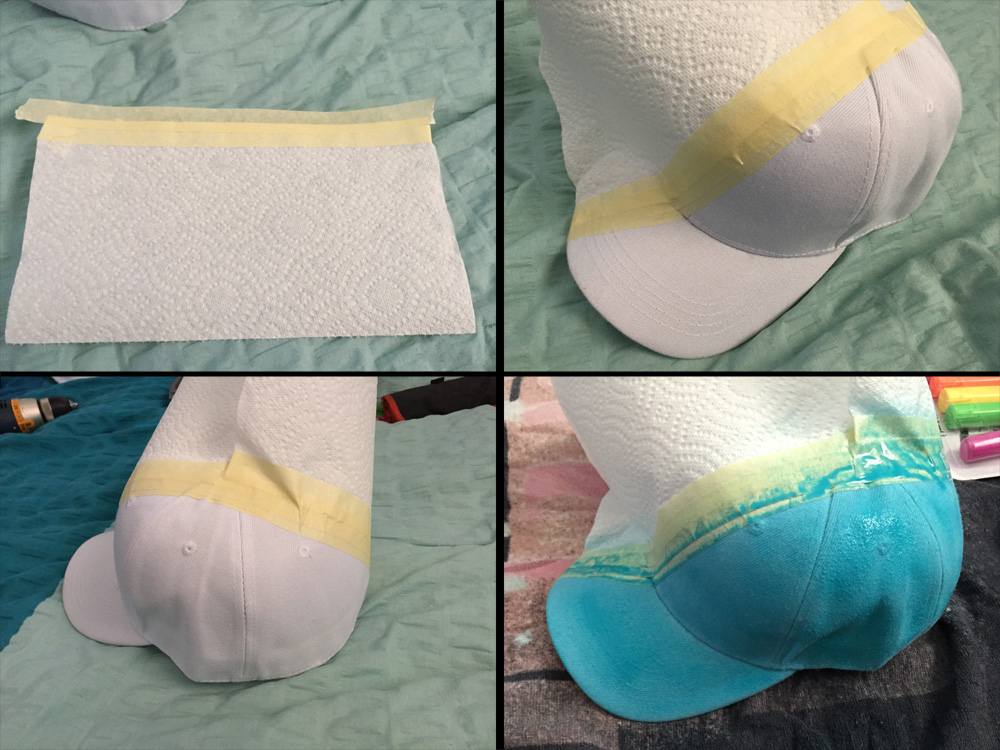
My initial impression was good – the edge was pretty sharp. The dye didn’t seem to run. The dye on top of the tape was still wet, and some of it leaked under leaving stripes – but that would be alright because I wasn’t going to be stacking tape like that on the hat. Instead, I took a single piece of tape and some paper-towels and made a large mask. I masked off half the hat and decided to spray some blue first:
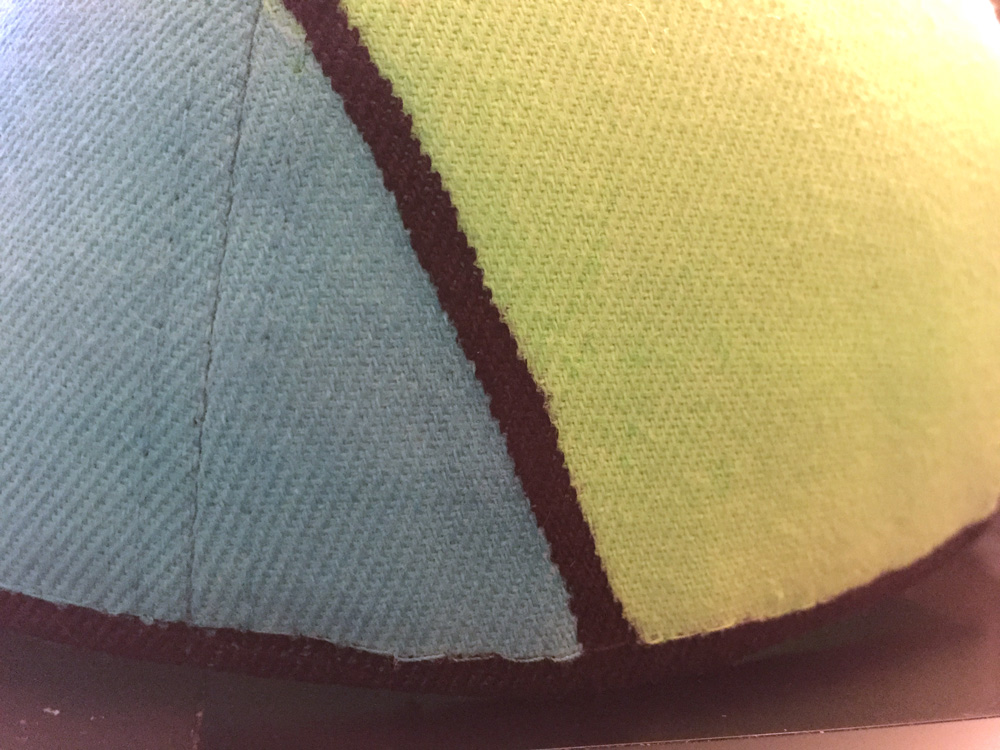
Unfortunately the hats material soaked up the dye more than the sock. There was lots of bleeding under the mask. Note that, the dye didn’t soak through the mask. It actually creeped under the mask through the material. Nothing I could have done about that.
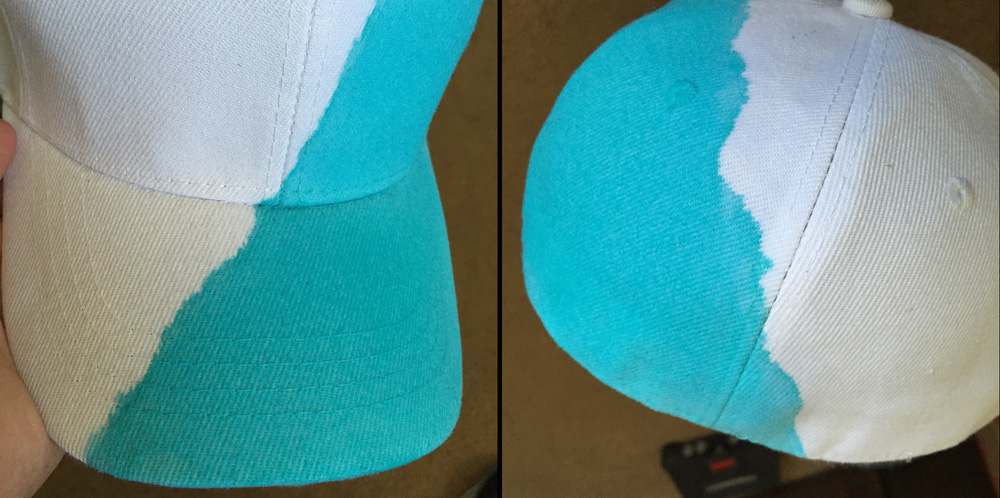
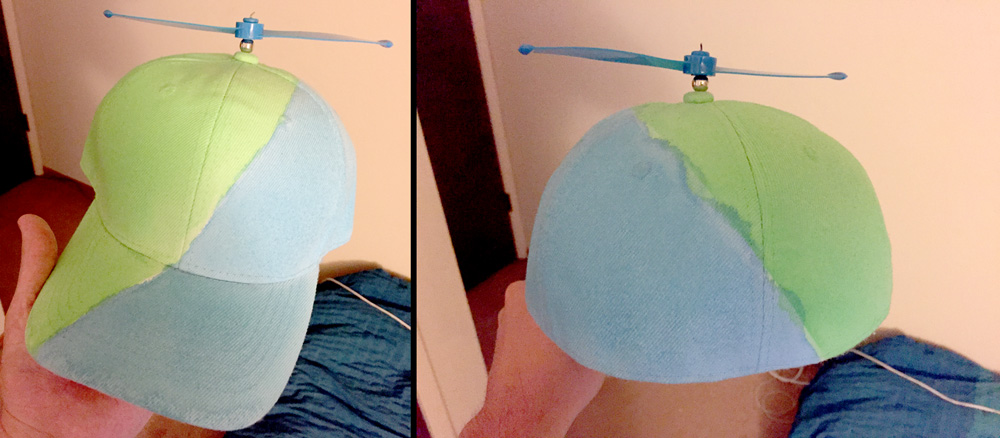
Well, this was my first try and I bought a couple hats in-case the first failed. I decided to keep going with the experiment. After dying both sides, the edge came out predictably horrible.
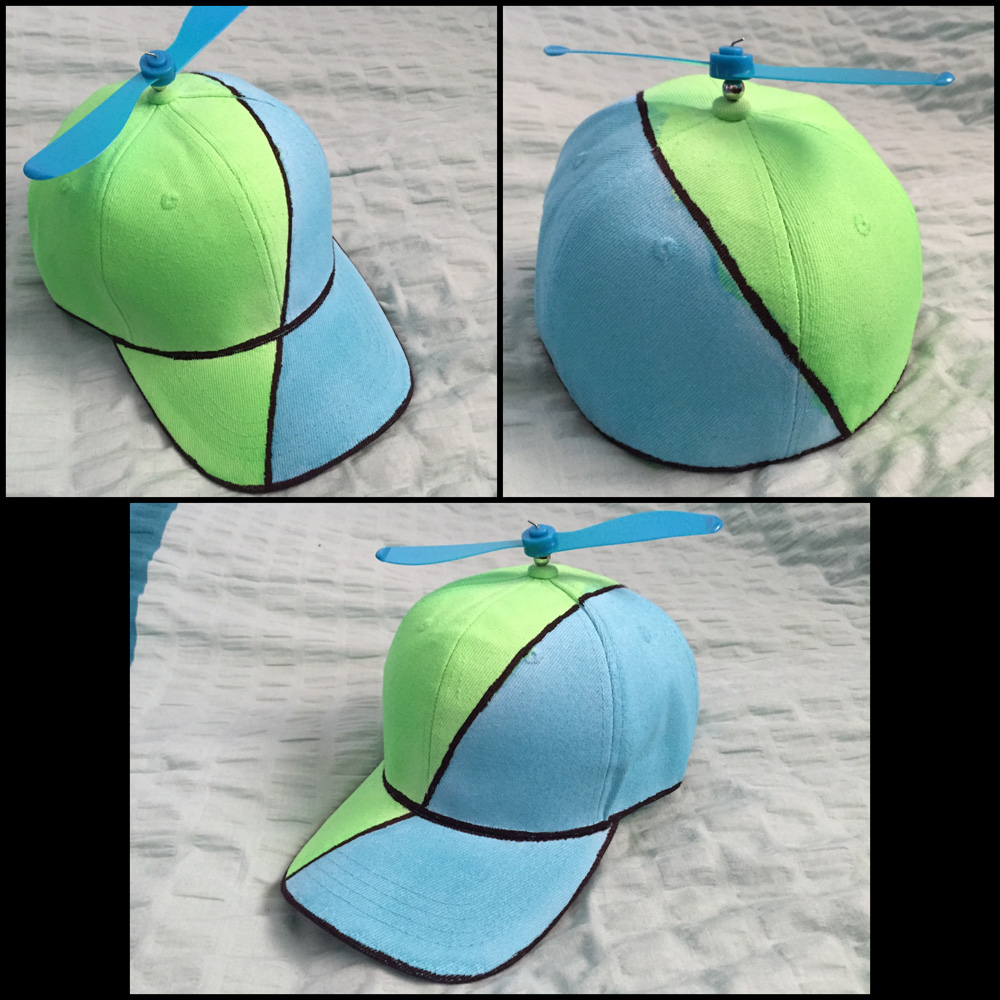
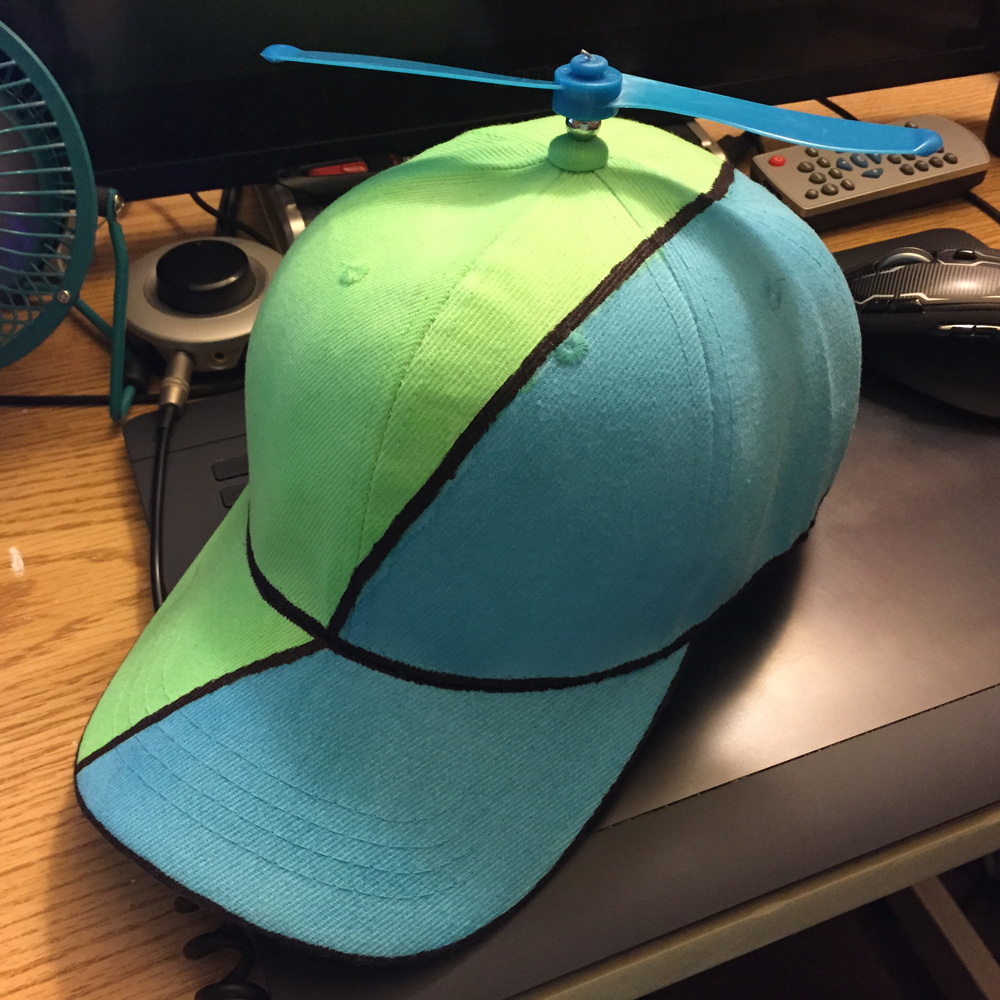
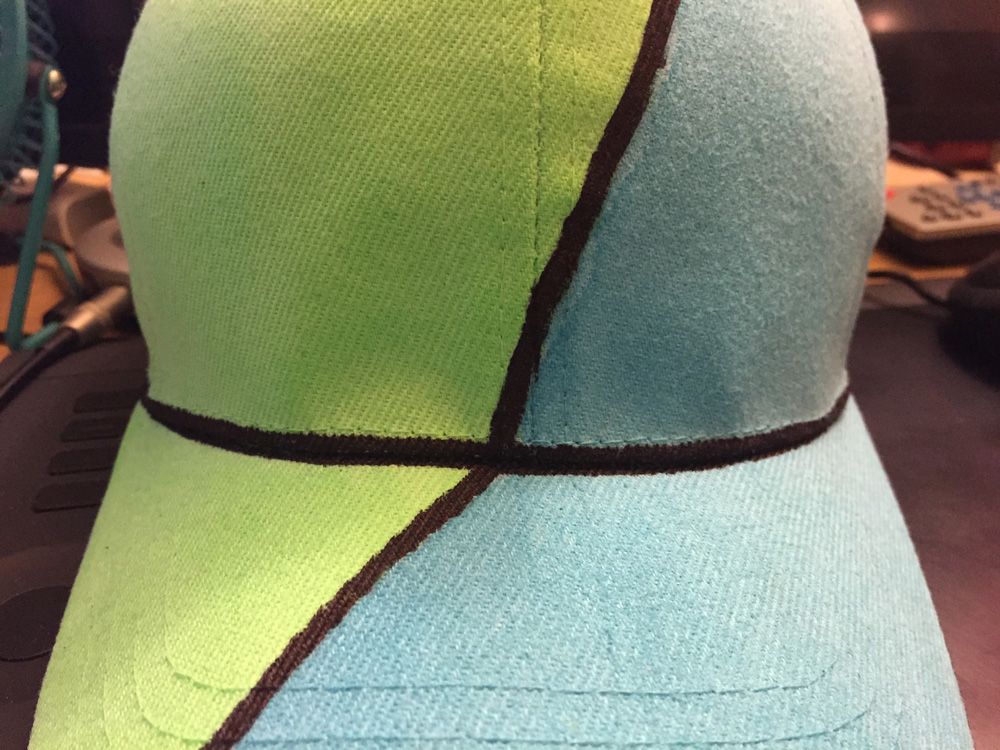
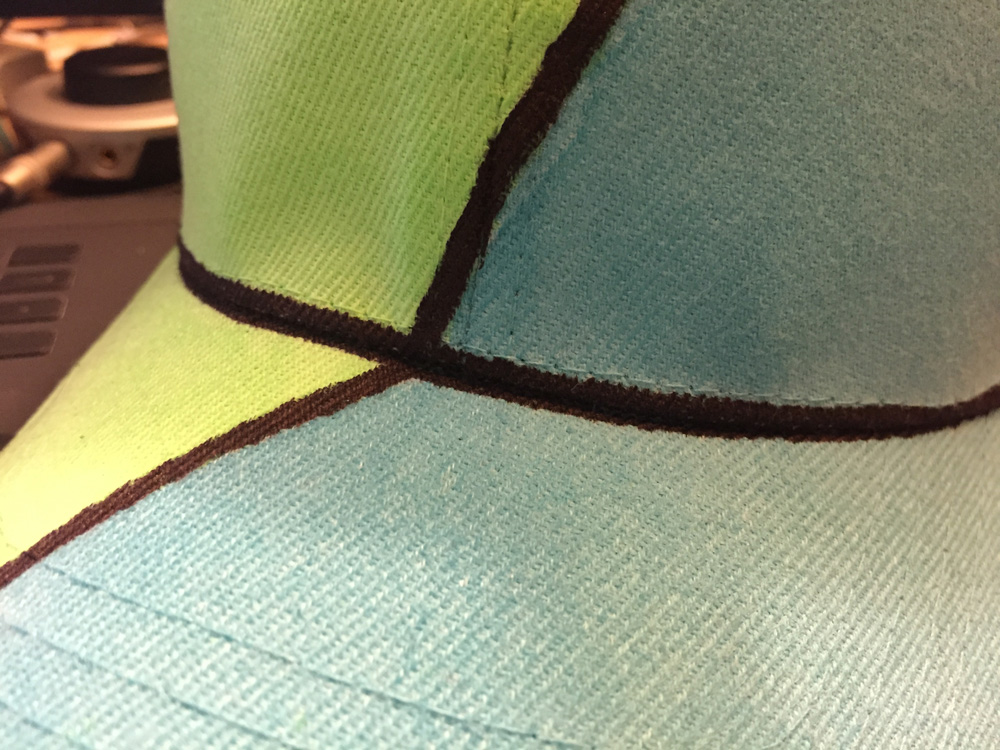
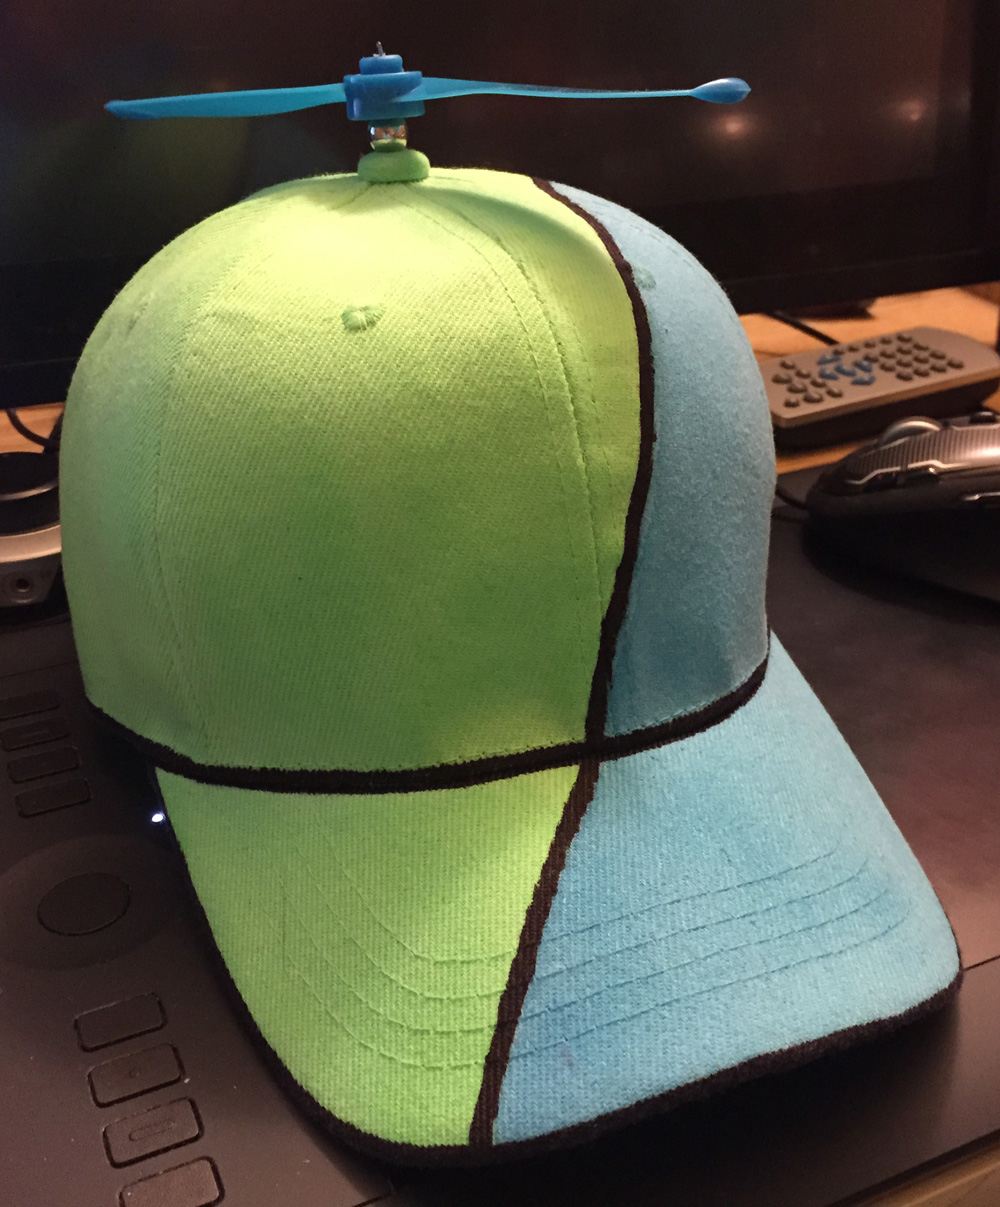
I was ready to shelve the project, when I got an idea at the last minute. I could cover up the ugly edge with a thick dividing line. With a black permanent marker I started filling in all the edges. The result looked pretty rad:
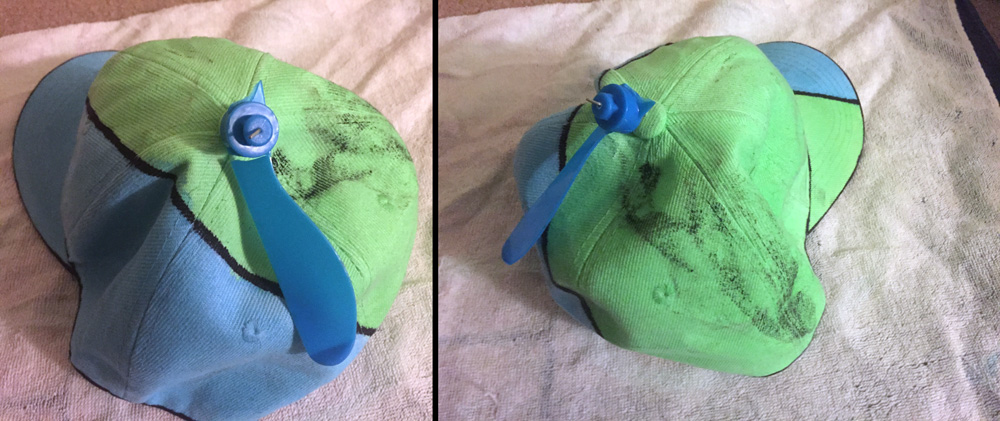
And then tragedy struck. I was spending the long weekend in SoCal crusin’ around in my friends convertible. The wind from the freeway picked the hat off my head, threw it behind the car, and it promptly got run over. We circled back so I could scoop up the road kill:
I was pretty disappointed – despite it’s flaws and cover up, I was proud of that hat. I liked it’s style. I decided my first task after getting home would be to build another. I was out of dye, so I went back to Micheals and got the bigger bottles this time. I also picked up a paint-brush. The spray mechanism was sloppy and gave the first hat an uneven coat of color. To compensate I ended up spraying more dye and ultimately wasting it. I decided to paint the dye on this time, I was hoping it would give me better edges too.
The edges still bled, but nowhere near as bad as the first time. But unlike the first time, I was absolutely planning on making some thick black lines from the get go. Interesting note: I bought some of the black “3d paint” or “dimensional paint” from Micheals to see if it would work well for the line work. When used as directed, it does stick up from the hat – like the cookie icing analogy. However, if applied with a paint-brush it will actually soak into the cloth and lay flat. Next time I might try painting with those paints, I feel like they would be stronger and have a better selection of colors. Anyway, the first hat getting crushed was a blessing in disguise. The second version of the hat came out better by every possible metric. The lines are stronger, and have a cleaner edge. The blue/green ink bled less, and a number of small imperfections I fixed on the latter version. Over all this was a fun project. I want to make another custom hat soon, and maybe try experimenting with other custom clothing as well.
September 14, 2015 at 4:29 pm | Other Projects
