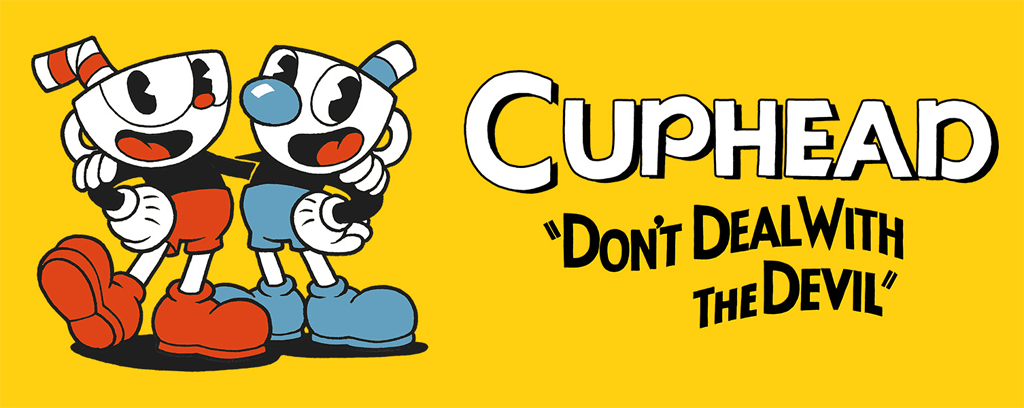
Usually I’m pretty lazy about Halloween, as I haven’t dressed up in years. But still being new to NYC I kinda wanted to go out this year and see everyone in costume. I had some friends going to the parade… so I had been musing on the idea of being Cuphead for Halloween this year. For those who don’t know, Cuphead is a new video game that just came out weeks ago. It took about 10 years for the indie devs to make. It features all traditional 1930’s style, cell-animation for all the characters and enemies in the game. It has a unique aesthetic unlike any other game. The titular character, Cuphead, is the red guy on the left below:
Here is the official trailer for the game… those animations tho:
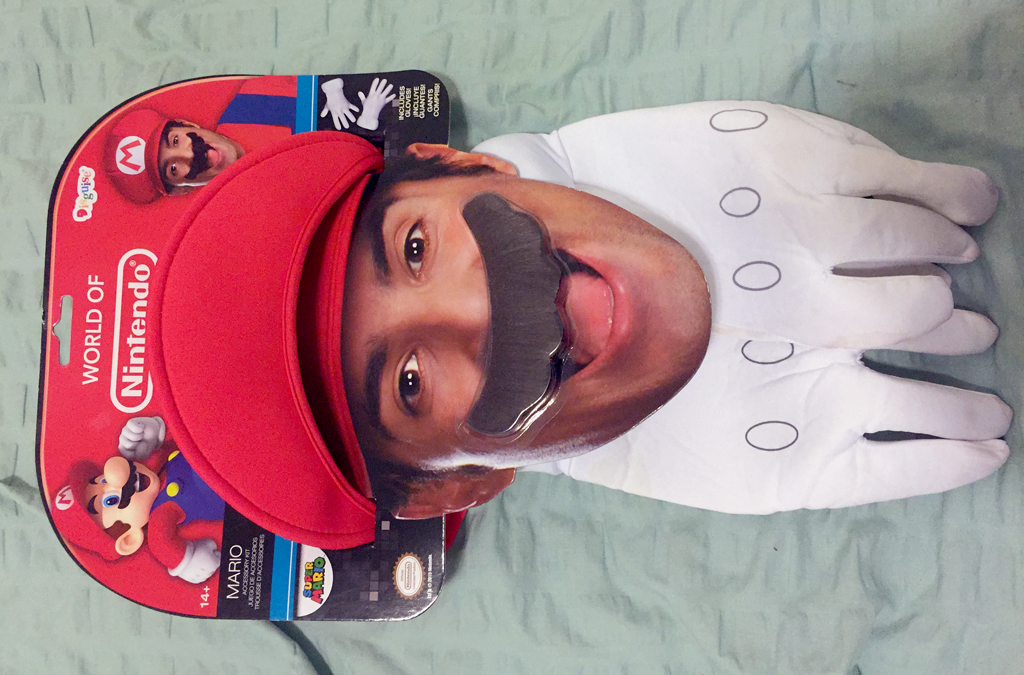
I still wasn’t sure I wanted to do anything, but my roommate needed to go to the Spirit Halloween pop-up store to get some accessories for his cowboy sheriff costume. I tagged along, and after waiting in line for 30 minutes like the last-minute schmucks we are, we finally got inside. I found a Mario costume that had some cartoon-style gloves similar to Cuphead. I decided to grab this set just for the gloves… now I was committed, I spent money so I gotta build something…
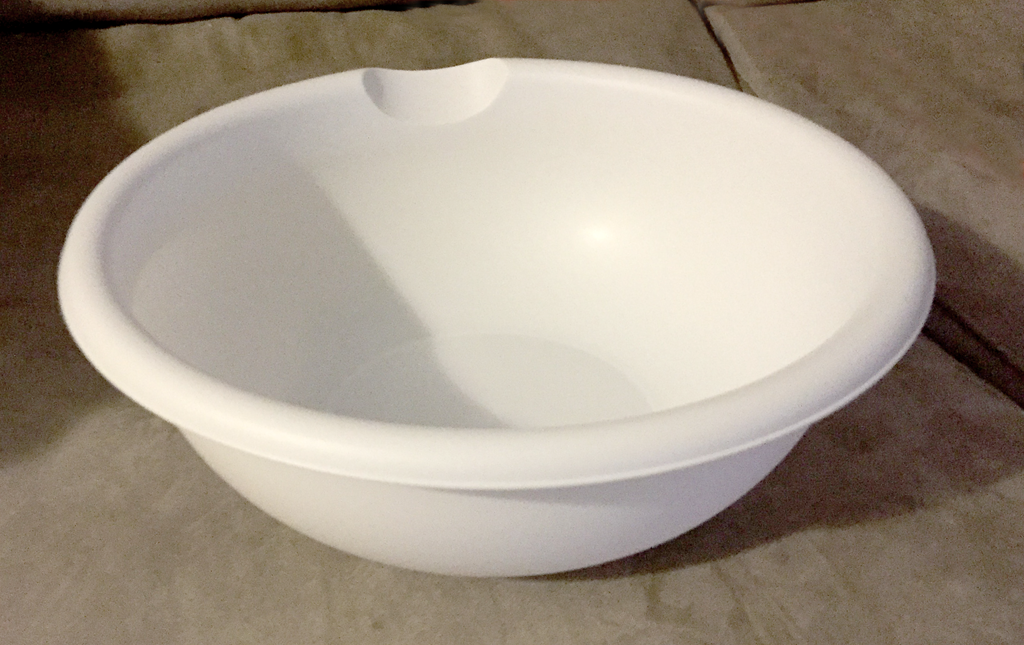
On the way home I stopped by a dollar store near the subway exit. I shopped around for a large white bowl that wasn’t too heavy and seemed easy to cut. I settled on this:
At this point I had a rough idea of what I wanted to accomplish: cut this bowl up for the bottom, leaving room for my neck and mouth. Then build a cylinder out of poster-board paper to act as the walls of the cup. I could also build the straw out of poster-board as well. I already had red and white paint, so it was time to get working. I spent the next four hours working on-the-fly without much of a plan, other than the aforementioned idea in my head. What follows is a description of my thought process while making decisions as I went.
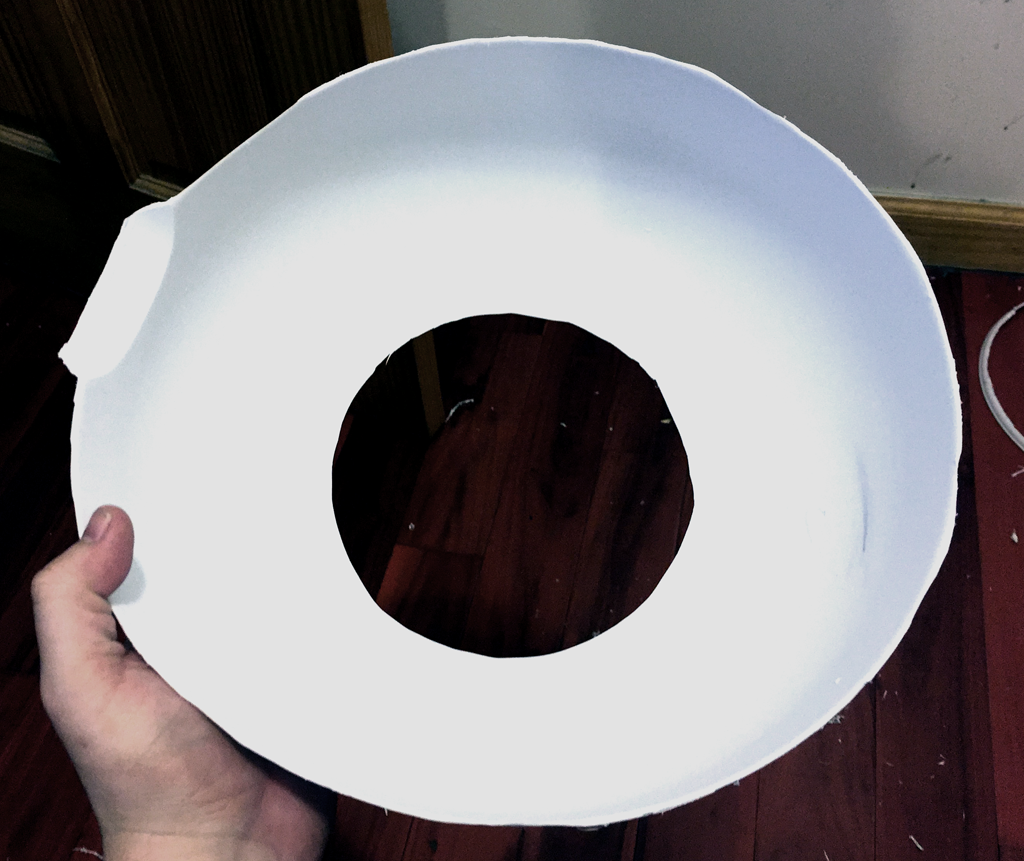
I started by cutting the curved rim and bottom off the bowl, using my Dremel tool and plastic cutting accessory.
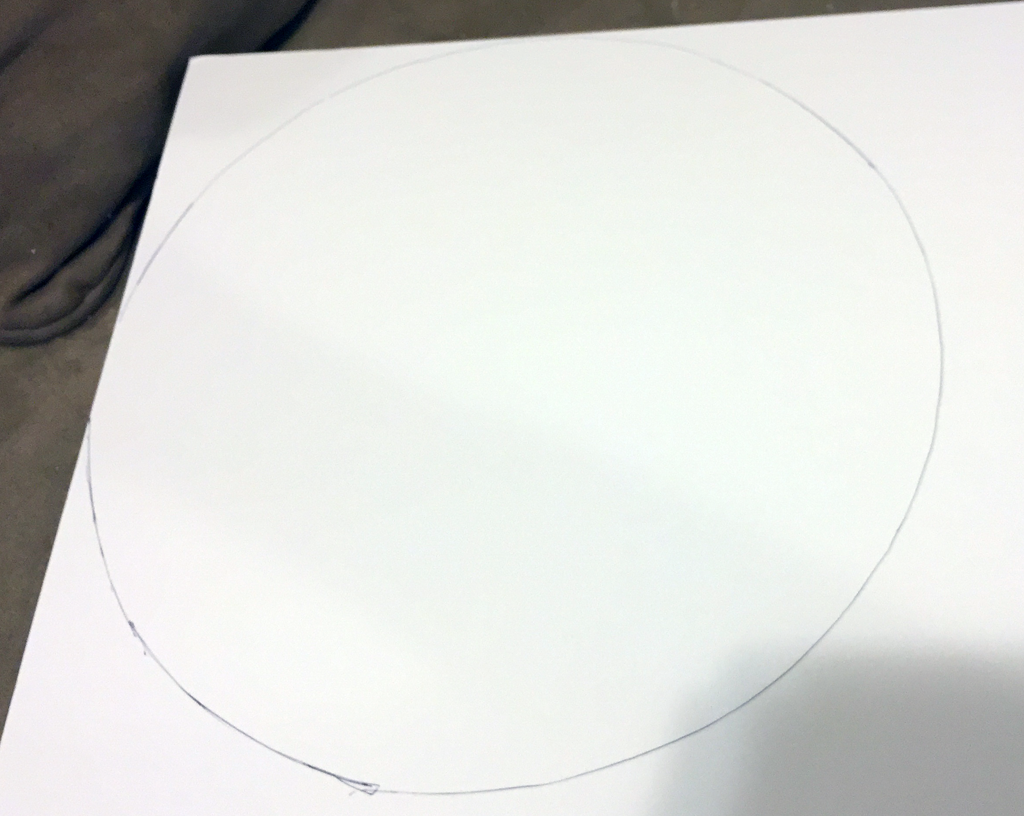
I then used the bowl to trace a circle on some foam-core board and cut out a couple perfectly sized circles:
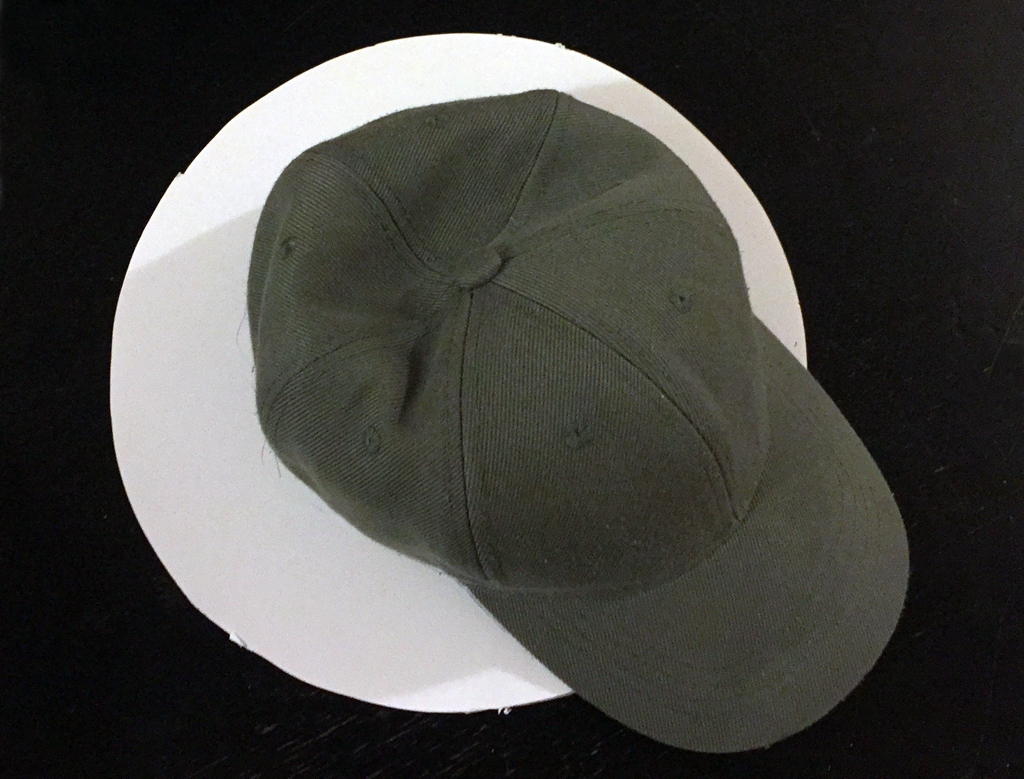
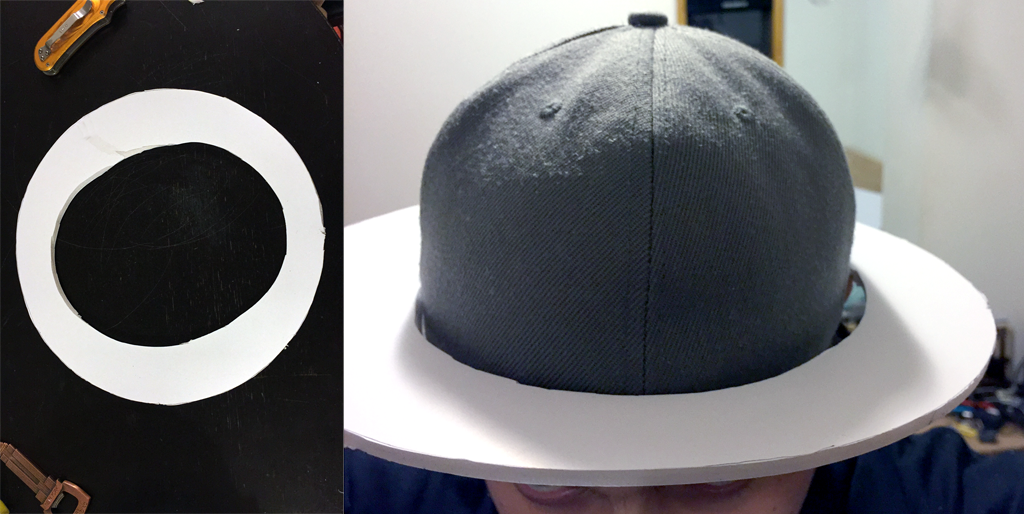
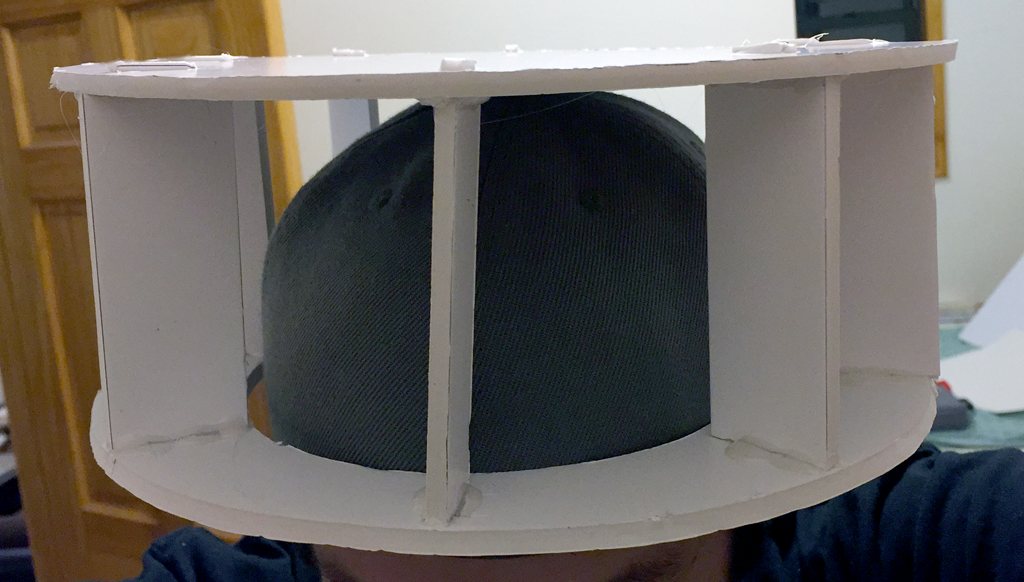
The top circle would remain solid and become the top of the cup. The bottom circle needed a hole roughly the size of my head. I always wear fitted-hats, so I knew tracing one of my hats would be a good approximation of my head size:
I cut out an oval and it fit perfectly over my hat. It looked kinda like a pith helmet:
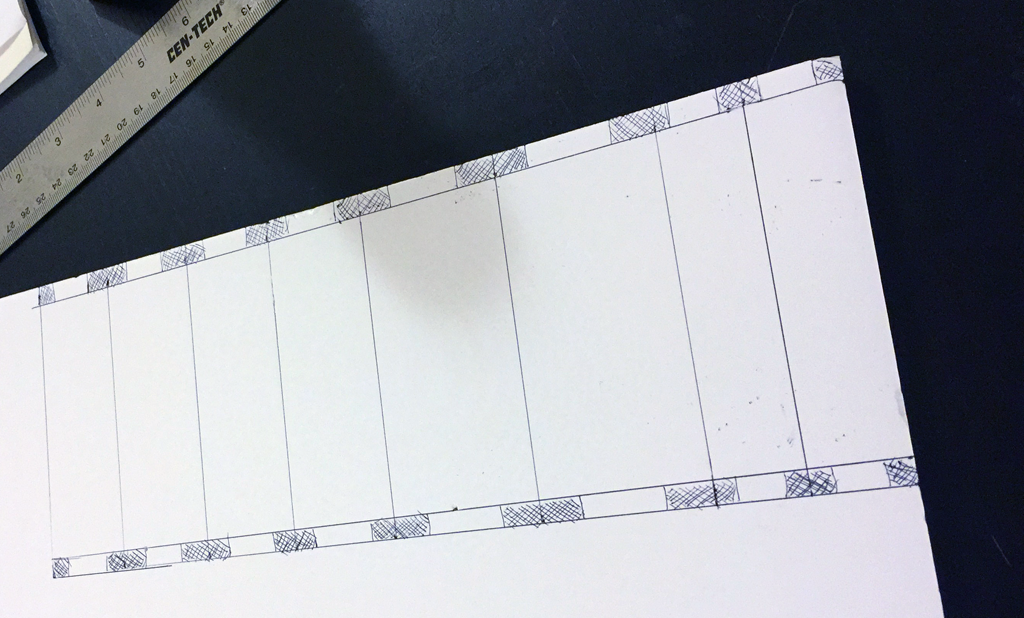
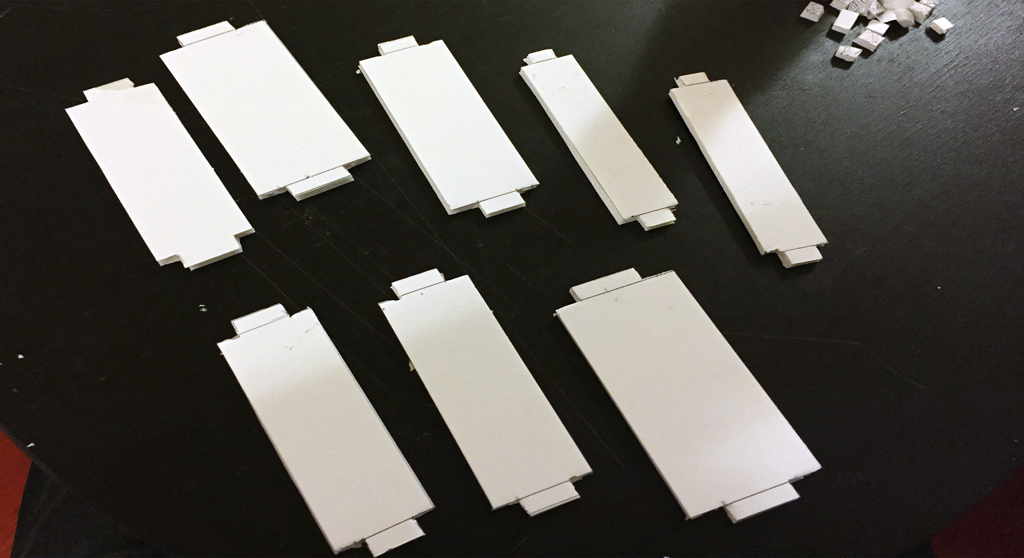
The next step was to make some vertical supports to connect the bottom circle to the top solid circle. I’m not sure where I had seen this construction technique originally, but I remember using it for decades… I drew 8 strips roughly in the widths of the head-cutout circle around the perimeter. I drew notches on the bottom of each support that I would later cut matching holes for.
And the supports all cut out:
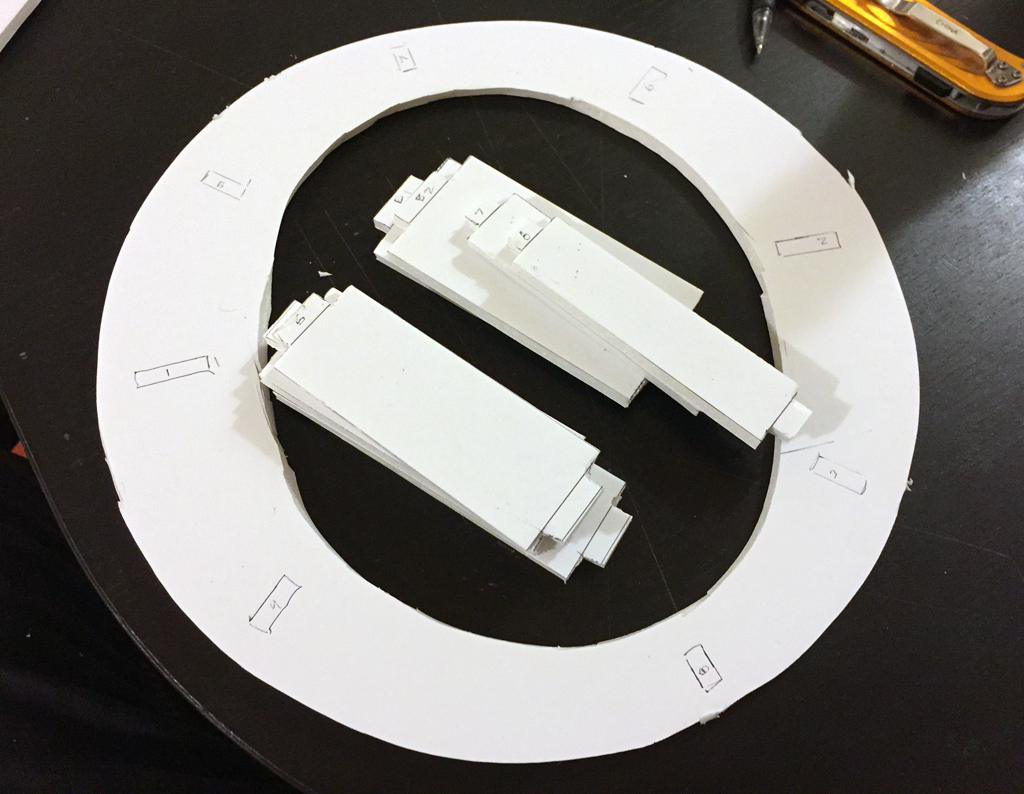
The notches weren’t measured precisely, but that’s okay because I knew in the next step I would cut custom holes for them anyway. I lined up the supports so their edges matched the edge of the circle, and drew notches for them. I numbered and labeled them as I went so I wouldn’t forget which supports went where.
The next step was to cut the notches and cover the supports in hot glue. They fit in snugly and were incredibly rigid. I was happy with this choice, because I wanted this costume to have good structural integrity.
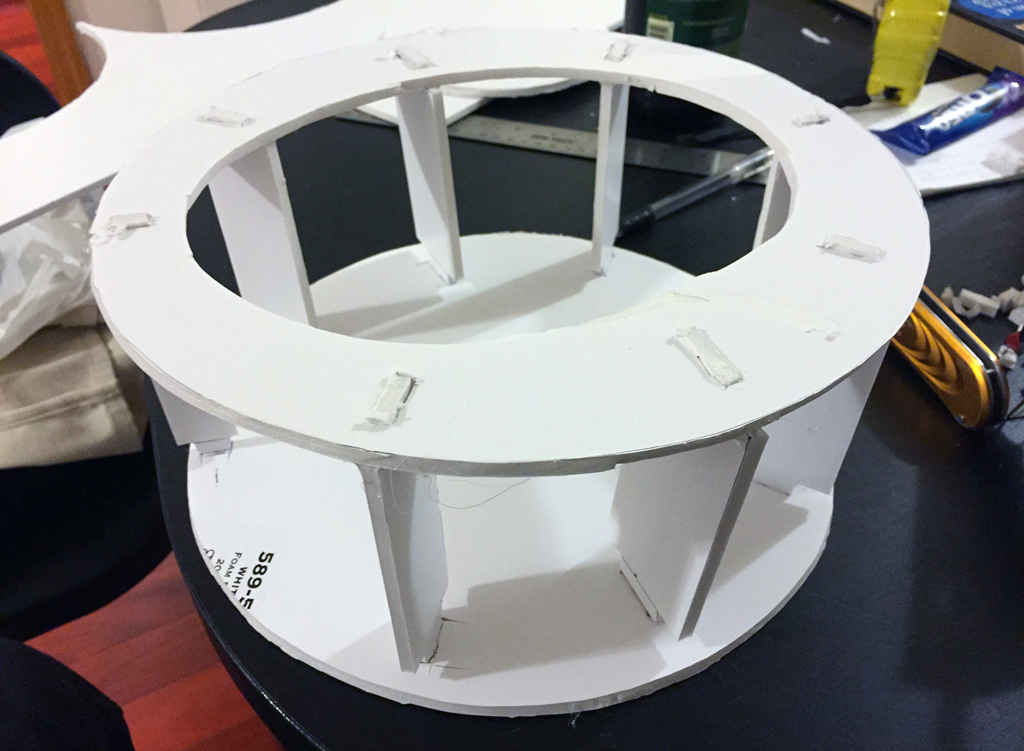
Next I flipped the assembly upside down and traced matching holes on the top-circle.
All hot glued together, I had a perfect size foam-core cage that both fit my head and matched the diameter of the bowl I would eventually use for the bottom of the cup.
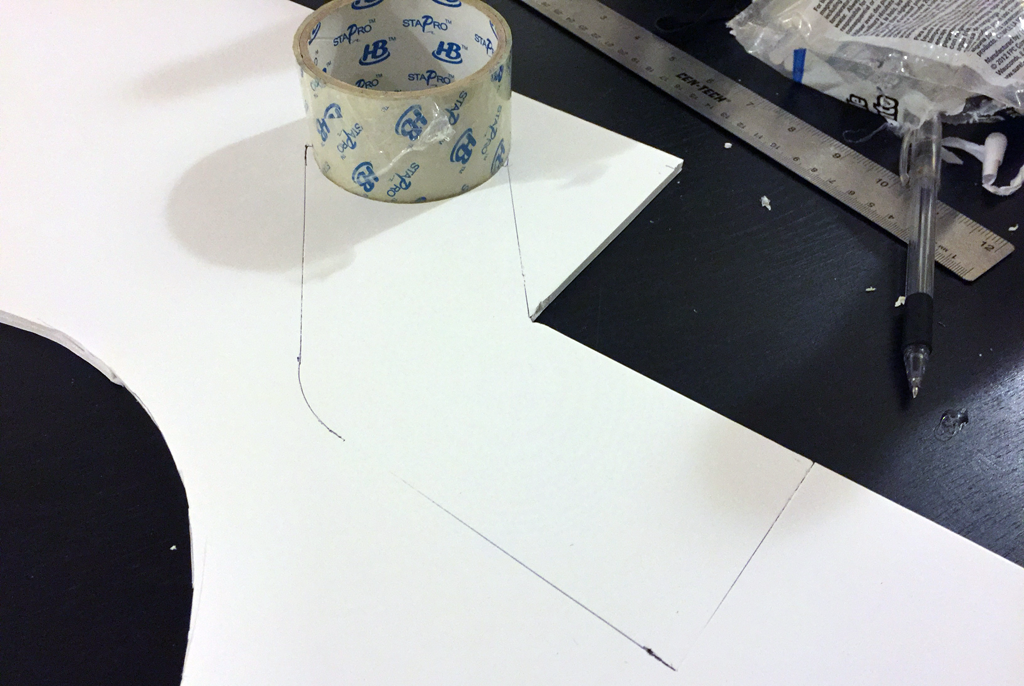
My next challenge was the straw. I looked around for something that had a suitable diameter for the straw and decided on this roll of tape. I used the tape to make a pattern for the inside of the straw, complete with attachment-notches at the bottom.
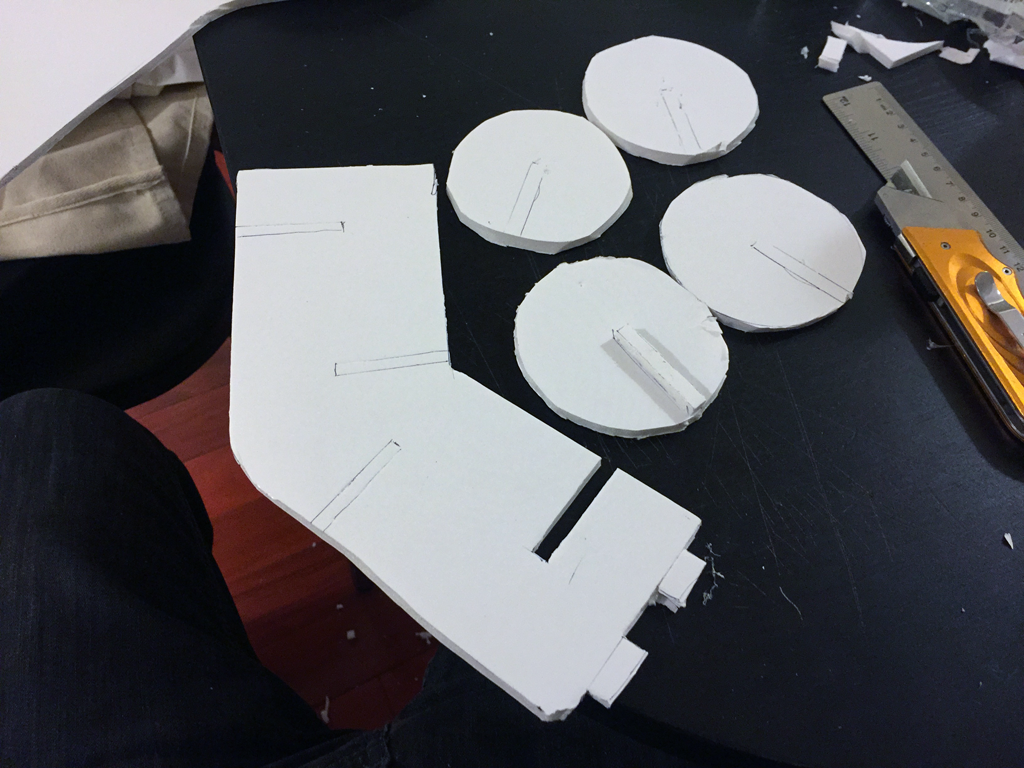
I used the tape-roll to cut out four same-sized circles, and then drew some notches where I’d like them, at half-diameter. I used one of the cut-out notches to trace notch patterns on each of the four circles:
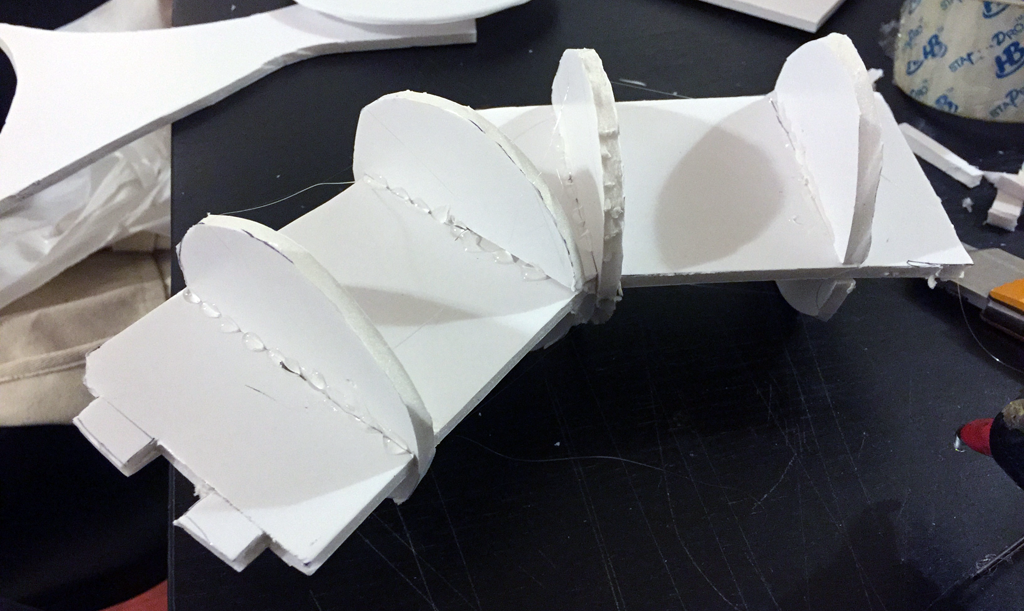
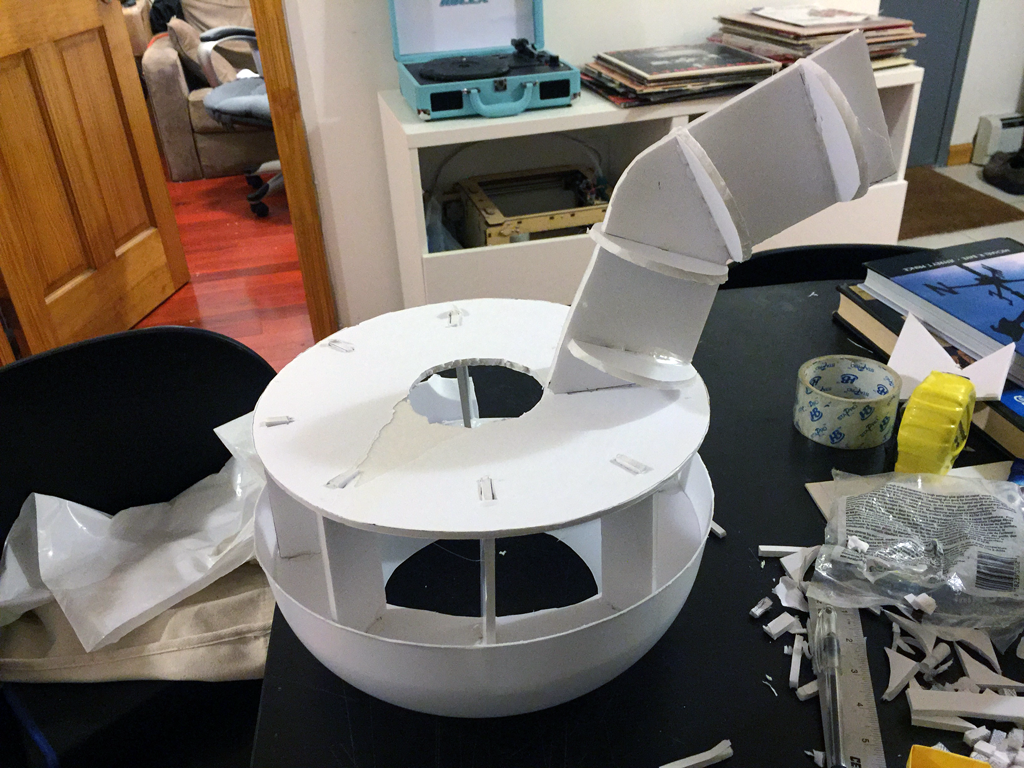
After cutting everything out, and smothering it in hot glue, the straw assembly looked like this:
I decided I wanted to change the angle of ascent as the straw exited the cup – so I quickly re-drew the pattern of notches as so:
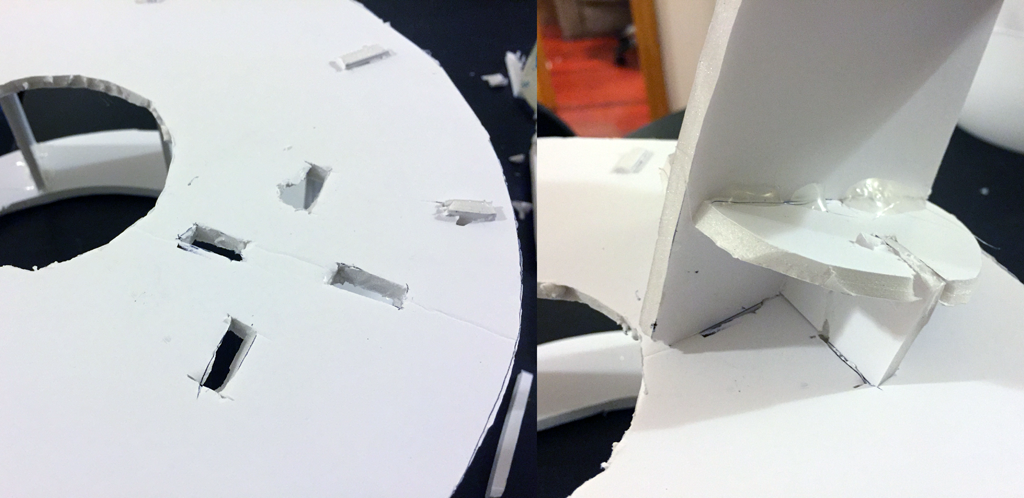
After cutting out, I made matching holes in the top of the cup-head. Also, I cut a small circle out of the top of the cup for the top of my head to rest into. I was going to put another layer on top later, so the hole wouldn’t be visible in the final product:
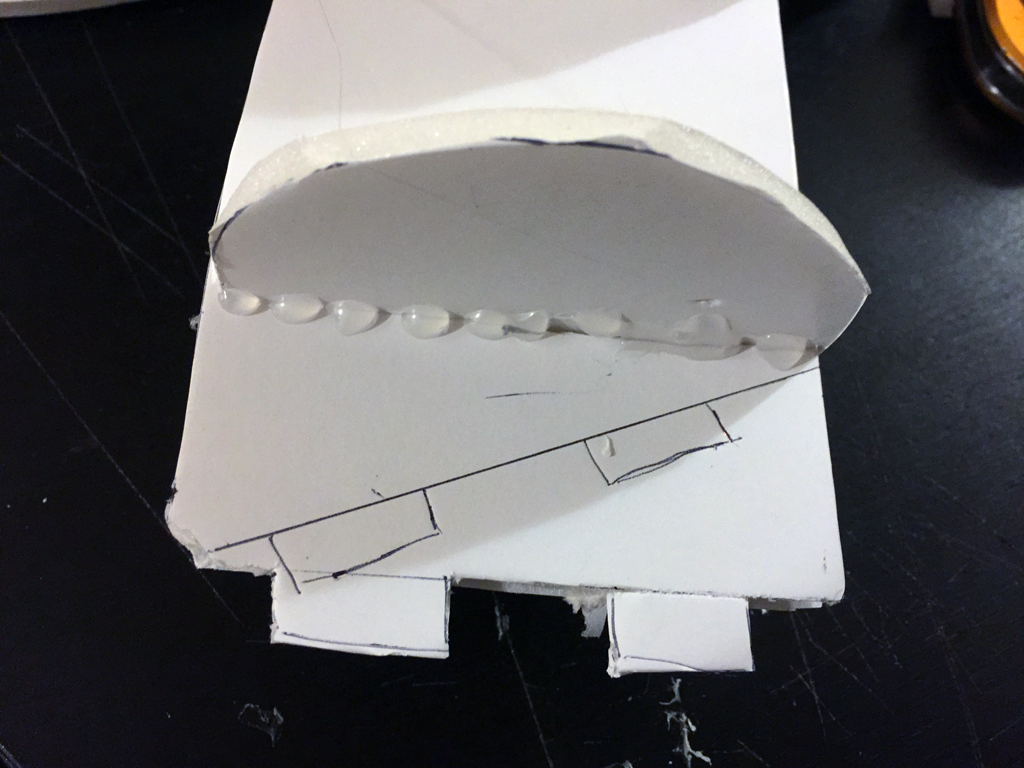
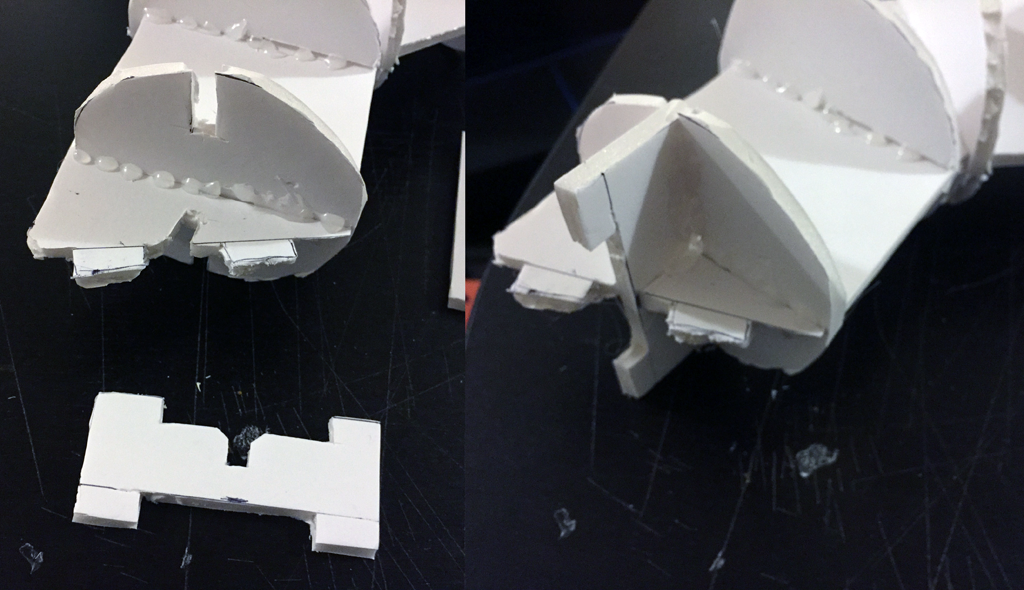
I wanted the straw joinery to be super-sturdy, so I knew two notches on one axis was not enough. Using on-the-fly measurements I crafted a separate brace I could use to make two more notches at 90 degrees:
I cut the final pattern for the straw and test fit it in the cup:
So far so good.
The next bit was tricky, and unfortunately I didn’t take too many pics during the process. I had to make strips of paper to wrap around the straw skeleton. I knew the radius and I found the circumference with π*Diameter. (yay, math!) I cut strips of poster board as wide as the circumference so they would wrap around and match edges perfectly at the seam. I taped them on the inside since I didn’t want any visible tape or joinery work anywhere.
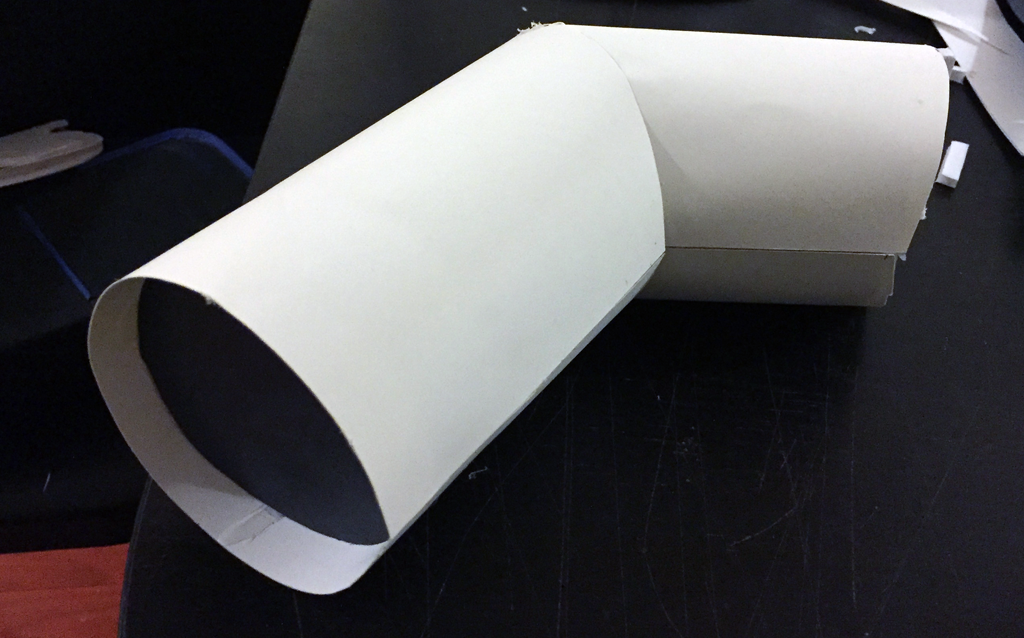
Next was getting the angle right. I’m sure I could have mathematically solved the pattern to draw, but I didn’t have a protractor anything to measure my impromptu angle with, so I eyeballed it. I slid one tube on, trimmed it on the fly, then slid another tube on the other half of the bent straw. I trimmed, removed, trimmed more, reattached, and repeated this process until I had roughly deduced the curve that needed to be cut.
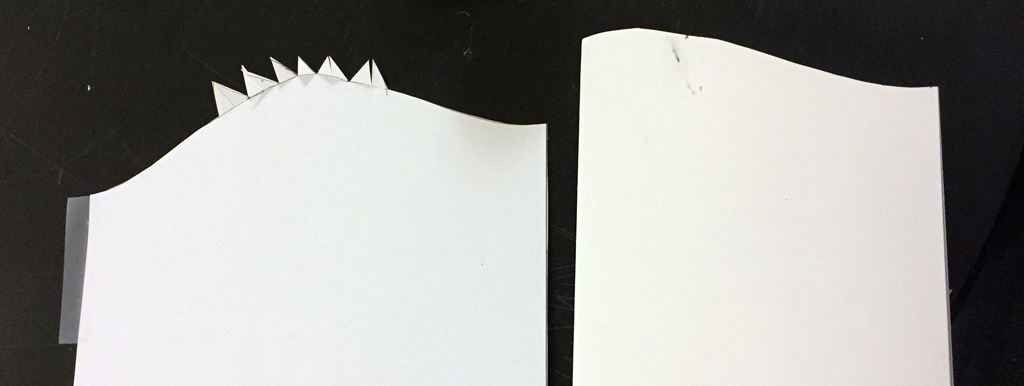
Using a fresh tube I traced and cut out exactly that pattern. I put some triangle tabs on the top to tuck under the other tube and provide a place to glue.
I slid the tubes on the assembly and used the roll of tape to cut out a circle of black construction paper to hide the inside of the straw assembly. All done, the straw looked like this, before paint:
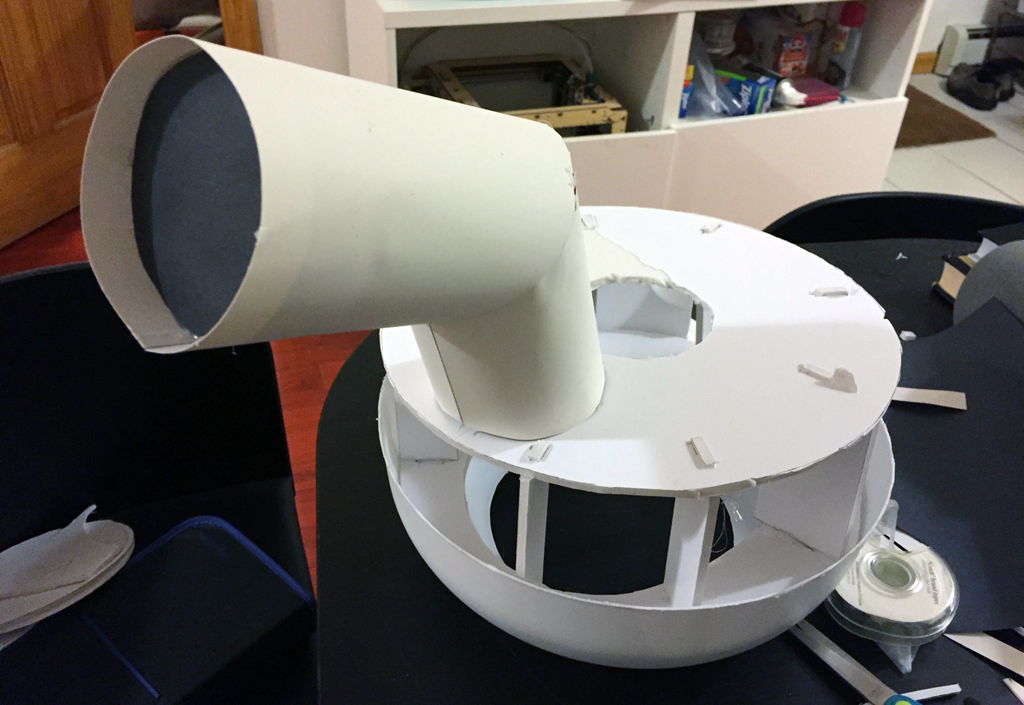
And it looked pretty sharp when mounted to the cup skeleton:
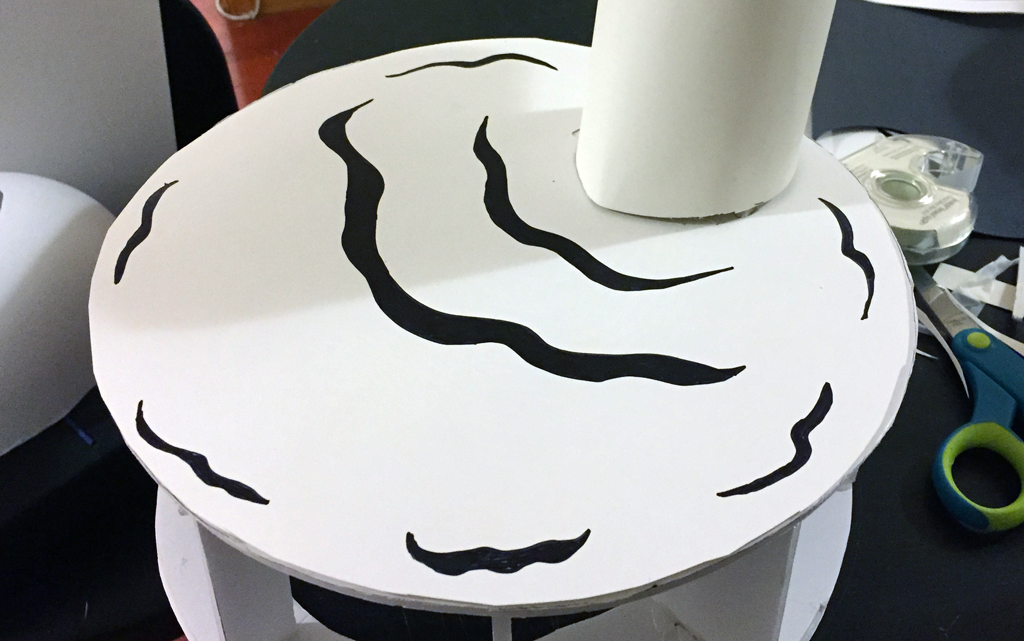
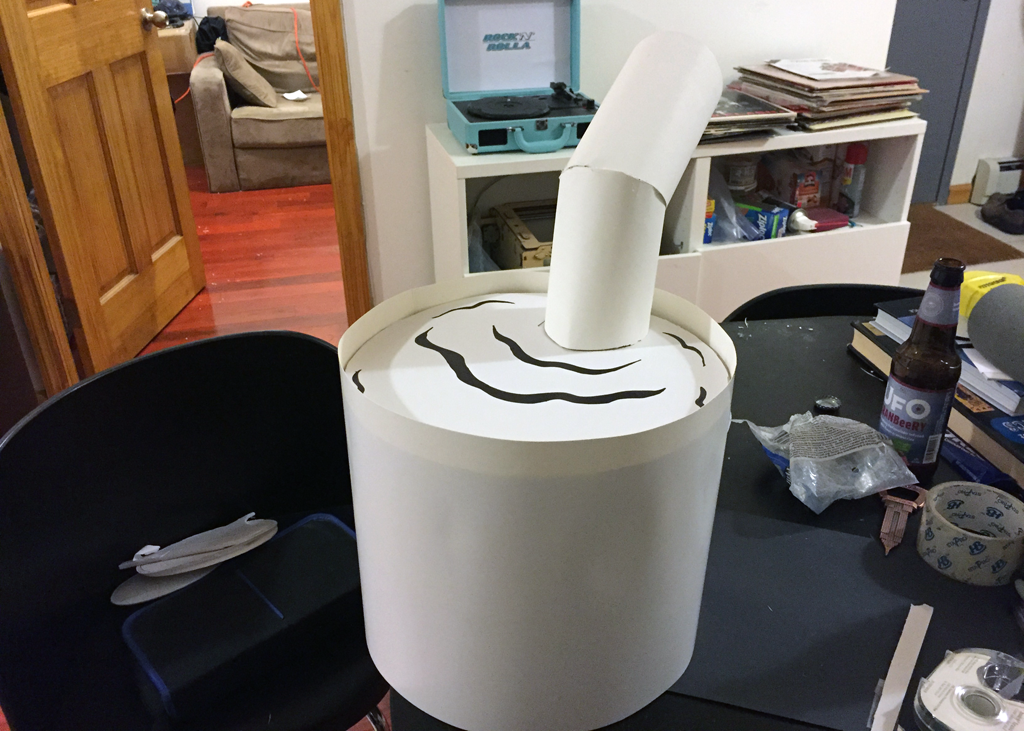
I used the bowl to trace a circle of poster board and cut the appropriate notch holes for the straw mount assembly. I used black sharpie to draw the liquid ripples Cuphead has. This top-layer hid all the joinery and gave the top of the cup a finished surface.
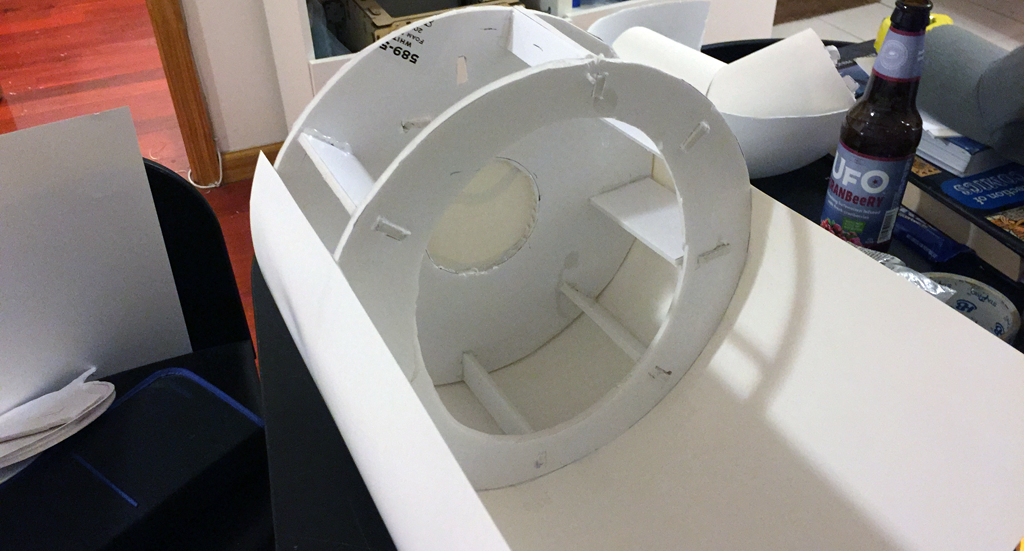
Next was to wrap the cup skeleton in poster board. I didn’t have poster board pieces wide enough to wrap the entire circumference of the head, so I had to use two pieces.
The first one used the entire width, and I calculated the remaining space to fit for the second:
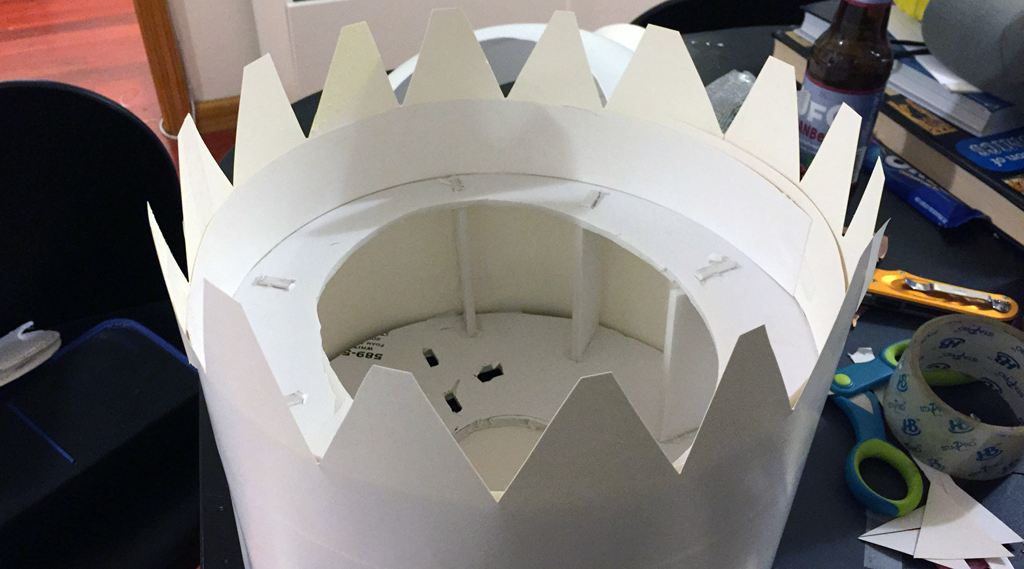
Now it was time to figure out how to attach the bowl on the bottom. I cut a bunch of triangle tabs out of the head’s walls, since these would be able to be curved and glued to the inside of the bowl:
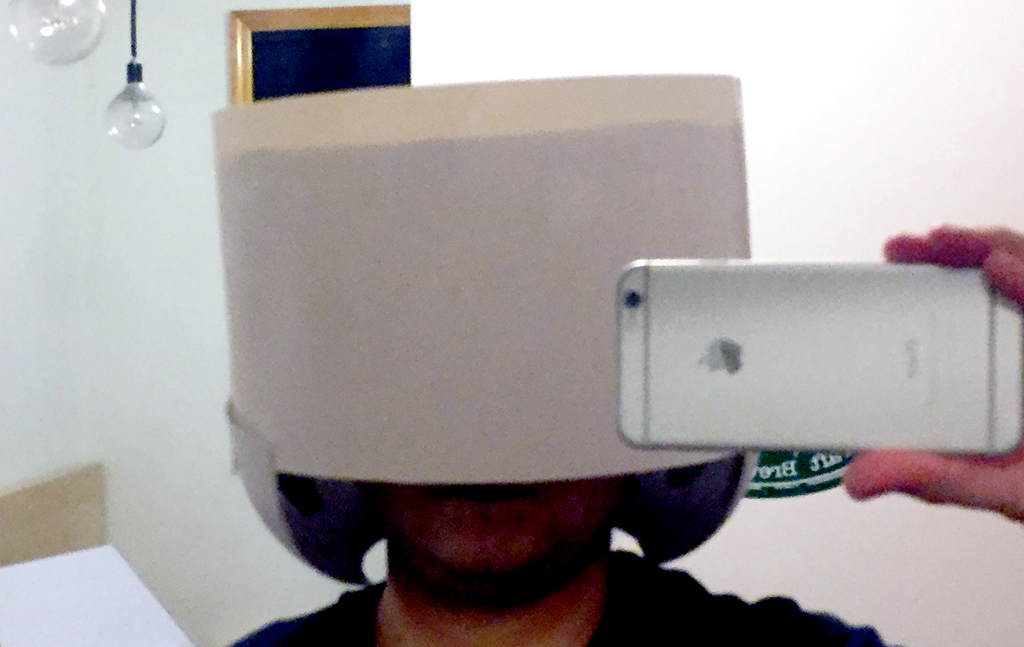
I taped the triangles on to the bowl to do a quick test-fit to make sure the bowl and head would fit me well before gluing everything down:
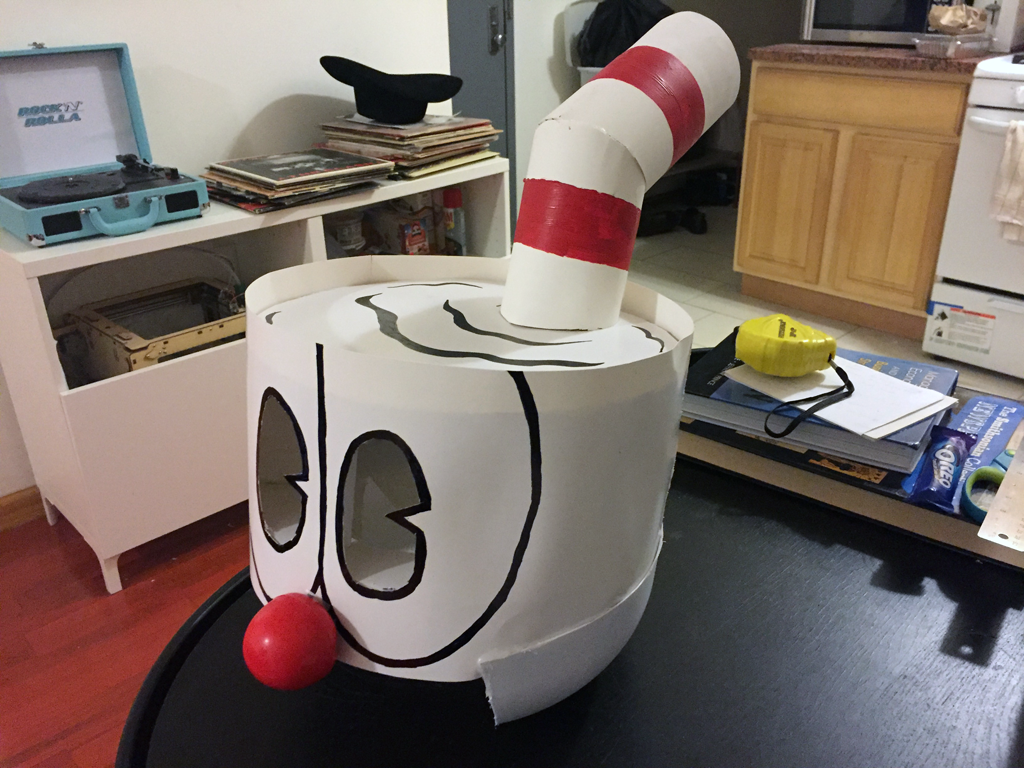
I didn’t take any pictures of the next steps as I was in the zone and kinda rushed – it was almost time to go out. I glued the bowl to the triangle flaps and test fit the costume. I held a sharpie under the mask and with one eye closed at a time, determined the centers of my eyes. I used these marks to decide where I wanted the classic cartoon “pacman” style eyes to be cut. I penciled them in and started cutting.
Once I had eye holes, I drew on the eye outlines, and painted the red stripes on the straw.
For the nose, I had previously purchased a charity red-nose from Duane Reed (Wallgreens) a couple years ago. I knew it would be the perfect nose – so a little hot glue and I had a nice shiny red nose.
The costume was now almost complete. From the front:
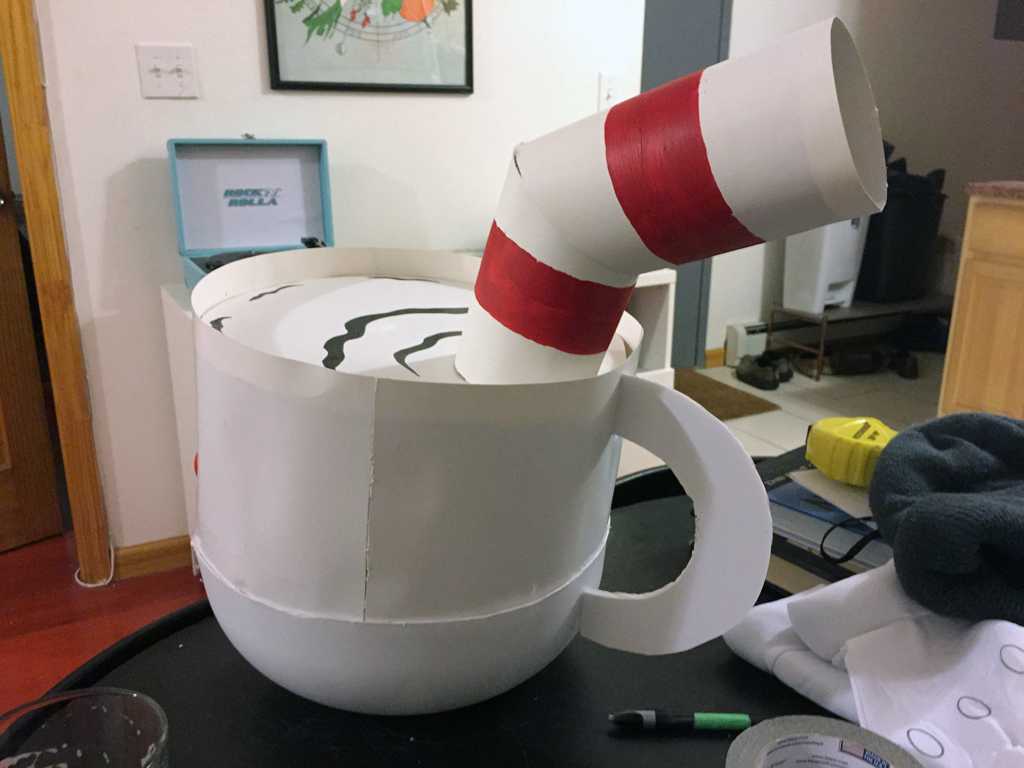
I realized I had forgotten a cup-handle. If I had more time I would have experimented with making a 3D cylindrical one. But I settled for a 2d handle cut from foam-core. The head-assembly was now complete! From the back:
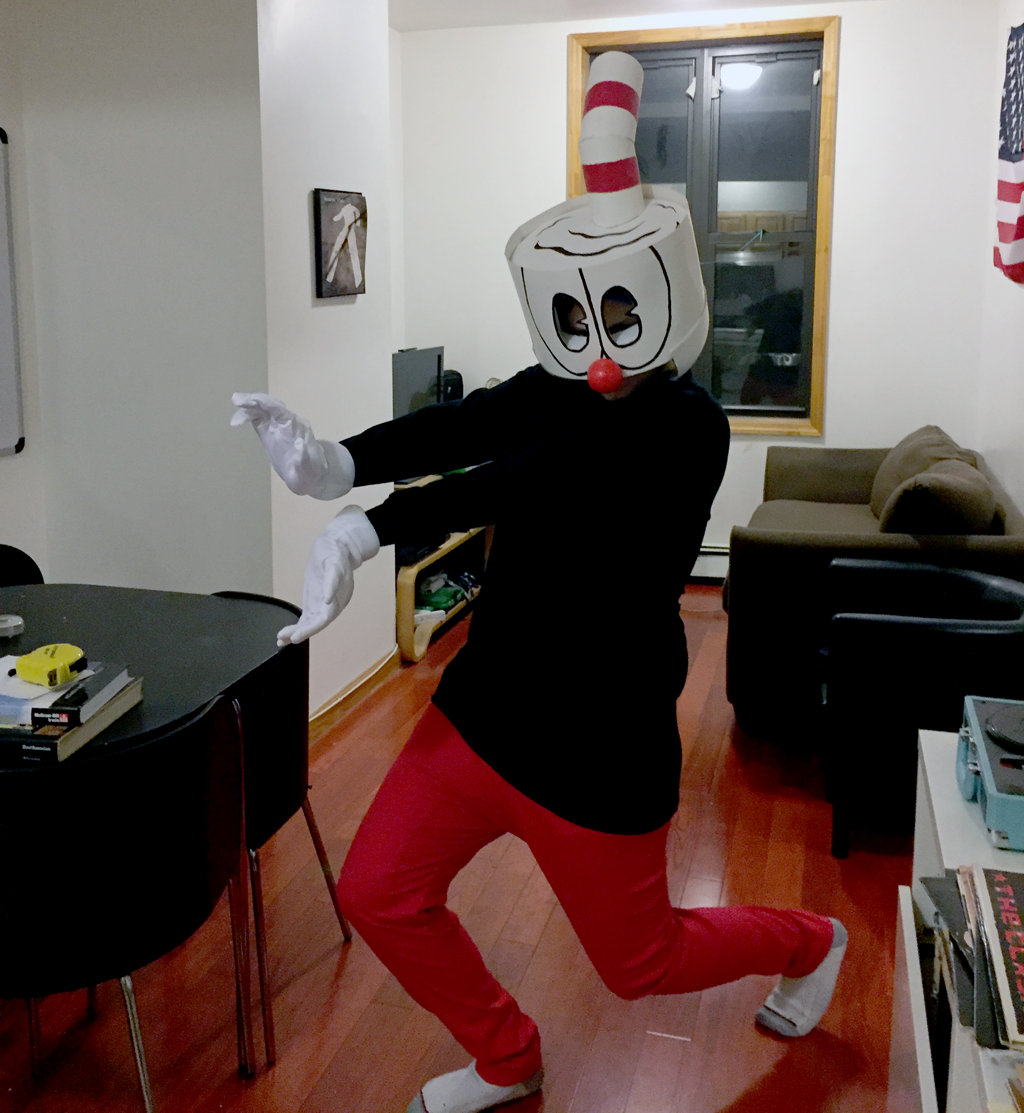
I quickly ran to Telco, a local NYC discount clothing store near my house. I needed some bright red pants, so I grabbed a couple pairs. I didn’t even bother test fitting them, as I would later return the ones I liked less (or didn’t fit!). I also grabbed a black long sleeve shirt in my size. It was done. The final head-assembly, shirt, pants, and gloves.
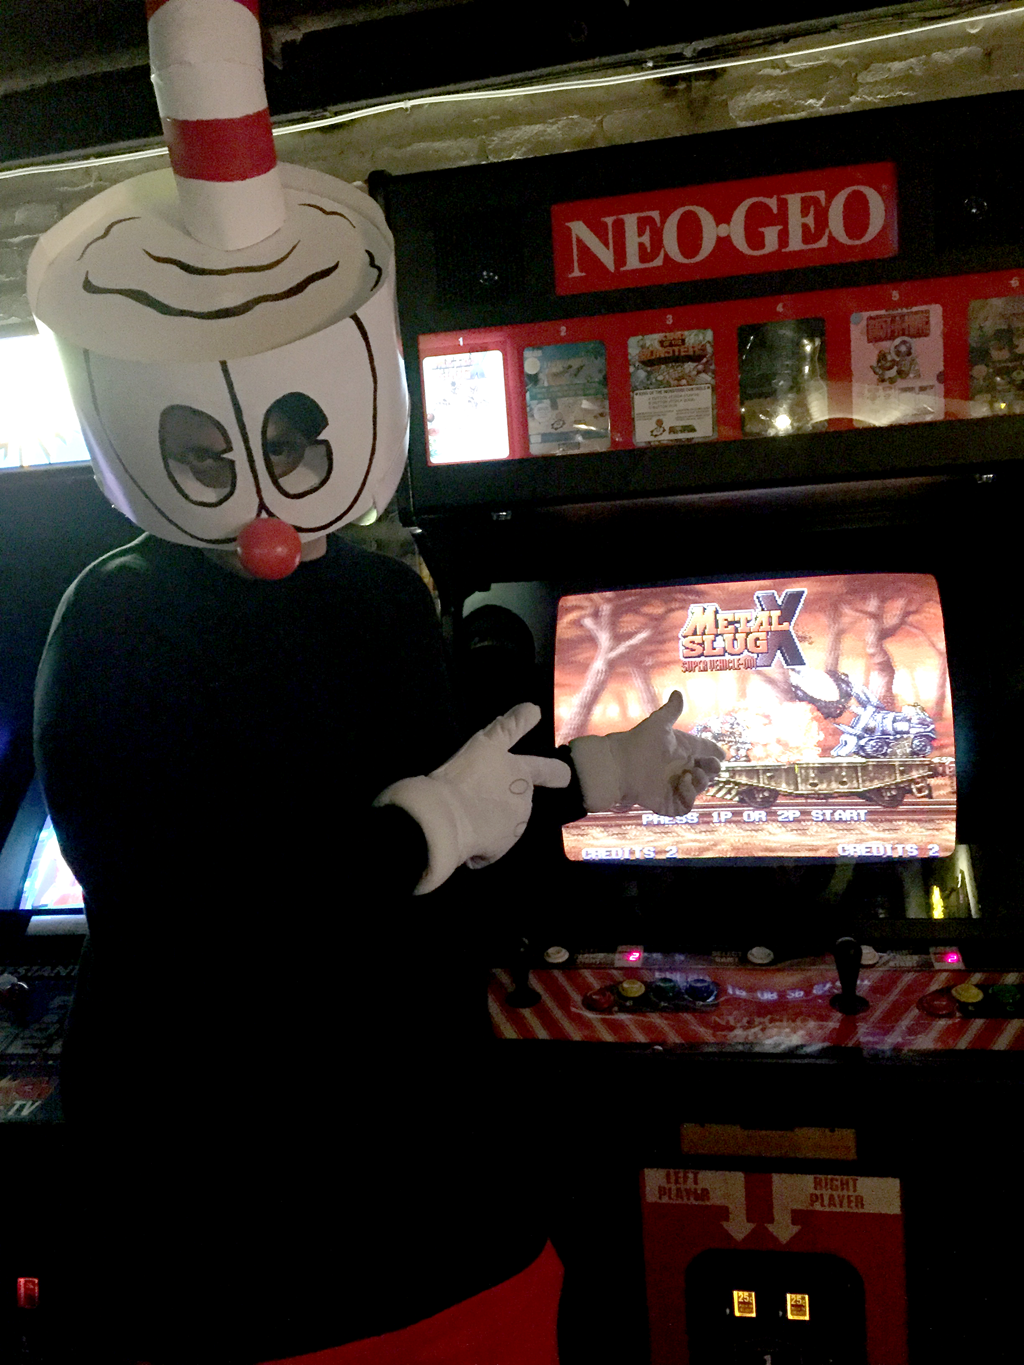
Here’s a shot of me at Barcade, about to play one of the games that Cuphead was inspired by – Metal Slug.
We went out Saturday night – some people who recognized the costume loved it, while others were confused. They thought I was Dr. Sueses Cat in the Hat, or they thought I was a cup of hot chocolate or something. Either way, was fun, and a surprising amount of people recognized my costume for a game that had barely just come out. It is, however, pretty popular online.
I went to the annual village Halloween parade with the costume on, and even more people recognized it – good times. I’ll post pictures from the parade as I find them on social media.
All in all, this was a four-hour frenzy of construction and on-the-fly decision making. But I’m happy with how it came out! Also, I purposefully left my mouth un-decorated so people could hear me and I could eat/drink without taking it off. Hopefully I can find something fun to build for next year… 😀
November 2, 2017 at 4:15 am | Other Projects
