binaryCodehackhackshexid3kioskmmcmultimediacardmusicpythonrecyclesdshelvessolitudessommersetsommerset entertainmentstore display
The Story
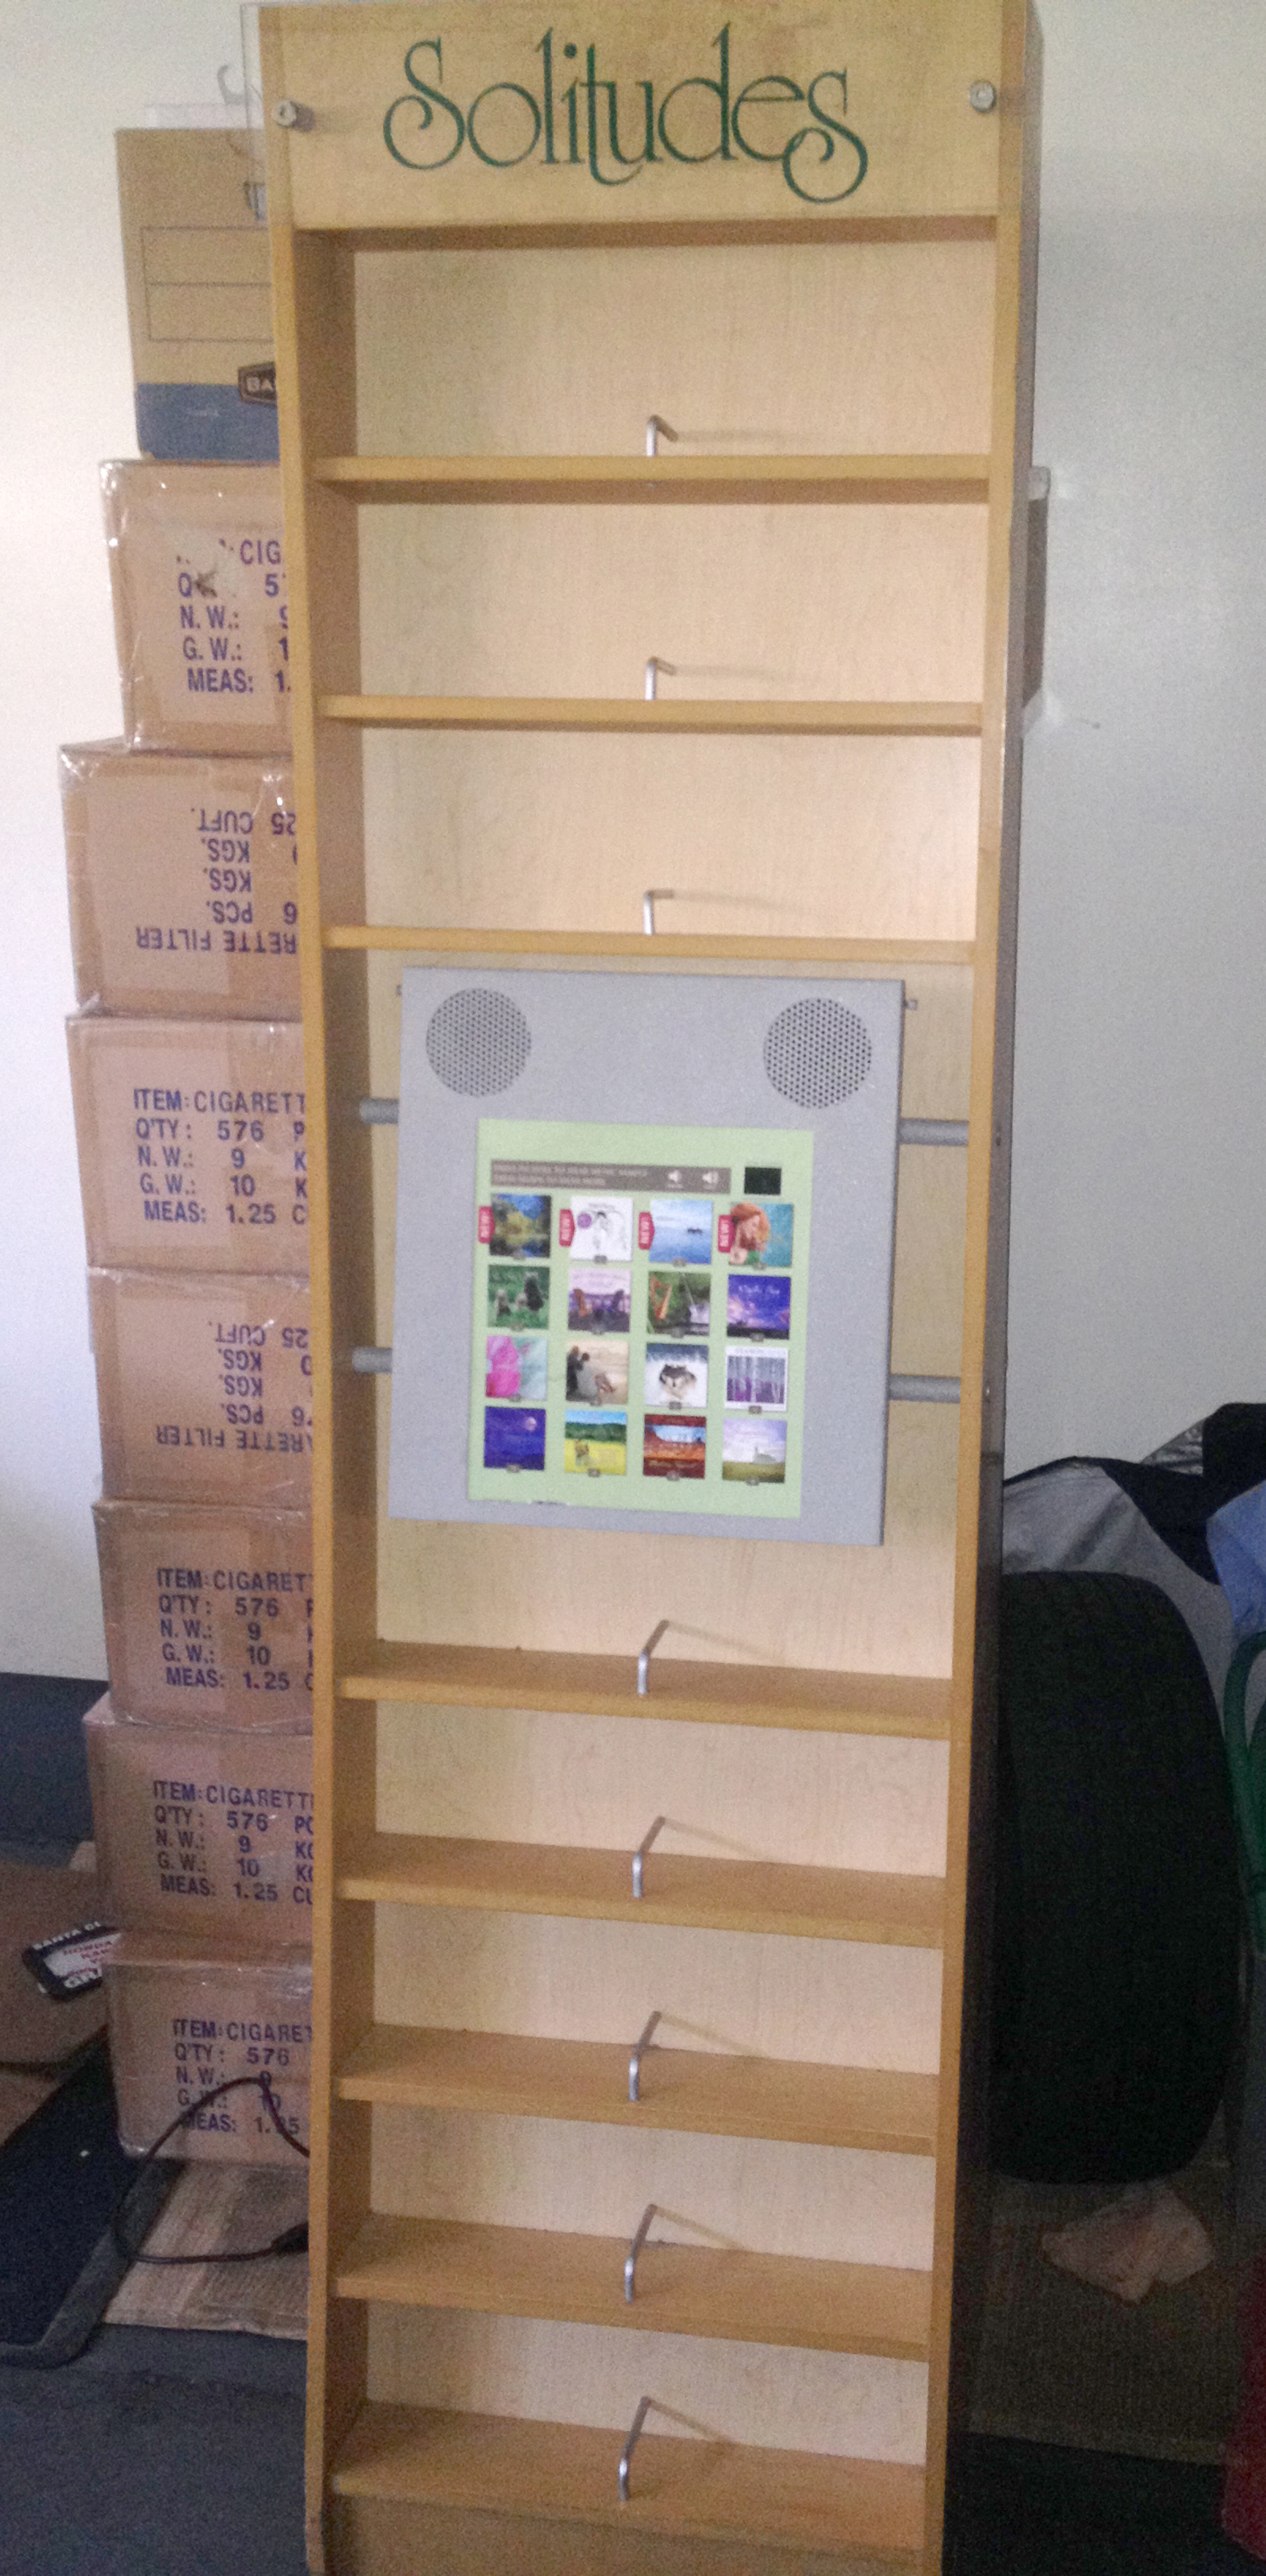
I love going to the flea market – over the years I’ve found many items money can’t buy. On a recent trip my friend and I discovered a music kiosk store display for only $10.
I was intrigued, because I knew there was some kind of music playing microcontroller in there, and it might be hackable. At the same time, I was hesitant because I was about to move – like I need another piece of furniture to move around. My friend was as excited as I was and decided to buy it for me. Welp, I guess I have another piece of furniture to move.
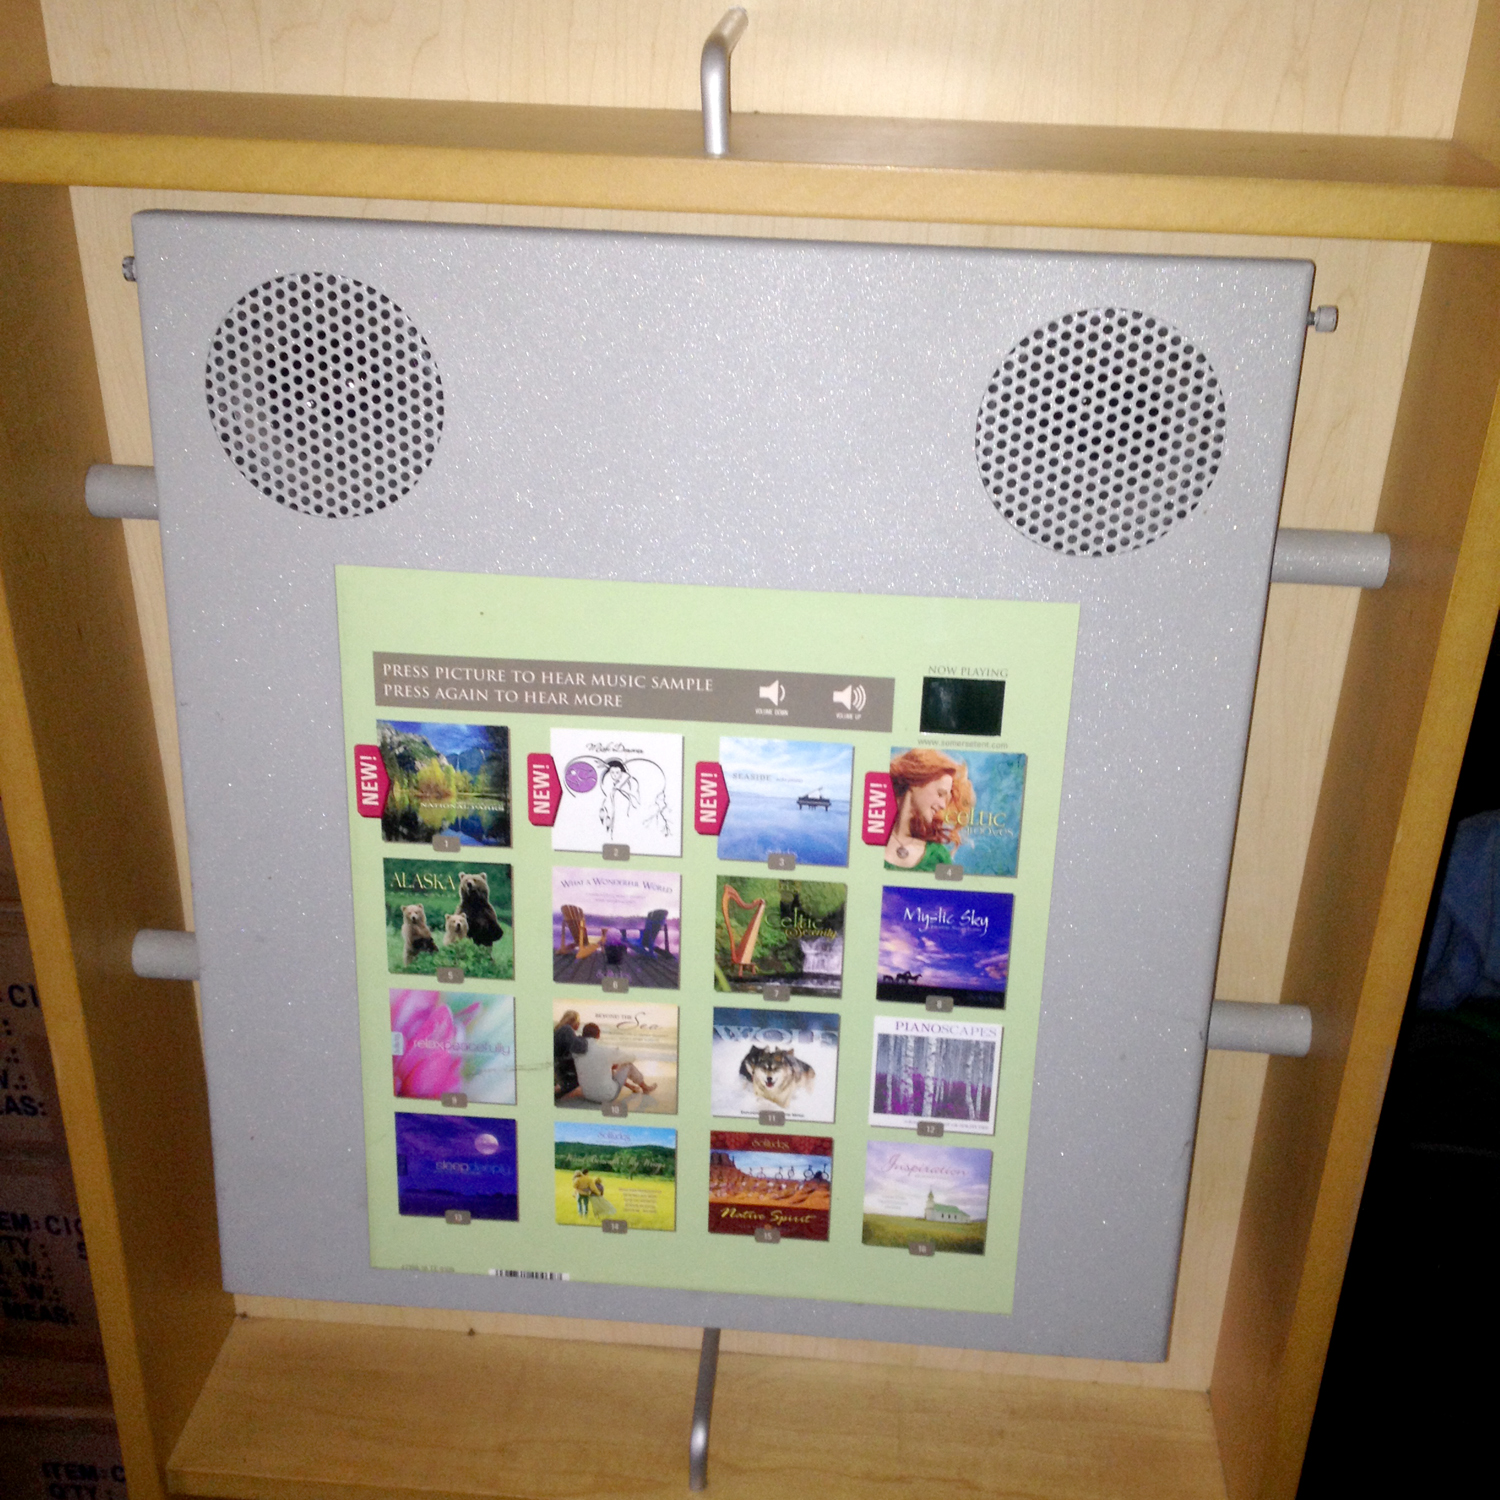
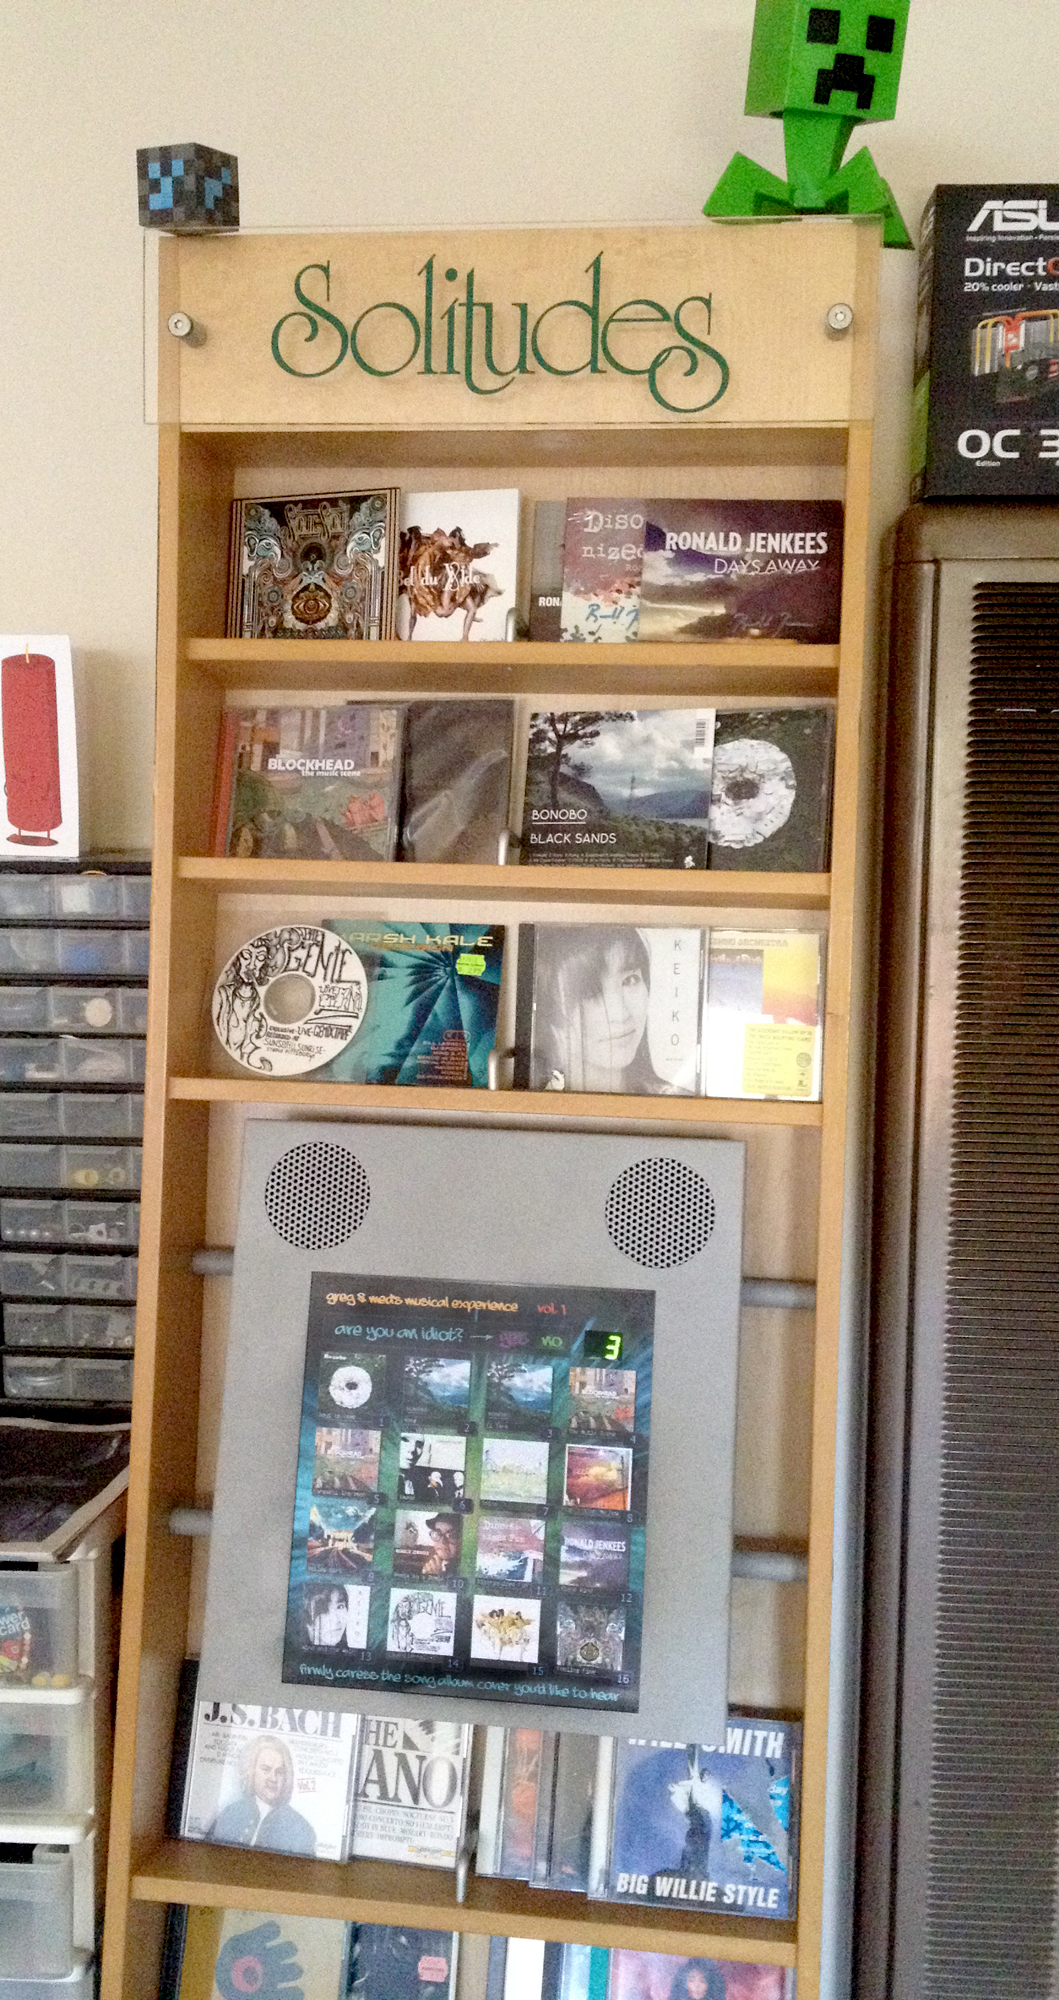
The machine was a store kiosk manufactured by Somerset Entertainment. It played a bunch relaxation music by Dan Gibson called Solitude’s, which you can learn more about here. The most hilarious of which, was the wolves.
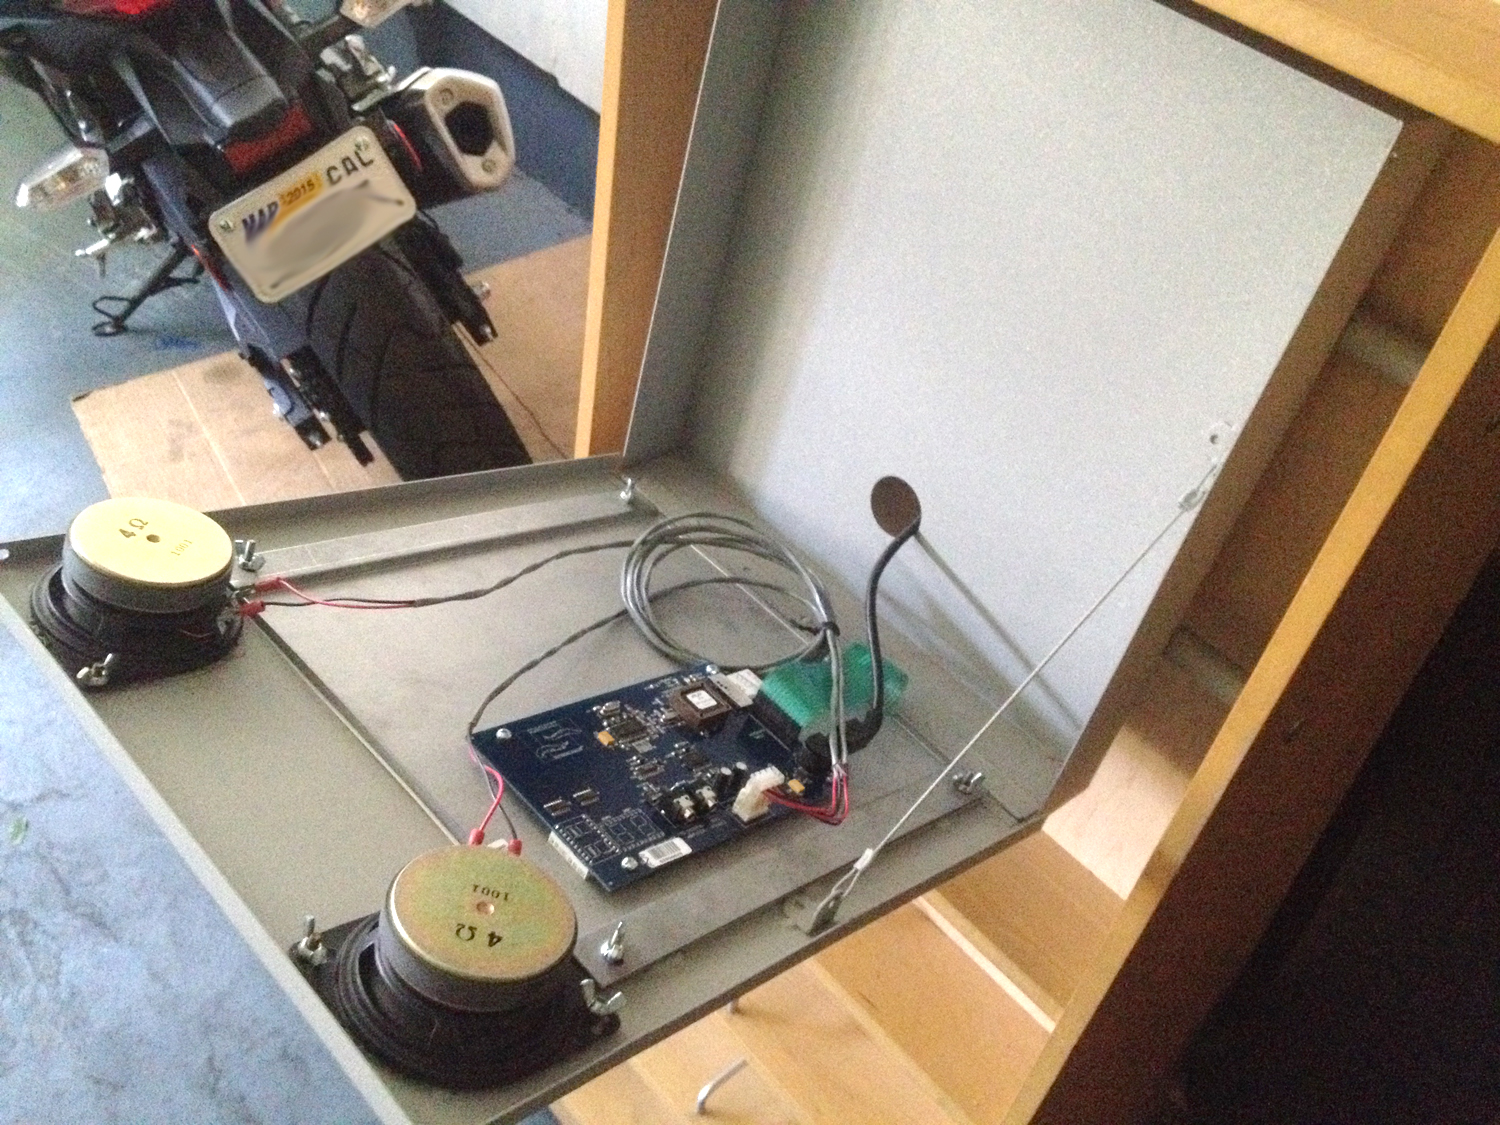
As soon as we lugged it back to the car, I couldn’t help myself – I took it apart. Below is a close up of the hardware, and the guts inside.
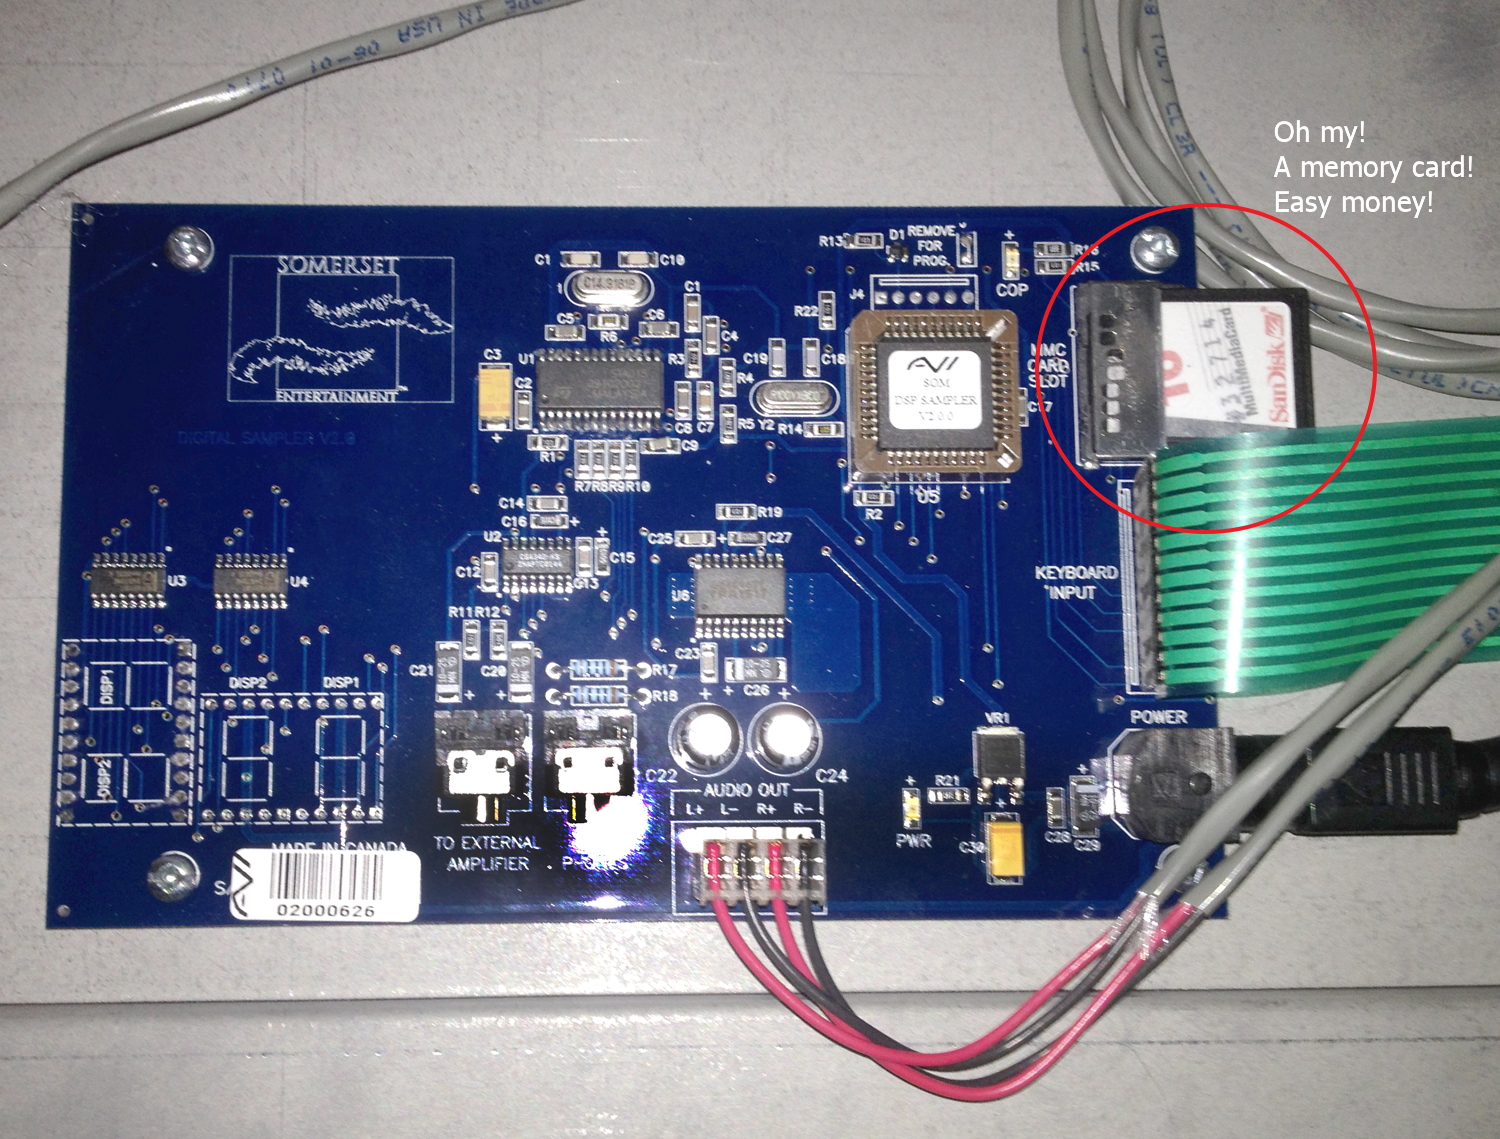
The machine was easy to open – just two hand-tightened Allen bolts holding together on the top. It has a neat hinge that swings down for maintenance. I inspected the microcontroller up close and noticed what appeared to be an SD card sticking out of it. Awesome! “This hack should be pretty easy… it’s probably just a bunch of wave files on an SD card!,” I thought.
As soon as I got home I eagerly stuck the memory card in my Windows 8 laptop. I was met with a barrage of errors. Okay, weird, but it’s been a while since I used my card reader. Maybe it’s busted. Next I tried the card slot on my Mac laptop. This time I wasn’t assaulted with hundreds of messages, but OSX did acknowledge once that it was unable to mount the device. Starting to feel worried now… In a last ditch effort I tried my Raspberry PI with a USB card reader. No dice. I started to have a sinking feeling. I suspected that the card might have some kind of DRM encryption, or perhaps it used a custom serial protocol or proprietary pin-out. I tried really hard to research this hardware, but there was nothing on the Internet to be gained other than learning that the company that made it is now defunct. I was on my own if I was gonna make this work.
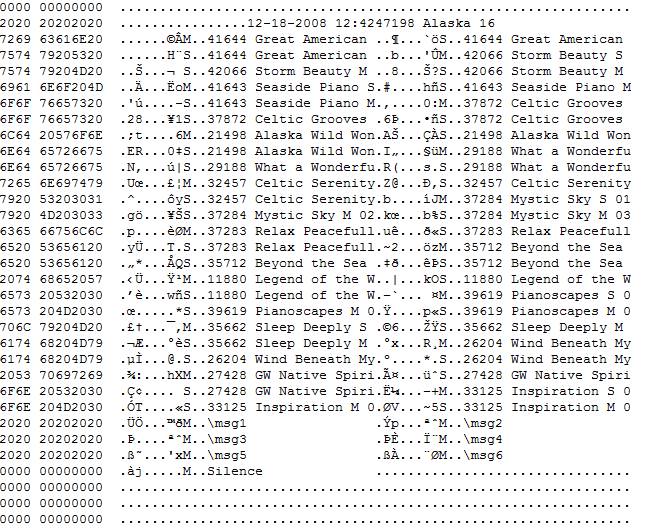
The next day I took it to my Linux Guru friend and he showed me how to use DD to dump the contents of the card without mounting it. Things were starting to turn around. Using a hex editor we were able to see some human readable ASCII with the song names and a few random tags!
Now for the hard part: reverse engineering the file system of this memory card so we could put our own music on it. I suspected that the card was full of wave files, because wave files wouldn’t require a microcontroller to decompress them, thus being easier to read. We recorded a wave file, opened it in hex editor, and viewed the memory dump and the wave file side-by-side looking for similarities. No such luck. Then my eye caught something interesting: the ASCII letters “ID3.” I remembered from somewhere in my past that MP3 files began with ID3 tags!
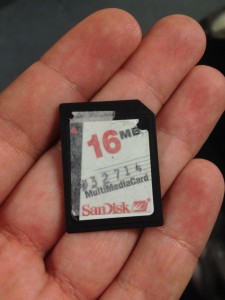
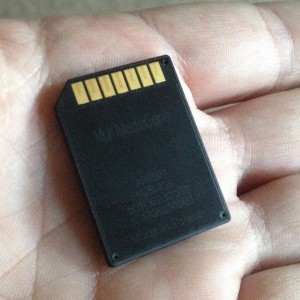
We extracted some of the ID3 data, saved it as an .mp3 file, and attempted to play it in a media player. No surprise here: it worked! We were able to listen to the songs the machine was playing only minutes ago. The obvious next step would be to replace the mp3 data with our own, then write the memory card image to a blank SD card and try it out. Which is what we did until… we noticed something funny. The SD card with the new custom data didn’t fit in the slot. Turns out, this whole time we had been using an “MMC” card, or a MultiMediaCard, which is the precursor to SD.
We learned that SD cards have two extra pins, but should be able to revert to MMC mode if put in an MMC slot. Eventually we got the card to go in the slot, but the machine still refused to read it.
I didn’t want to overwrite the MMC card that came with it. This machine is obscure as hell, and with hours of Google-Fu I coudln’t find any datasheets, docs, or any MENTION of it on the Internet. I didn’t want to risk bricking the MMC card that came with it, because at least it worked as-is. The hunt for an MMC began. FRY’s, BestBuy, RadioShack, and a few local electronics specialty stores such as HSC, Weirdstuff Wharehouse and TCQ Computers all came up short. Eventually I found one on Amazon and patiently waited. We were so close to achieving progress…
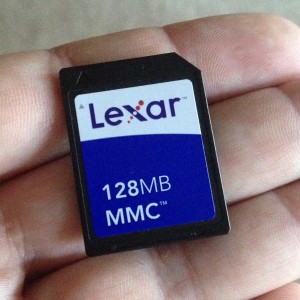
Finally, after F5ing the USPS tracking for a week, the new card was in my hands, with a whopping 128 MEGAbytes!
I immediately wrote the modified image onto this blank card, inserted into the machine, and crossed my fingers as I powered it up. It worked! One of the tracks that came with the machine, was now playing an excerpt from a MP3 file I chose instead! But the hurdles weren’t over yet. The machine only played thirty second samples, and I only replaced 30 seconds worth of bytes. I wondered if it would be possible to make the machine play entire songs instead. Who want’s to listen to 30 second samples in their living room?
That night I deleted all sixteen MP3s that I found in the original memory card, and replaced them with the binary for 16 full-length MP3s of my choosing. After writing the new image back to the card, we gave it a run. This time, it still played 30 second samples, but each consecutive sample was just part of the previous song. So if a song was 3 minutes long, the first 6 buttons were 30 second samples making up the first track. Then button 7 (roughly) began the next track.
We still weren’t there yet, somehow I had to tell the machine where to find the songs, and possibly their length. In the hex, there was a table of song names near the top. The song names were in ASCII and easy to read. My friend noticed that the song names were exactly 32 bytes apart from each other. Before each song name, there was 16 bytes of random binary (non ASCII) data.
I started messing around with the numbers, converting them from HEX to decimal. Eventually I discovered that the first four-bytes were the offset of the song! I converted the first four bytes of the the first song and jumped to that position in the file. Sure enough, there was an ID3 tag there. I spent the next hour painstakingly editing the hex file so the offsets matched the custom MP3s I had injected. This time, the buttons on the music player actually chose the correct song – but they were still only playing 30 second samples. I was hoping it was smart enough to determine the song length by comparing offsets, but no luck. Soon I realized though, that the next four bytes were the length of the song in bytes!
Over all, the table structure was very easy. Each song had an entry that was 32 bytes long. The first four were the offset in the file, the next four were the length of the song in bytes, and the last 16 were the song name in ASCII. There was still 8 bytes in the middle that I have no idea what they do, though. Part of it’s in ASCII, part of it in binary. Maybe some kind of product code? *shrugs* At least the machine was working like I wanted it to. I could add MP3s at my will, and all I had to do was spend a couple hours editing a hex file with new offsets and lengths, fun!
The next step was to write a quick Python script to take a folder of sixteen MP3s, open them all as binary, inject them into the datafile, and update the table with calculated offsets and lengths. Of course I went the extra mile and made it update the song names, the playlist name, and even the date-time stamp.
If you happen to have this machine and want to run your own custom MP3s, you can download the python script here. (More info on the scripting process below)
The machine is a little more complicated than that, so I’ll talk about some of the technical issues with the Python code below.
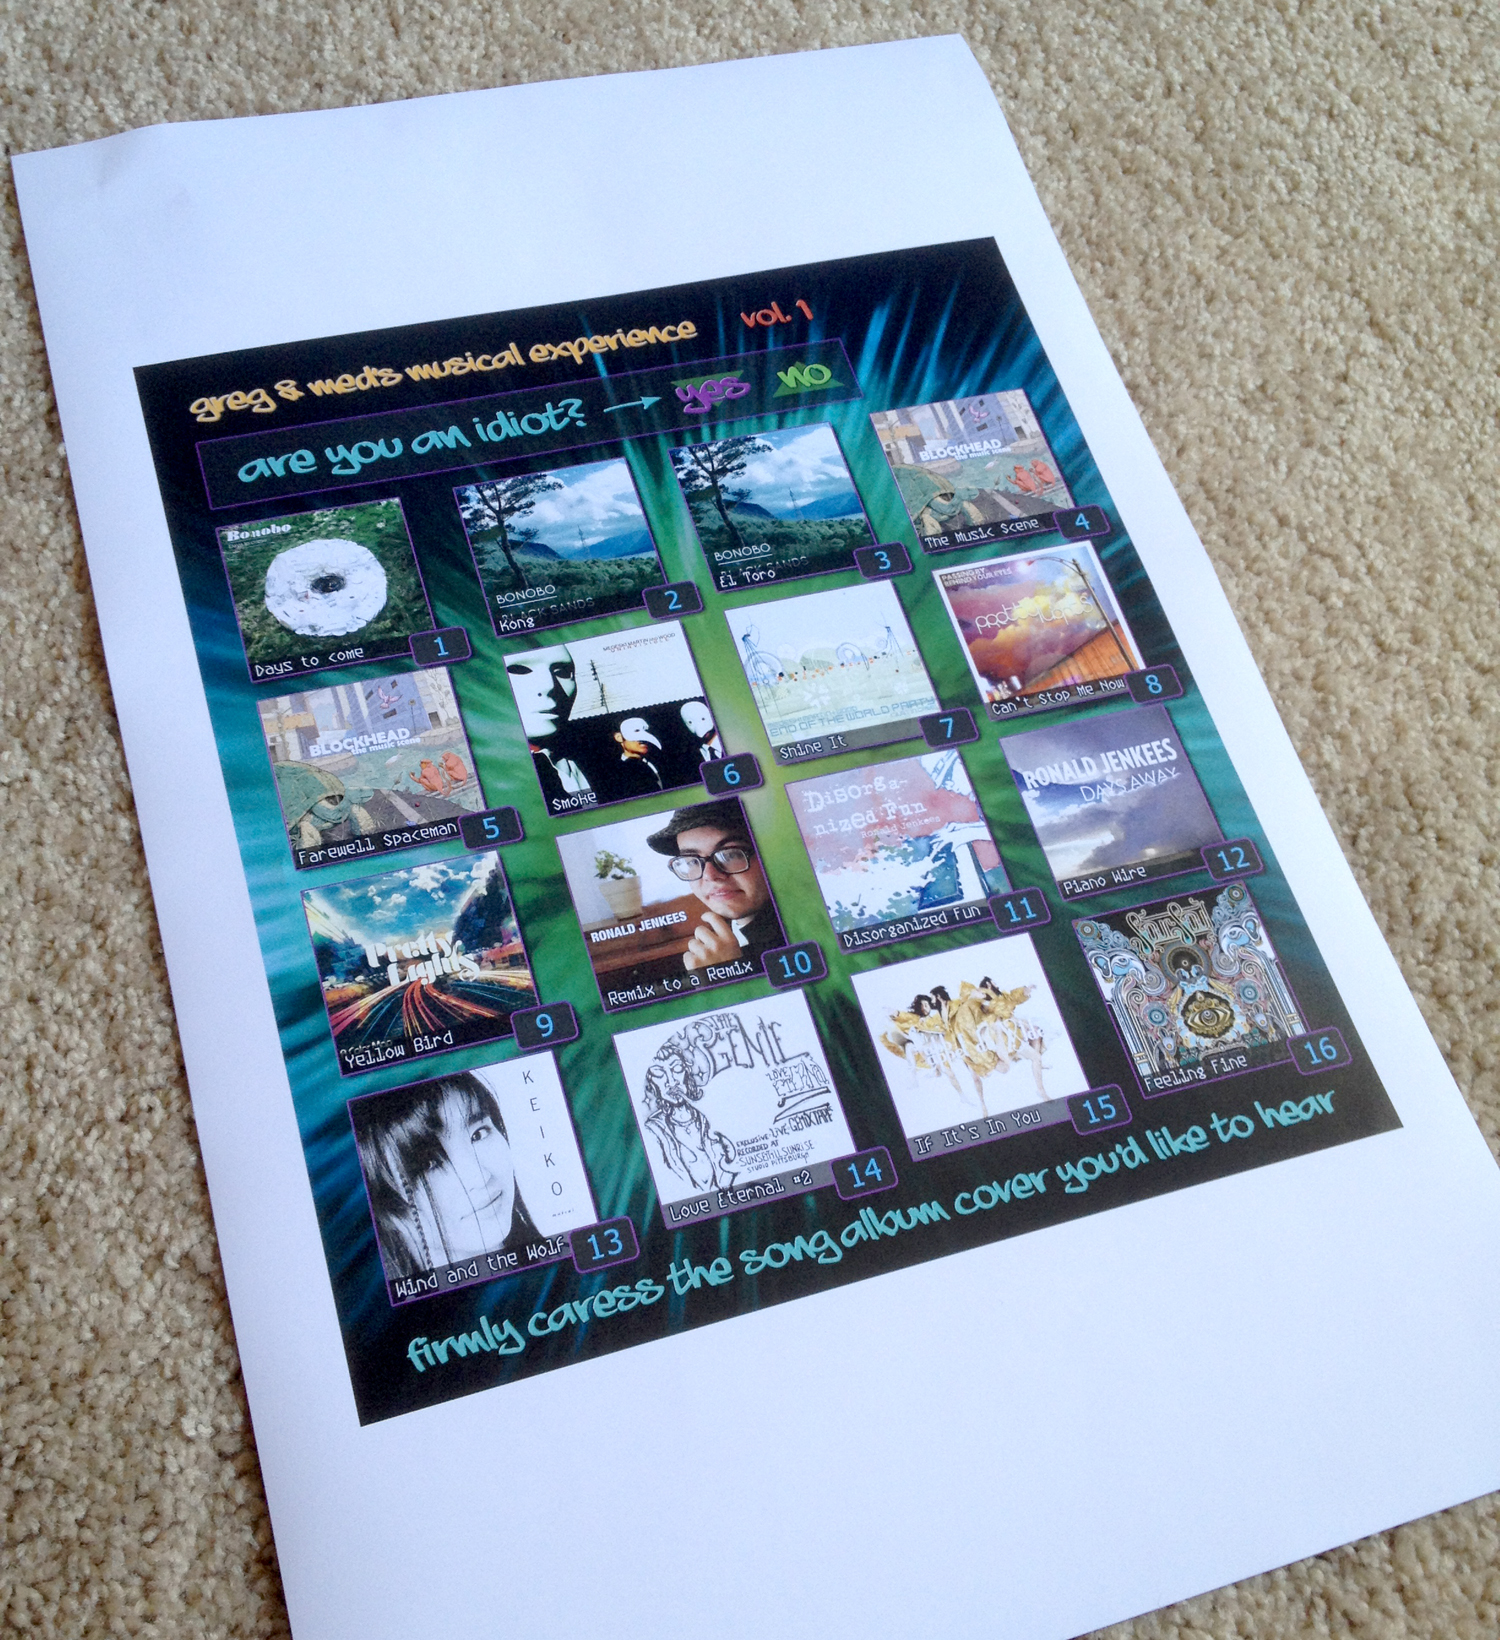
Now that I had a working program to write custom MP3s to the memory card, I was almost done with this project. I designed a new menu for the kiosk:
I ran over to FedEx / Kikno’s and got it printed at 300 DPI for only $1.28. Not bad!
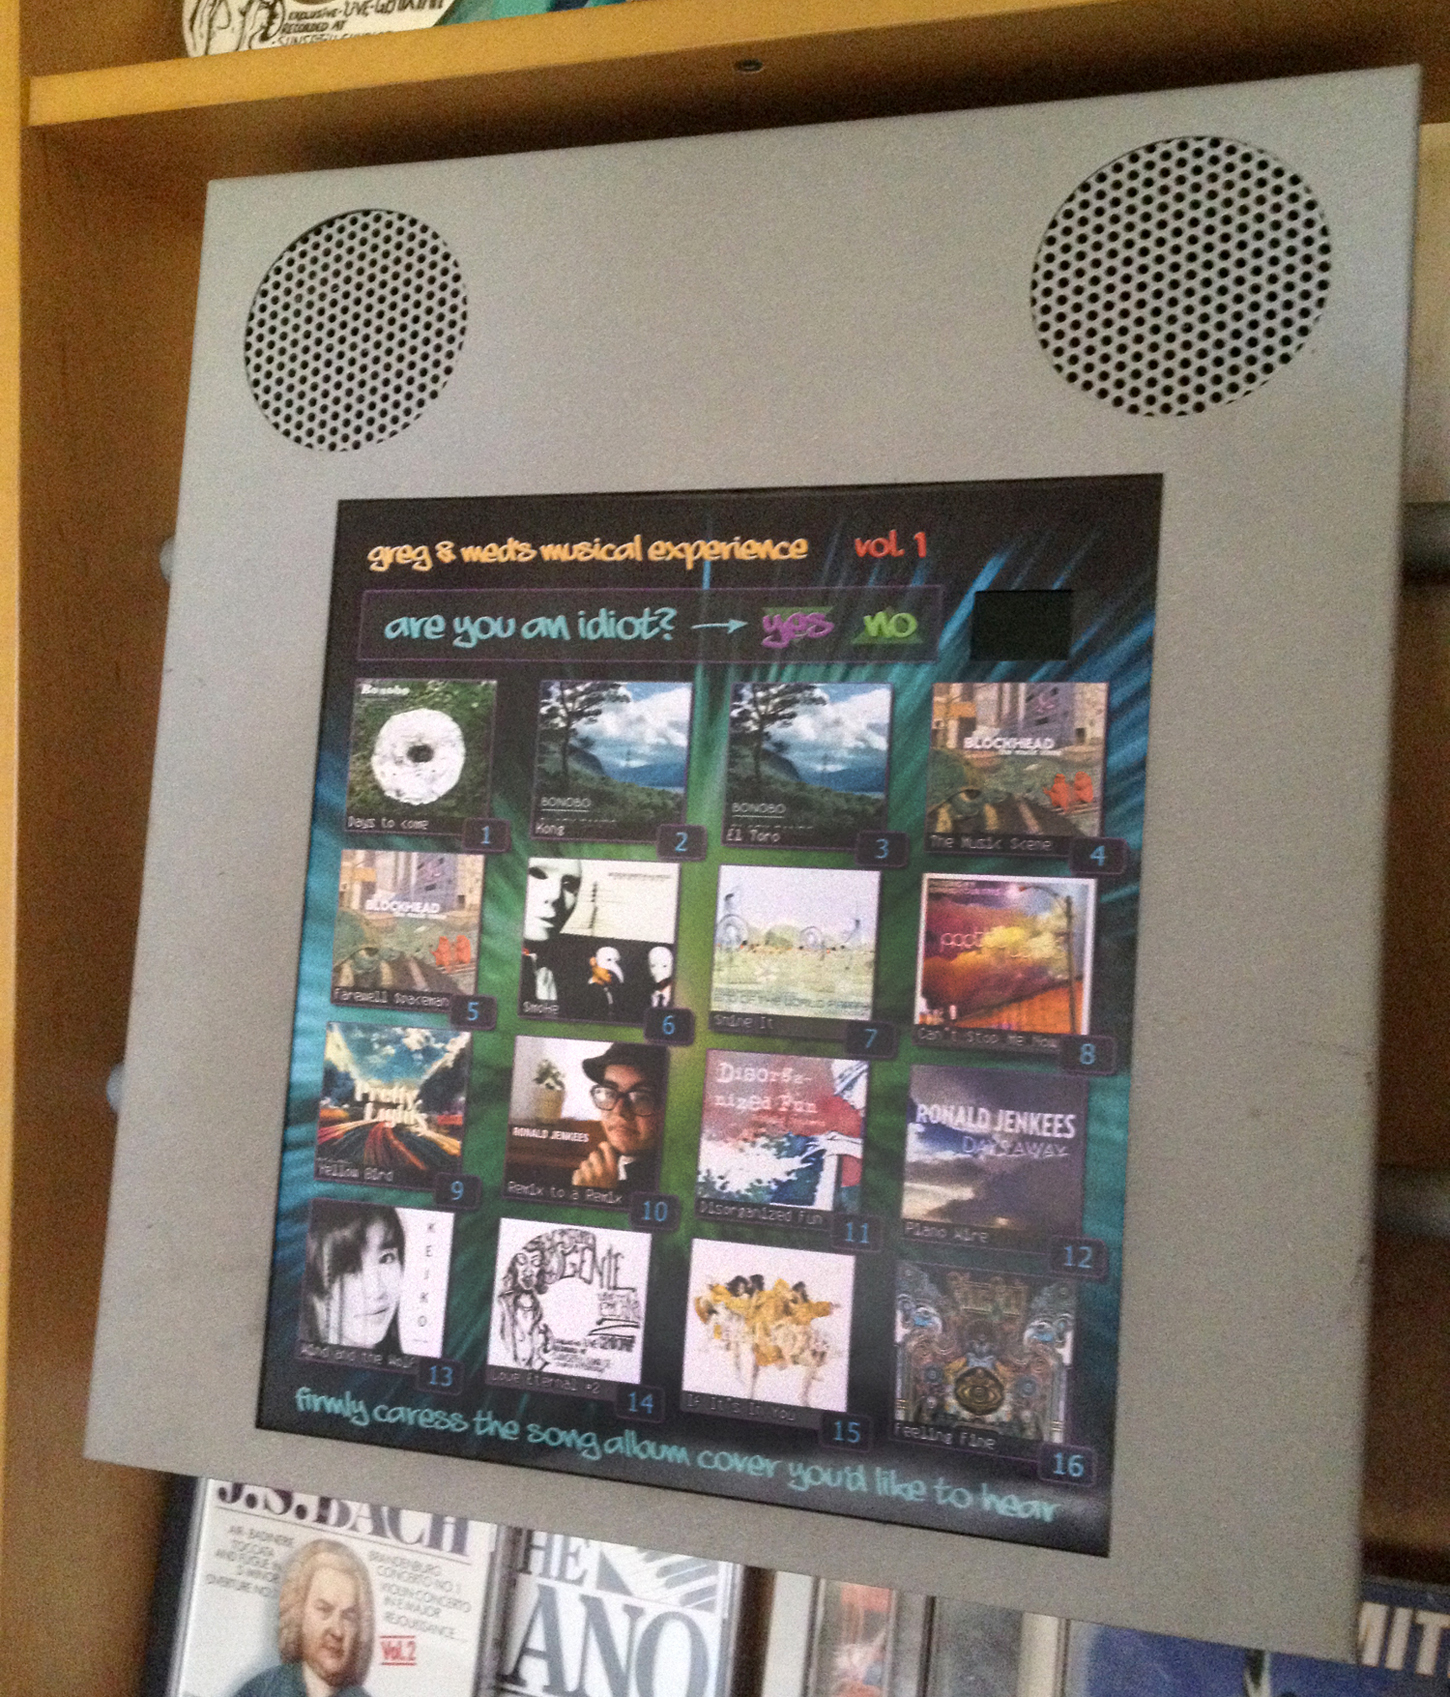
I cut the overlay out, and inserted into the machine under it’s buttons:
The machine was now looking a lot slicker that it was in it’s last life of playing relaxation music and wolf sounds:
One day coming up, I’ll get a piece of Plexiglass to replace the “Solitudes” logo on the top.
Technical Details
Though the story above summarized the hacking process, it was slightly more involved. The file can be thought of two main parts, the “header” and the “body.”
The header is is a bunch of data, and most importantly a table of the MP3 files data. The table stores critical information, such as the position of the MP3s in the data, and their length in bytes. It also stores the song names, and some other mysterious unidentified data.
The body is very simple – it’s just a bunch of MP3 files binary back-to-back. When one MP3 file ends, the binary for a new MP3 file begins. The byte-position of each MP3 is the “offset” the header table needs to know about, and of course the number of bytes in each MP3 the header needs to know as well. That’s it – the body is just a bunch of MP3s back to back, and the machine figures out everything from the header.
Though, while I was dissecting the original image that came with the machine, I noticed that there was more than 16 MP3s in the body. I extracted a few and played them. To my surprise, it was a female voice telling one how to operate some kind of configuration menu, so the kiosk could be set up to work in different ways. I looked back at the table in the header and noticed some entries I had ignored earlier:
These special configuration menu hidden MP3s were also in the header table. They seemed to use the same pattern, 32 bytes, 4 for the offset, 4 for the length, 8 for unknown, and 16 for the name. For some reason, there was also a MP3 of silence. Seems funny to me that the engineers decided to use a track of silence instead of just… disabling the sound output. But whatever.
Unfortunately, I have no idea how to access the configuration menu. As I mentioned before I can’t find any documentation on this device, so for now the config menu will remain a mystery. Even though my Python code was now able to make a playable MMC image of 16 custom MP3s, I felt like I would be doing future hackers a disservice if I didn’t include these bonus tracks. If I omitted them, the config menu would be unusable.
So for my project, I decided to think of the file as having three parts instead of two. We already discussed the Header, the Body, but I decided that the hidden MP3s would be the Footer.
Luckily, it wasn’t very much work to include these tracks. I copied out the hex for the 7 hidden MP3s and saved them in a file. The Python now loads this file and appends it to the end of the body, so the original config-menu MP3s will remain intact with my image maker script.
Of course the header table still needs to be updated with their offsets, but that wasn’t too much work either. Since these special Mp3s aren’t custom ones, they will never change in length. Thus their offsets and byte-lengths will remain constant (relative to each other). That meant that in the header table I only had to update the offset column, not the length or the song name. This also meant that the new offsets would be easy to calculate. The first offset would just begin where the custom song body ended, (songbody length + 0), and each additional hidden MP3 would just have it’s relative offset added to the length of the song body.
Generating the body was easy – just open 16 MP3s, read their binary, and concatenate it back-to-back. Building the footer was easy as well, just open the original footer data I saved in a file previously, no need to edit it at all.
Generating the Header was a bit trickier. The header is 3072 bytes total, so the body begins at byte 3072. But the header is made up of more than just the song index table. The first 1024 bytes are some random numbers, mostly blanks, a few spaces, and a “p?” in ASCII. Since the machine was working without changing this part, I decided not to muck with it. The first 1024 bytes my script generates are identical to the memory dump I got from the machine originally.
The bytes from 2014 – 2784 are the 32-byte blocks for the song index table. Although it would have been easier if I could have just generated all the data by myself I was slightly stuck. I had learned that each song had an entry that was 32 bytes long, the first four bytes were the MP3s position in the file (offset), the next four bytes were the length of the song (in bytes), and the last 16 bytes were the name of the song in ASCII. But I didn’t understand the extra 8-bytes between the song-length and the song name.
To make matters worse, each song has three entries in a row. Yup! You see, when you push a button on the Kiosk, it begins playing that song. However, if you push it twice, it begins playing the song about one third into it. If you push it yet AGAIN it will skip to about two thirds into the song. Finally, if you push it a third time, it will begin playing the song from the beginning. Since the machine allows you to repeatedly push the button to skip around in the song, each song has three 32 byte entries in the table. The first entry is for the beginning of the song, the second entry is for one-third through the song, and the last entry is for about 2/3 through the song.
That wasn’t really a huge problem – I was able to automatically calculate the byte offsets (and shorter lengths) for the later two entries in table.
But the mysterious 8-bytes in the table entries still puzzled me. They began with 1 byte of ASCII which was always either an “M” or an “S”. The pattern wasn’t too complicated though. As I mentioned, each song actually has three entries in the table. It appears as if the first entry is always labeled with an “M” and the latter two entries are always labeled with an “S”. After the “M/S” code, 2 more bytes of binary data followed. I’m not sure what these bytes represent, so I decided to leave them alone. The remaining 5 bytes were always for a 5 digit ASCII number. I assume these numbers were probably part of a product code for the song sample or something. Maybe they were considered to be part of the song name, and instead of 16 bytes, the song names were actually 21 bytes. Either way, I left them alone. Since I didn’t know what they were for, or how to generate them, I didn’t touch them.
Over all, I could make sense only of the first byte in this string of 8 bytes. Since I didn’t have an algorithm to generate them I decided to leave them as is. The machine seems to be playing songs just fine, so they don’t appear critical to the application.
To generate the header, I just saved a copy of the header from the original MMC memory image. The first 3072 bytes are then loaded into the Python code. Instead of generating the entire header from scratch, I just edit the binary spots in the header that I know are required. I also added a bit of code to edit the date time-stamp in the header, and I changed the playlist name from “Alaska 16” to “Custom 16” 😉
Once the header has been carefully overwritten in the correct spots, it’s time to assemble the final binary image. Simple: the (modified) header, (generated) song body, and (unchanged) footer are all concatenated into one big heap, which is written to a binary file.
That’s it! After many set backs, moments of despair, several hurdles, reverse engineering and binary generation, I now have a custom script to update the Music Kiosk anytime I wish! I’m proud of this hack.  You can find the Python script and required files here: http://gmiller.net/assets/Somerset_Kiosk_MMC_Image_Maker.zip
July 13, 2014 at 5:01 am | Code Projects, Music Articles, Other Projects
